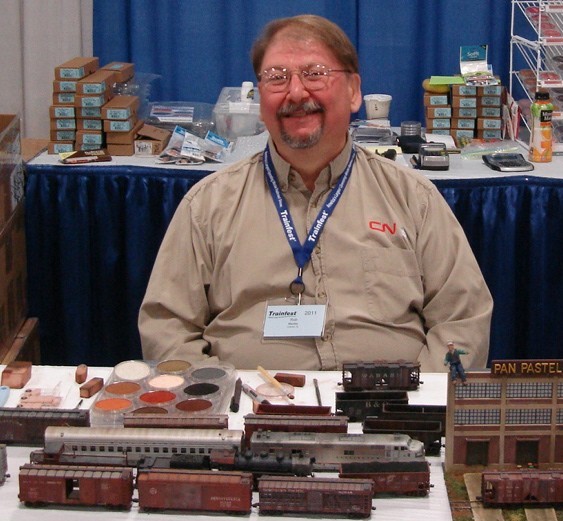
This is the beginning of the PanPastel® Weathering Techniques blog. I have to start somewhere so this is a short introduction – I am Rob Manley and I have been building models for most of my life. Since I read my first article in the sixties by model railroader, John Allen, I have been fascinated by the art of weathering. I always preferred a nicely weathered model over one that was freshly painted. When I was about 10 or so I remember seeing a model of a 1936 Ford that was rendered as a rusty junk yard wreck diorama at Trost Hobby Shop in Chicago. I talked about it for days.
I guess I really didn’t start to weather until I bought my first Paasche® airbrush in the 70s. Some of it was subtle like adding some dark brown to a black to show aging on a locomotive frame or freight car under-frame. At that time I was using lacquers or oil based enamels and got nice fine spray patterns from my single action brush. I also used washes of paint and thinner to highlight shadow areas. All was well. Most everybody I knew used an airbrush and I was happy. My trains looked appropriately aged and not like out of the box. Some of the modelers in the hobby press were using other materials found in art stores. I was an art student at the time and frequented these stores. The sepia tones and other colors of chalk that they were using looked like an easy way to vary my style. I experimented a little but the airbrush won out as a universal appliance. Chalks looked cool but were fragile and vanished with the application of a protective overspray.
Well after I married and found out my wife had allergies, I decided to switch to acrylic water based paints. My paint booth is in the basement near the furnace and we didn’t like the strong smell of lacquer throughout the house. I noticed the disadvantage of acrylics is that I had to use a larger spray tip to get the paint through the airbrush. I also increased the pressure from my compressor to compensate the difficult nature of the paint. Acrylics can have a tendency to dry in the airbrush as you are using it, enamels and lacquers tend to have a self cleaning nature and spray in a finer pattern.
I started to become unhappy with airbrush weathering. I saw a demonstration using alternate methods and materials at the Railroad Prototype Modelers meet in Naperville, Illinois. They were using water-based oils and weathering powders to achieve a highly realistic treatment. I decided it was time to head to the art store to see what I could buy and use on my models. My wife and I went to Dick Blick to buy some colored pencils to restock her collection and I wandered into the chalk and pastel aisles. This is how PanPastel entered my life. There was a full collection of these neat looking clear circular containers with lots of awesome rusty earth tones and multiple shades of gray. I thought that this PanPastel had some real potential so I bought an Iron Oxide Red with a few Sofft® Tools to try at home. That’s all she’d buy me.
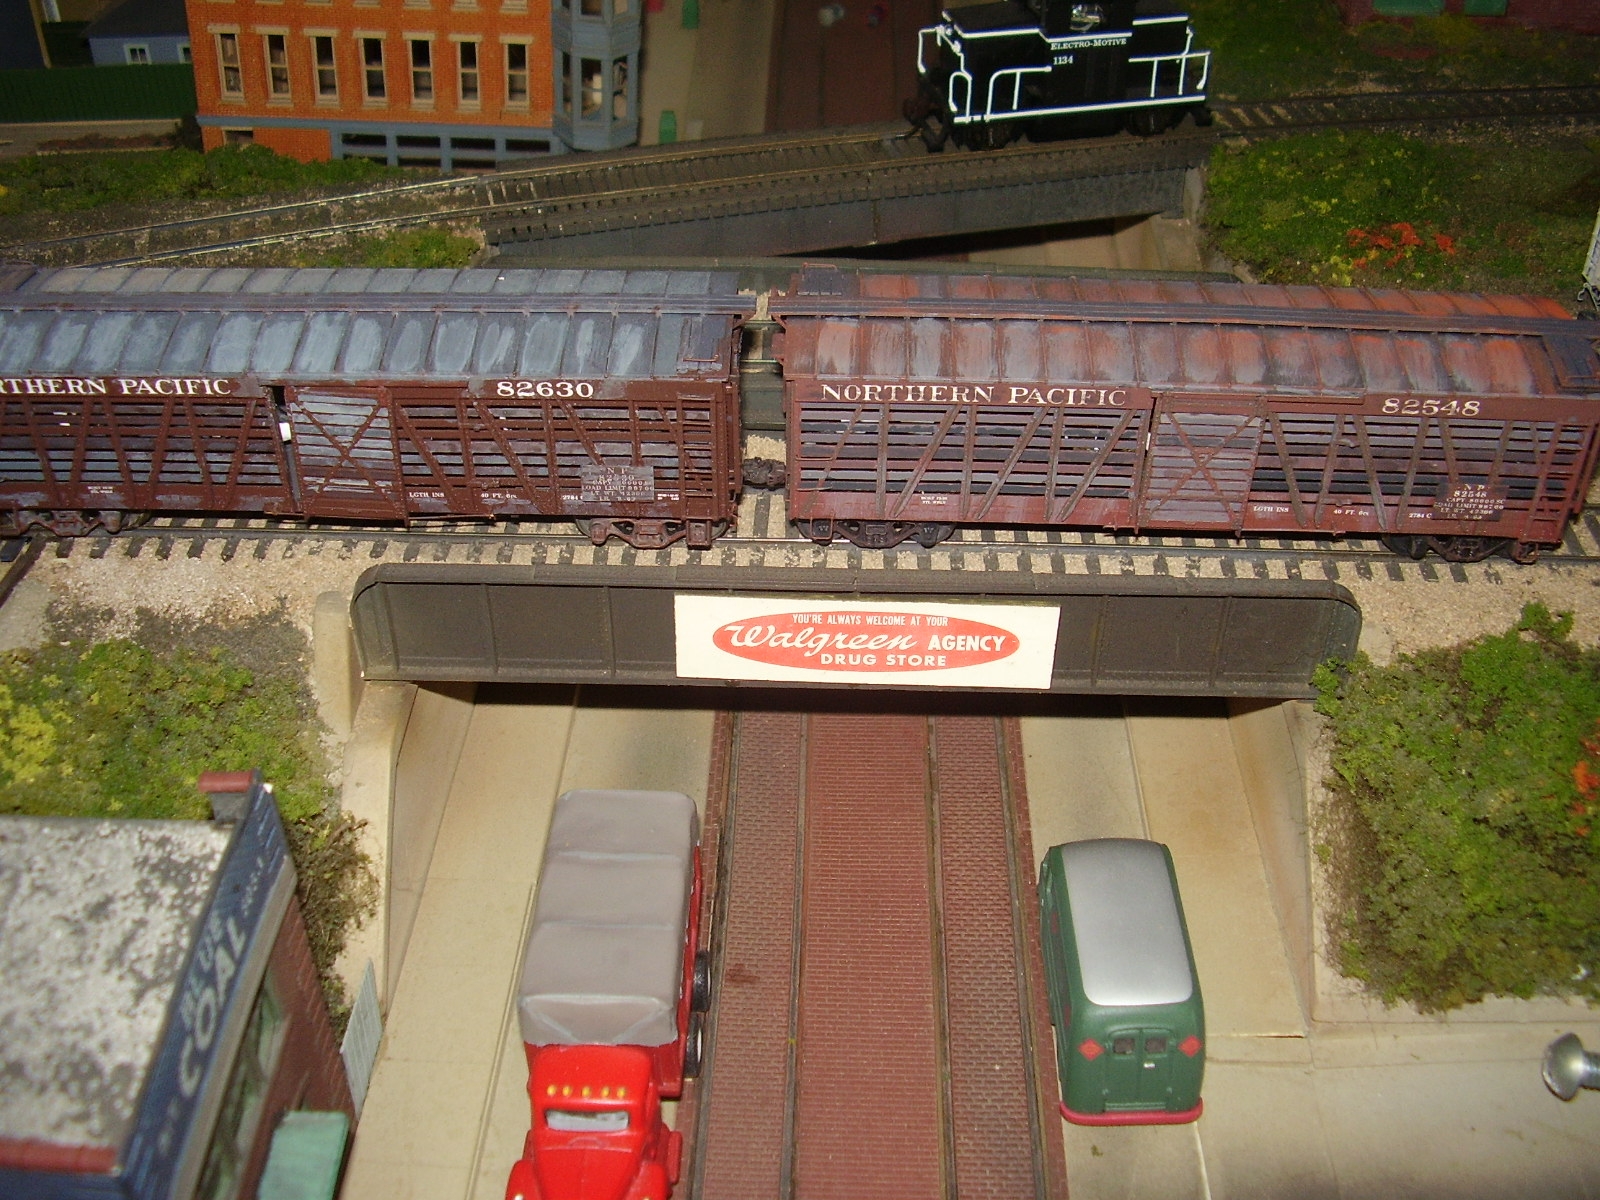
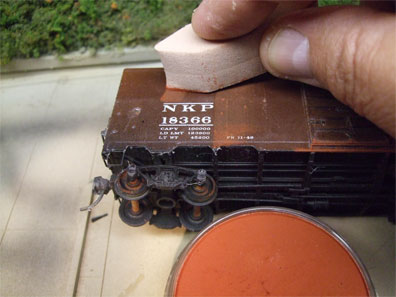
Some of my first experiments with PanPastel
I wiped the Sofft Tool across the pan and found a willing stock car model to experiment on. I had tried to simulate aged galvanized steel by wet brushing 2 shades of gray onto the roof of the car. It looked a lot better than a monochrome roof and sides. I wiped the foam applicator across the roof and was blown away with the results. It picked up the panel lines of the casting and left a subtle hue of rust color across the panels. Eureka! For a first attempt, I was impressed. I experimented with the durability and found it stayed on the roof very well. My models are run on a modular railroad so they are handled more than on a home layout. The weathering needs to be protected so I mixed up a small batch of flat finish and sprayed it on the roof. After it dried I checked for color loss like the chalks had given me. There was very little. I continued to experiment and eventually acquired a 10 color Drawing Set with Browns, Grays and a nice sooty Black. I re-weathered and corrected some previously done freight cars. I eventually built and painted some contest quality kits that were entirely done with PanPastel.
Weathering your models with PanPastel can be very simple and rewarding. You can reproduce highly realistic effects in little time and with a small learning curve. There are no expensive tools or machinery to buy and it is affordable and durable. We will explore the basics as well as advanced techniques and explain them that will make them simple and fun. I will answer your questions too.
I have given a few clinics and demonstrations and have quite a collection of feedback from other modelers both novices and experienced. So let us begin our journey.
PanPastel is firstly a professional grade artist’s medium. There are now 92 colors (as well as 5 mediums) that are named according to the artist’s pigments used and not named as “Rust” or “Grimey Black”. We’ll figure colors and many specific details of techniques in more detail in future posts.
Let’s talk about preparation first.
PanPastel was originally developed for artists, so it is normally used on paper with a non glossy finish. It is rubbed into the micro hills and valleys of the texture of the paper. The more texture the better it sticks. Our models are made of plastic and usually painted. It was found that models photographed better with a fat finish. It is generally accepted that our work has a dull or flat over coating to seal decals or to prevent unrealistic glare. Here it comes. However, not all models come with a flat finish. Some are eggshell or semi-gloss, besides not being entirely realistic, do not work well with PanPastel. I have weathered models on their “out of the box” finish but only in the heat of battle like demonstrating at trade shows when someone asks me to weather their Climax locomotive for lunch.
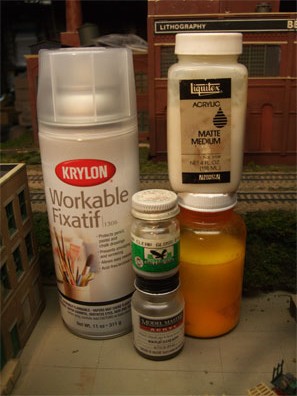 So what flat finishes work best with PanPastel?
My airbrushing favorites lately have been: PolyScale Acrylic Flat, this may be in short supply as the parent company has chosen to consolidate all their acrylic model paints to the “Model Master’s” line. Model Master’s Flat is superb. It gives a nice dead flat base for the pastels to grab on to. When sprayed on a test piece of Plexiglas it does not seem to tint the base color. For my spraying I usually cut this a little more than 50/50 with water. The rule of thumb for diluting paint for the airbrush is for it to have the consistency of 2% milk. My Paasche H series brush uses a #2 tip with 35 pounds of pressure and a not too close distance from the surface. About 6 inches so you have a dryer spray. It shouldn’t be a wet finish as it may tend to gloss up a bit. This is where you should experiment on a scrap car.
If you are using solvent based paints Scale Coat® makes an excellent flat finish. I have models I painted entirely with Scalecoat® 30 years ago that only now are starting to show glossy parts from handling. Some modelers who do not have an airbrush like to use Testors Dullcoat® in the rattle can. I haven’t used it in years as it ruined a set of diesels by changing the color from ghost white to cream. I imagine some day, I’ll break down and get a can for the sake of the blog and objectivity. If you need to use a rattle can, I have used Krylon® Flat Workable Fixative. It comes in a tall spray can and is what most artists use to protect their pastel art work on paper. This is available from most art stores. Speaking of which. I used heavily diluted (2% milk rule) Liquitex® Acrylic Matte Medium in my airbrush for a G scale refrigerator car.
So now you know what to use for a base flat and why to use it. How do you apply PanPastel? This may seem extremely fundamental but it needs to be told after watching modelers use it for the first time.
Let’s apply a basic weathering color to the side of a car.
Firstly, use the Sofft Tools. Plain and simple, they work. Cheap make up sponges are just that. They shred and have no definition. The Sofft Tools can be used with a high degree of precision and they are washable and reusable. We’ll get into this in more detail later.
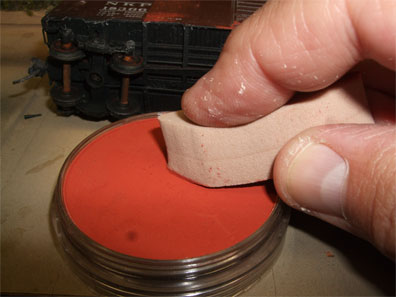
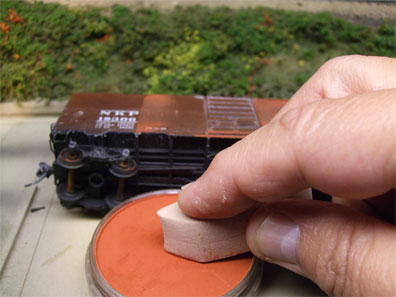
Pick your Sofft Tool, wipe the pan color with it using light pressure.
Don’t drag it so hard as to generate dust. If you get dust then next loading just dab the color on the tool.
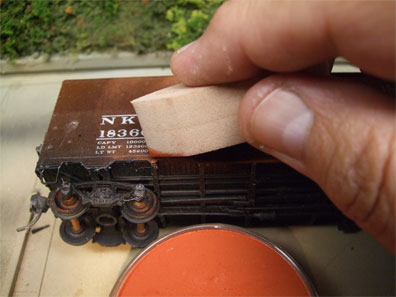
Wipe the color on to the side or roof with some finger pressure.
The harder you press the better it bonds to the flat finish. I’ve seen modelers lightly touch the surface like it will break something.
If you lay down too much color, try blending it down with the tool or paper towel. If you use the Magic Rub White eraser too much, you’ll polish the flat surface and have to spray more flat back on. And if you mess up, you can always wash it off with Dawn® dish detergent.
Well, this is our first installment. I hope this and the Fun Fact Tips sheet available here answers some of your questions.
We’ll get to more topics and more advanced techniques as we continue. Well it’s time to go back to the basement and get some projects finished for the upcoming show.
Remember, “The best modeling is done at 3 a.m. the night before a show.” —- Rob
Images supplied by: Rob Manley and David Allenson
