Tag: Weathering

Seeing is Believing

By Rob Manley

Part of the fun in building models for me is the research. Oh sure, you can easily build a kit straight from the box, follow the box art to position your decals and still have fun. What I’m talking about is “more funner”( this was from a young girl watching my weathering demo).

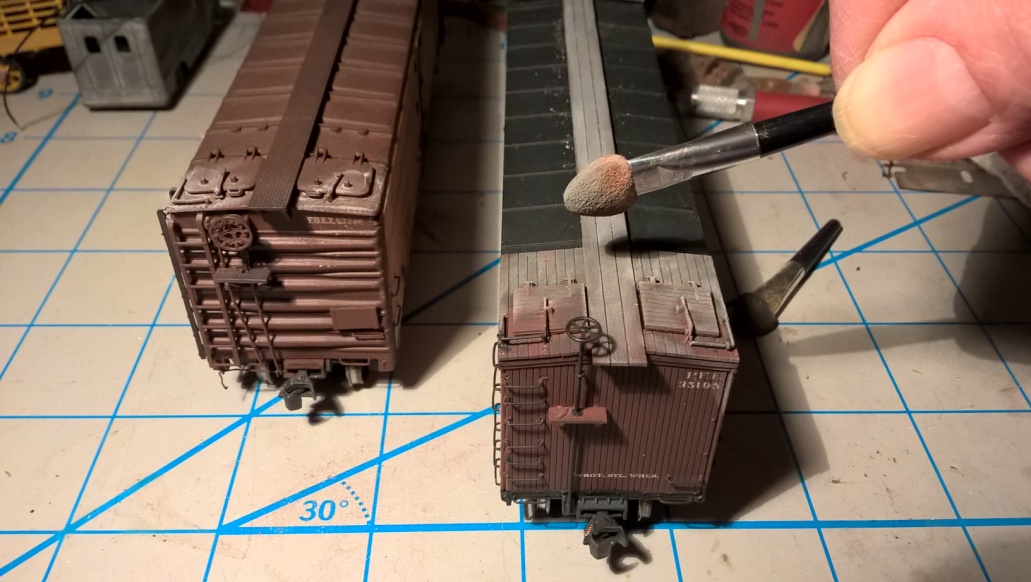
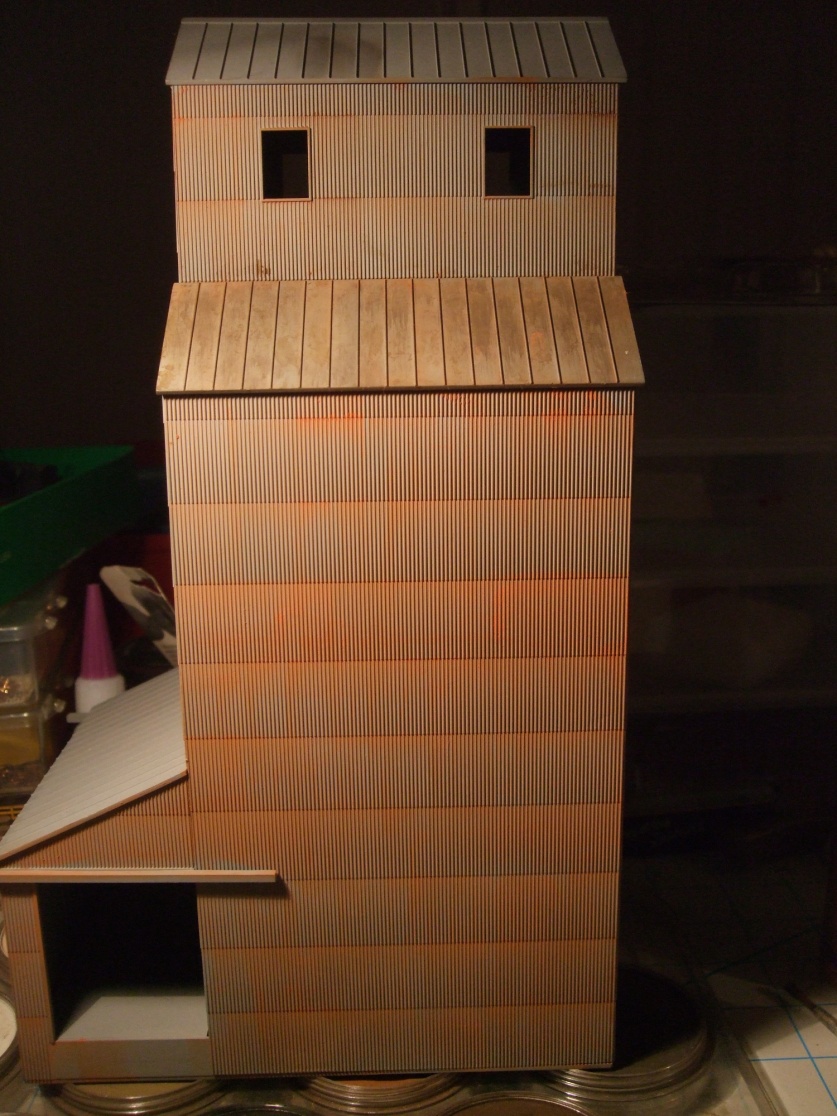
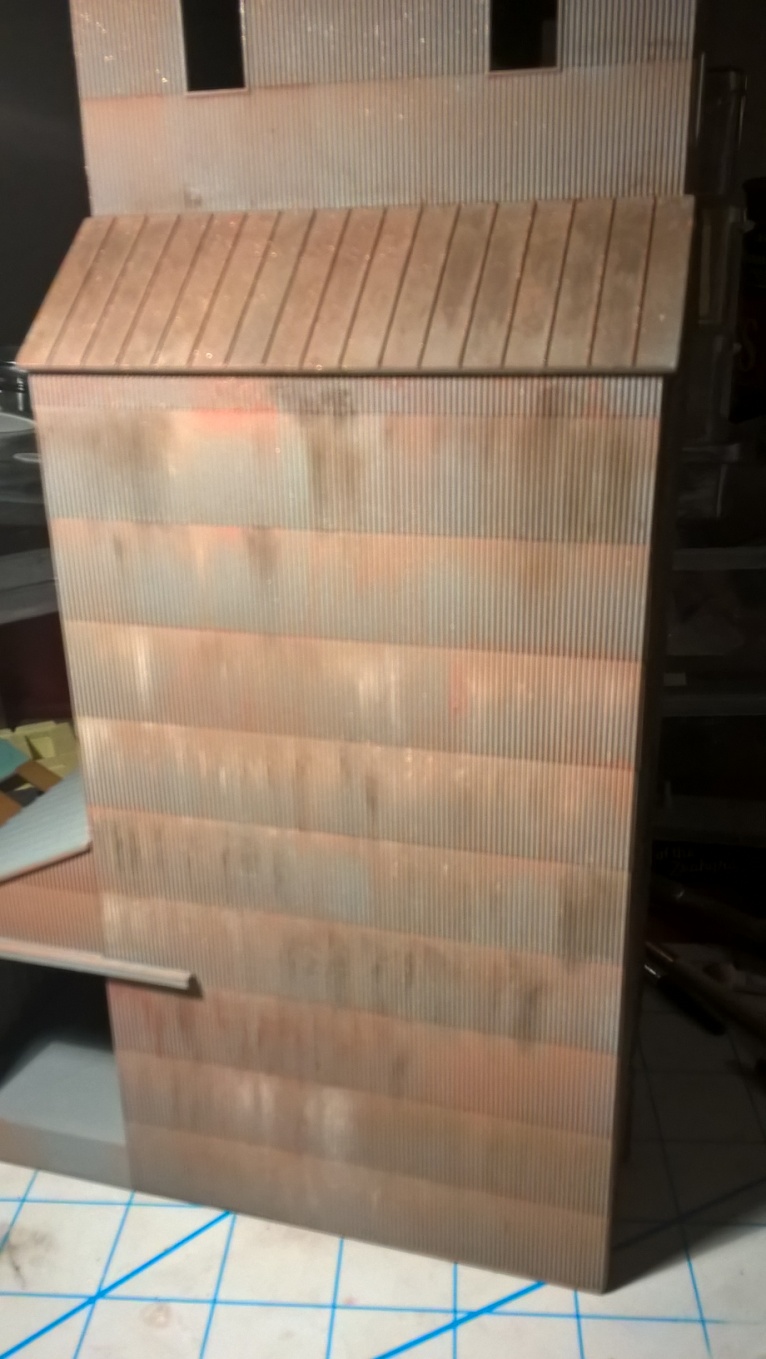
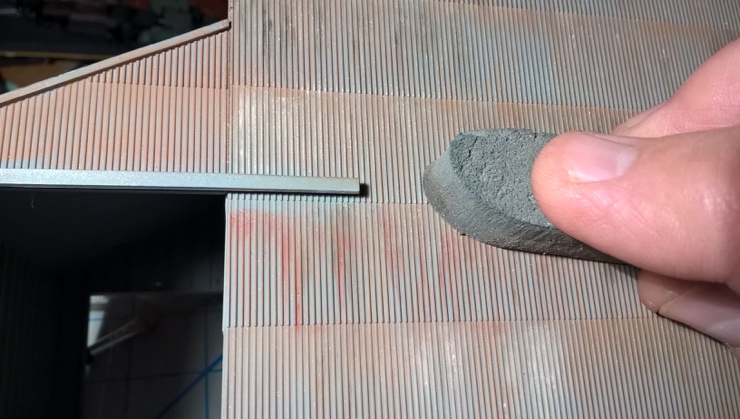
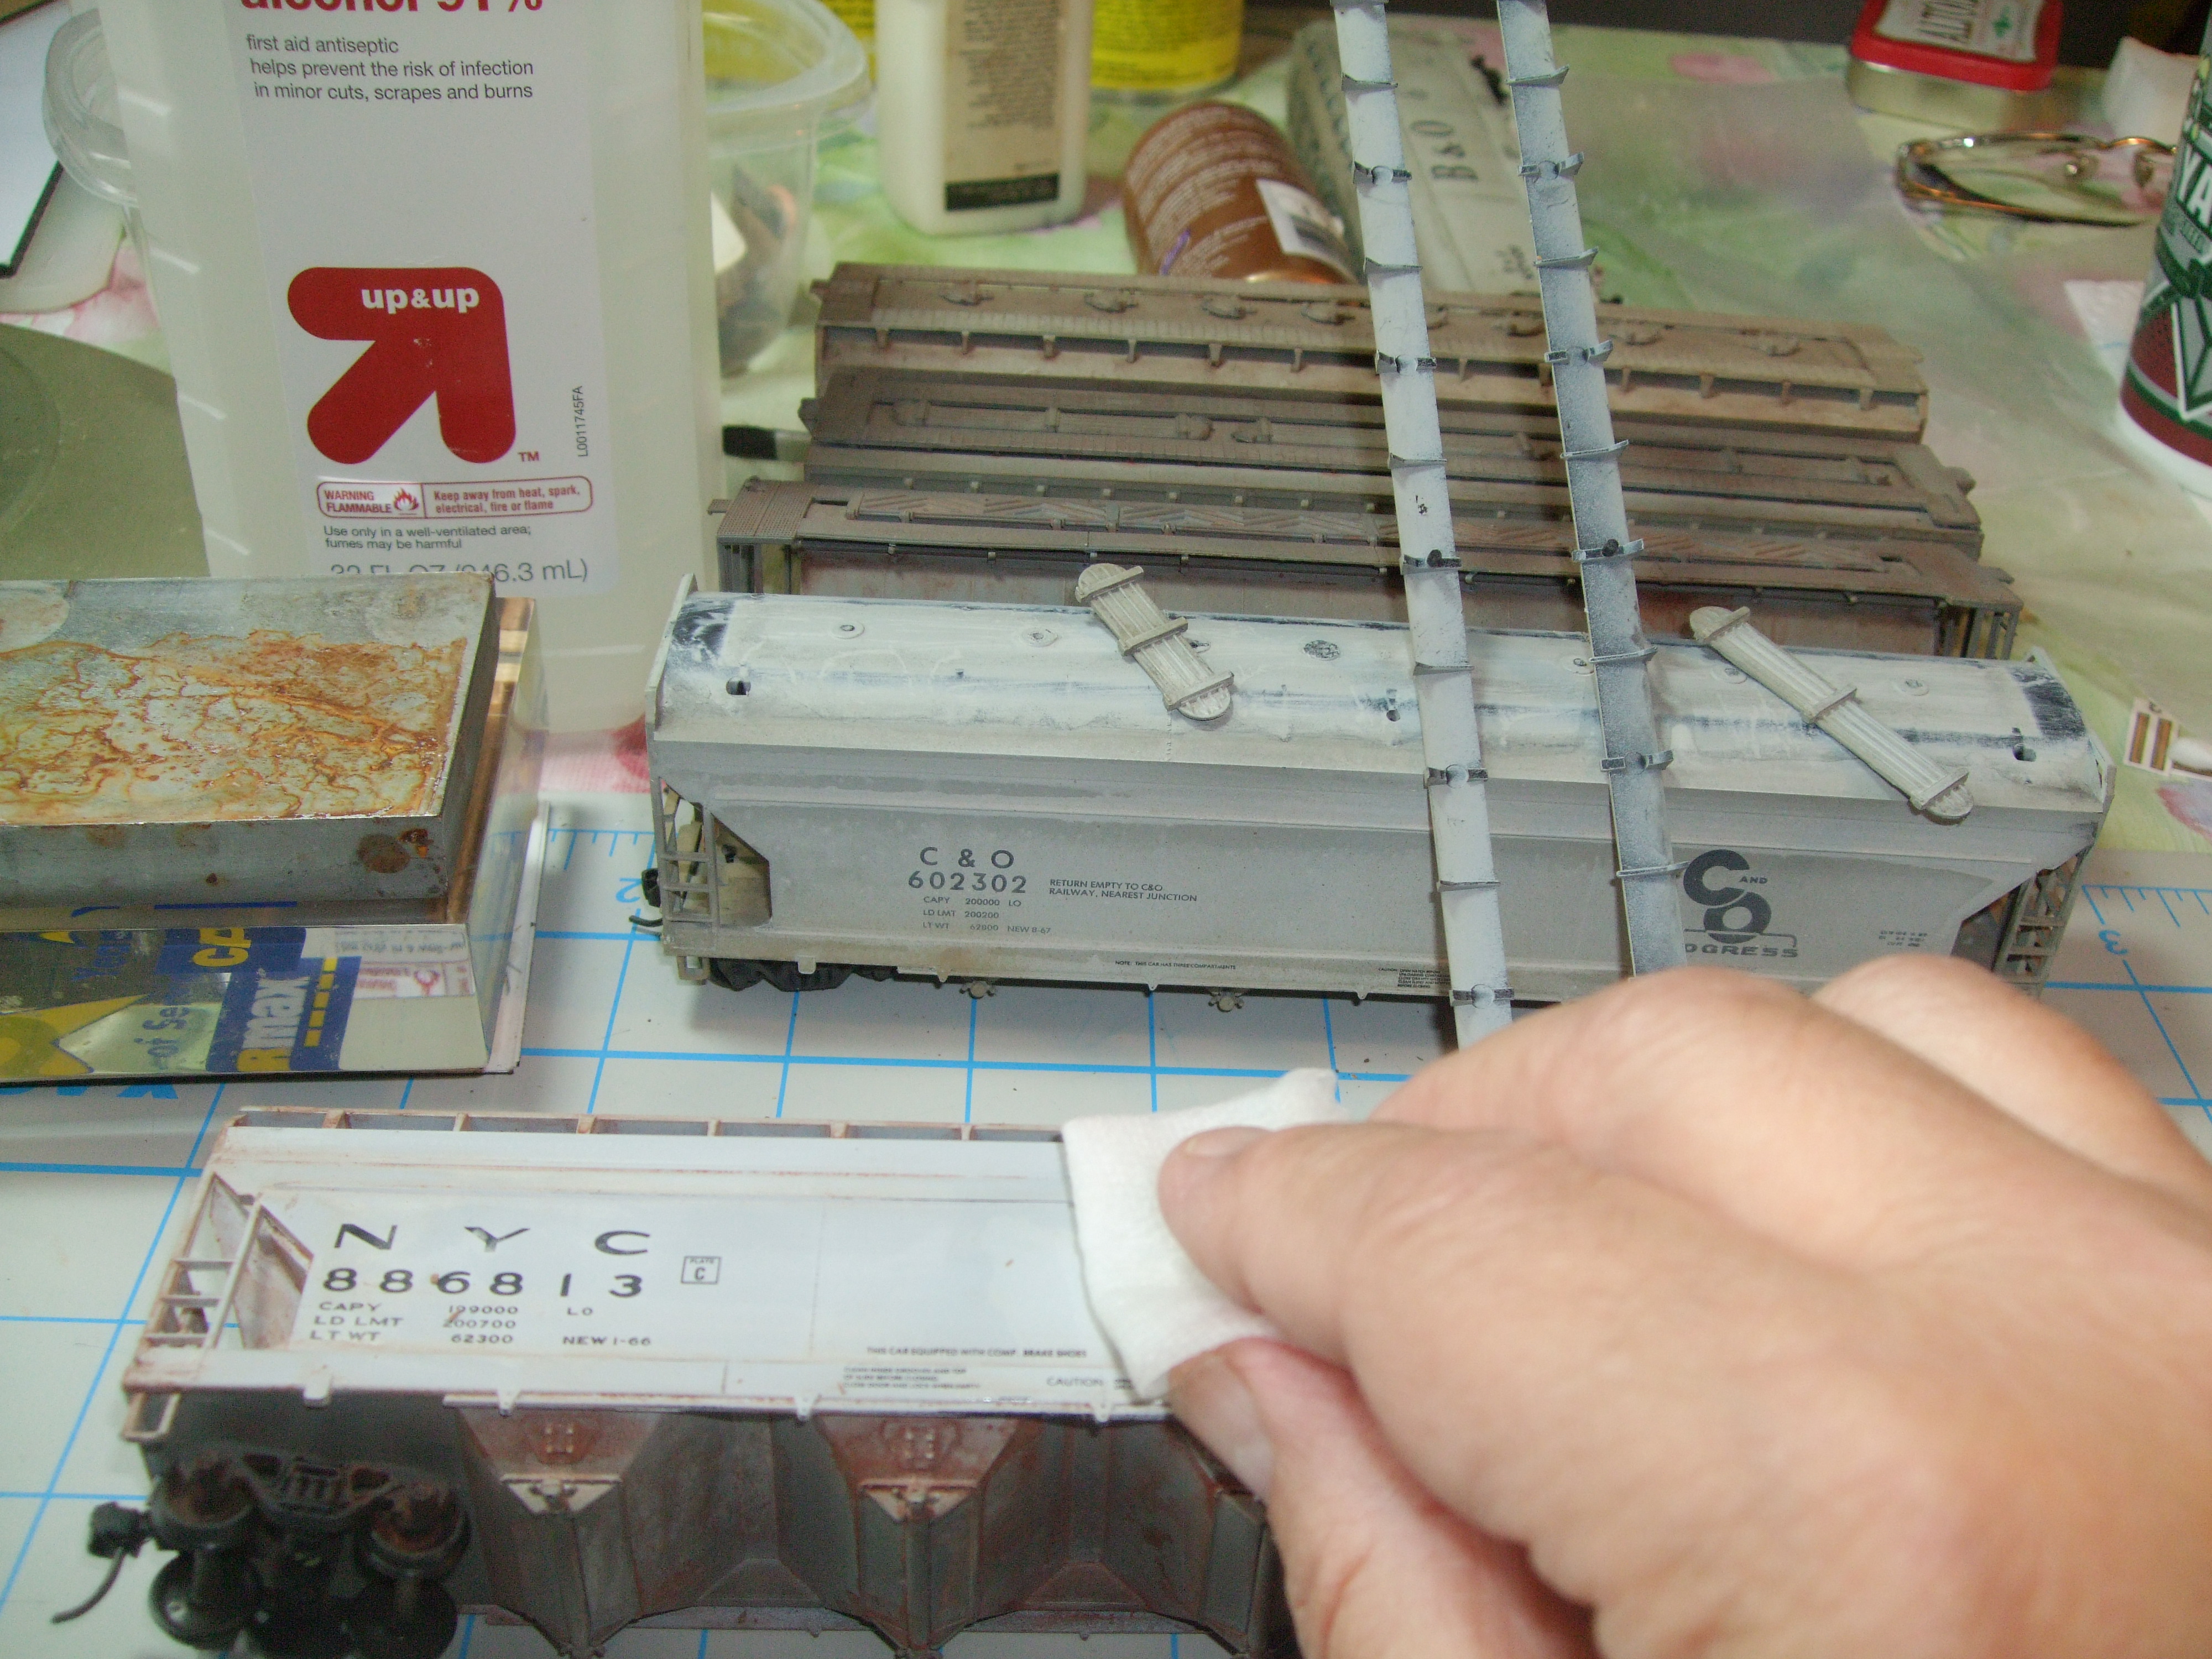
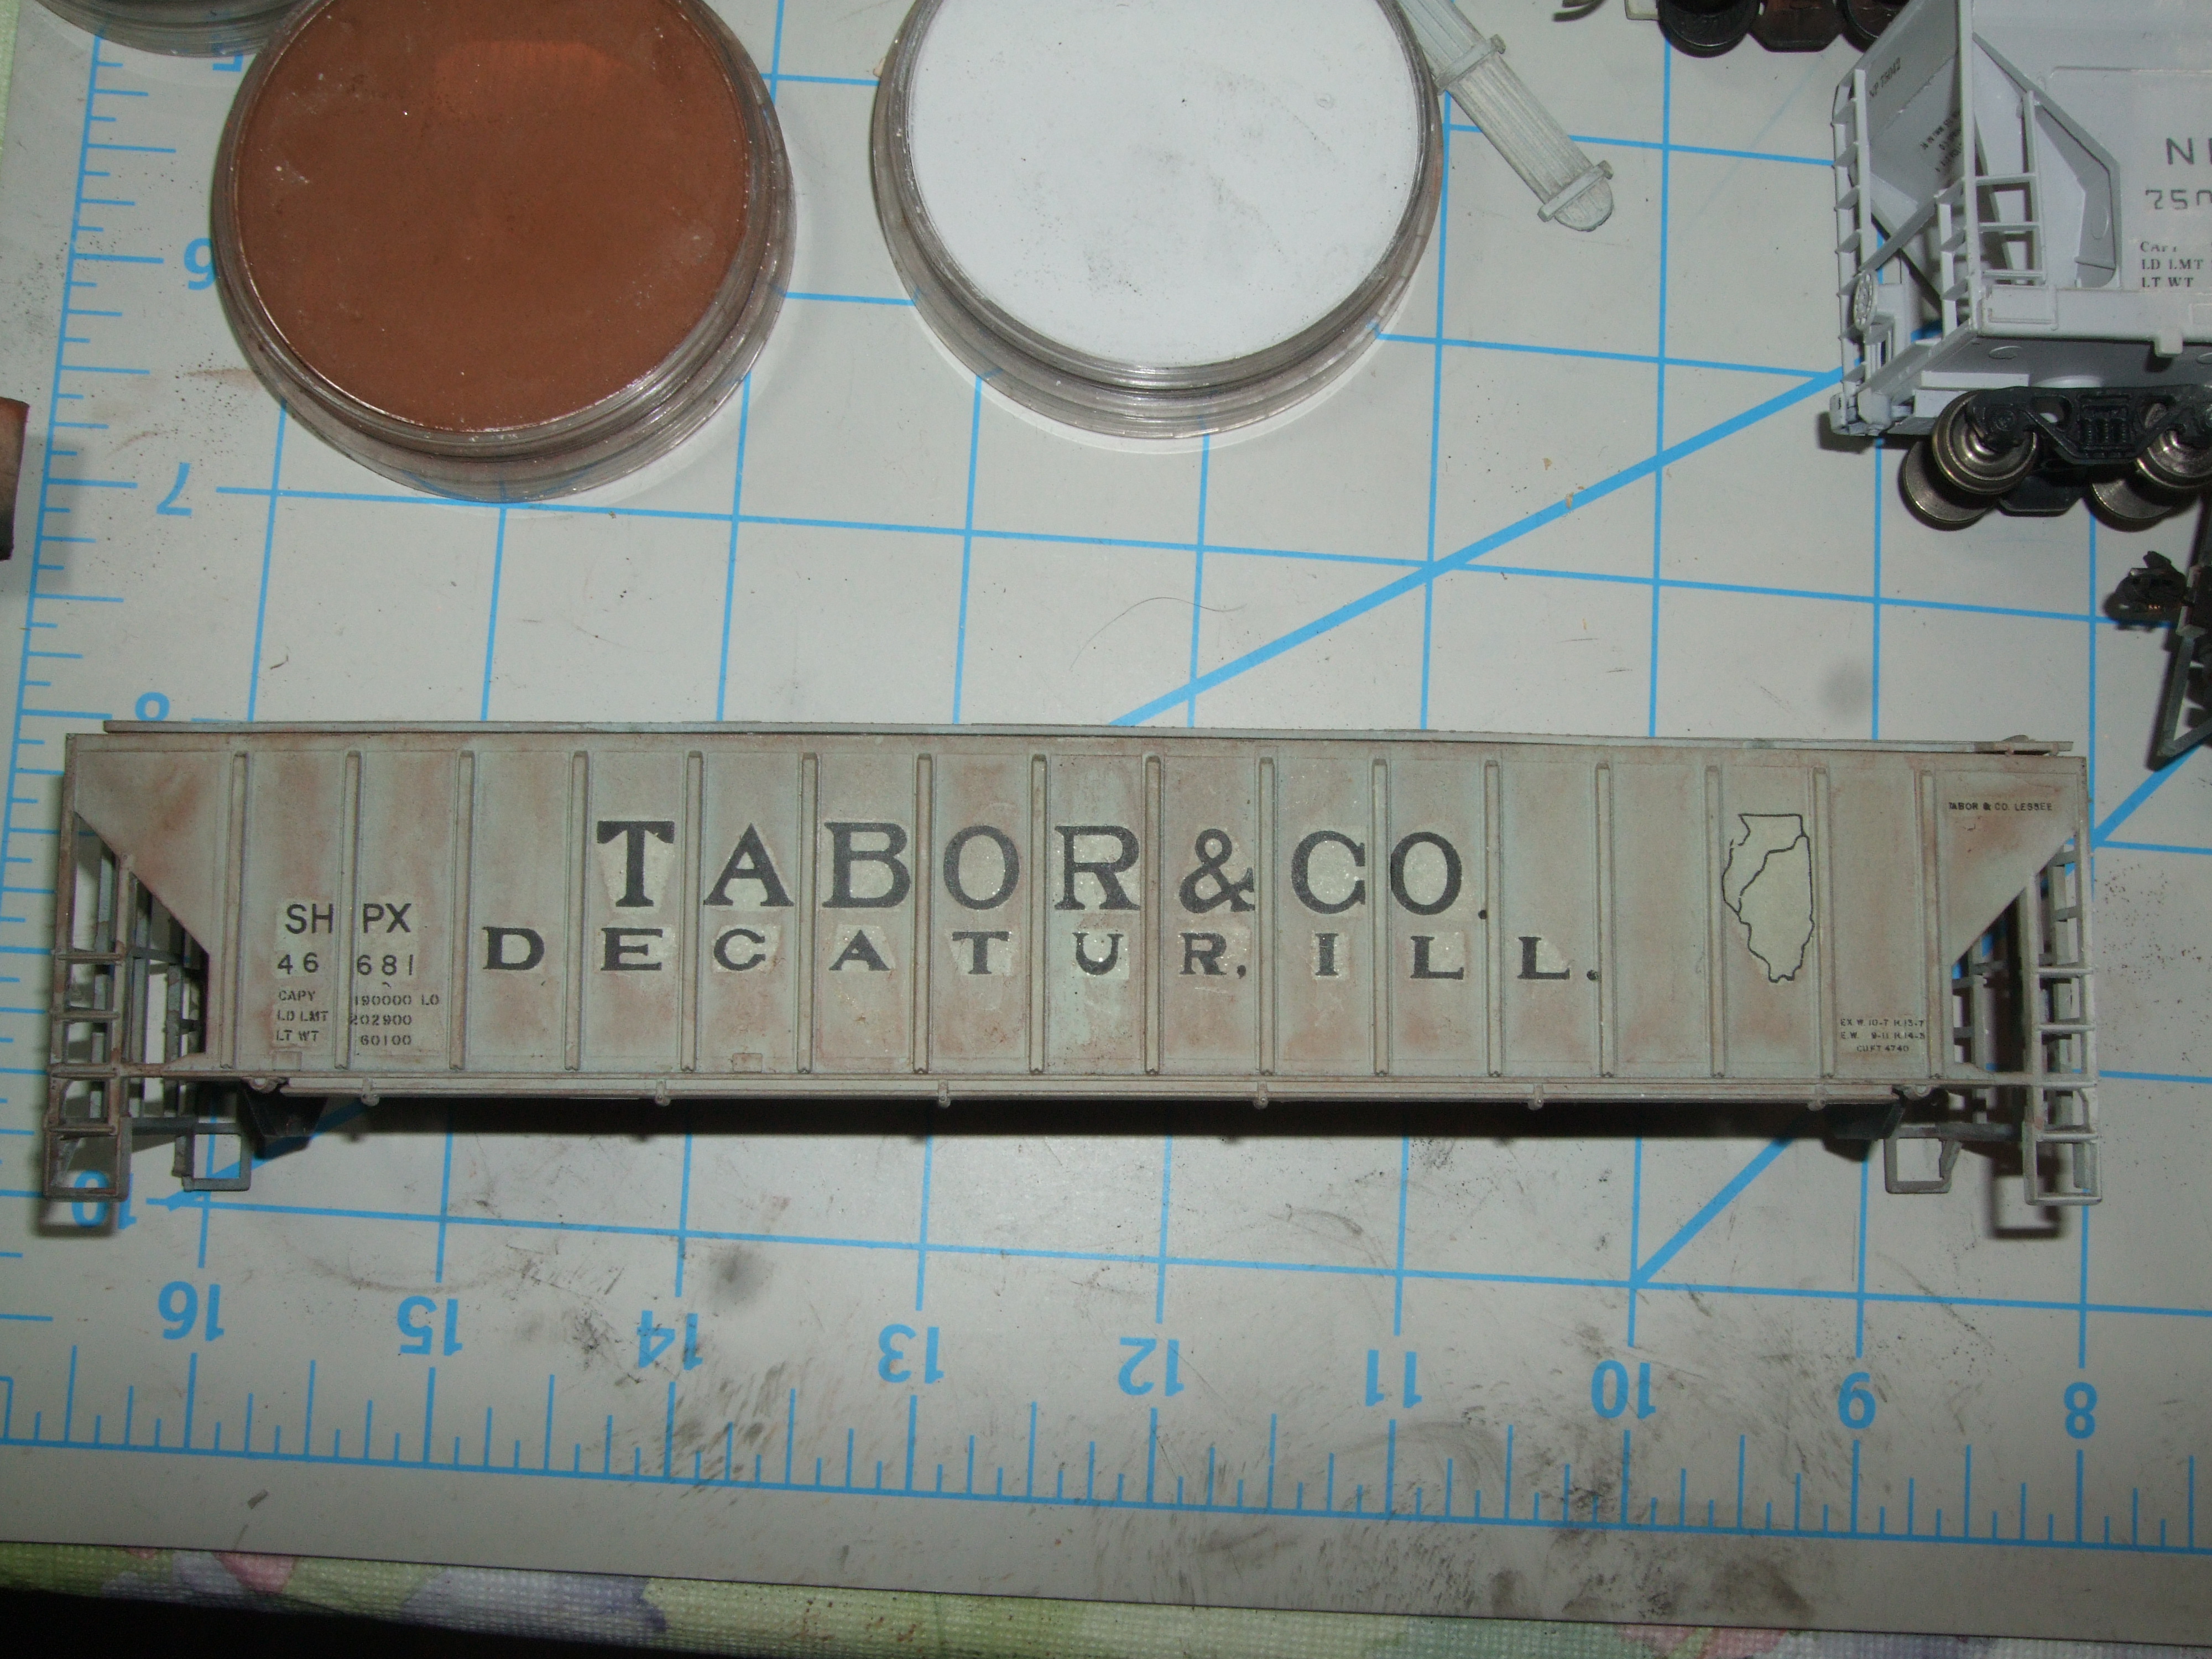
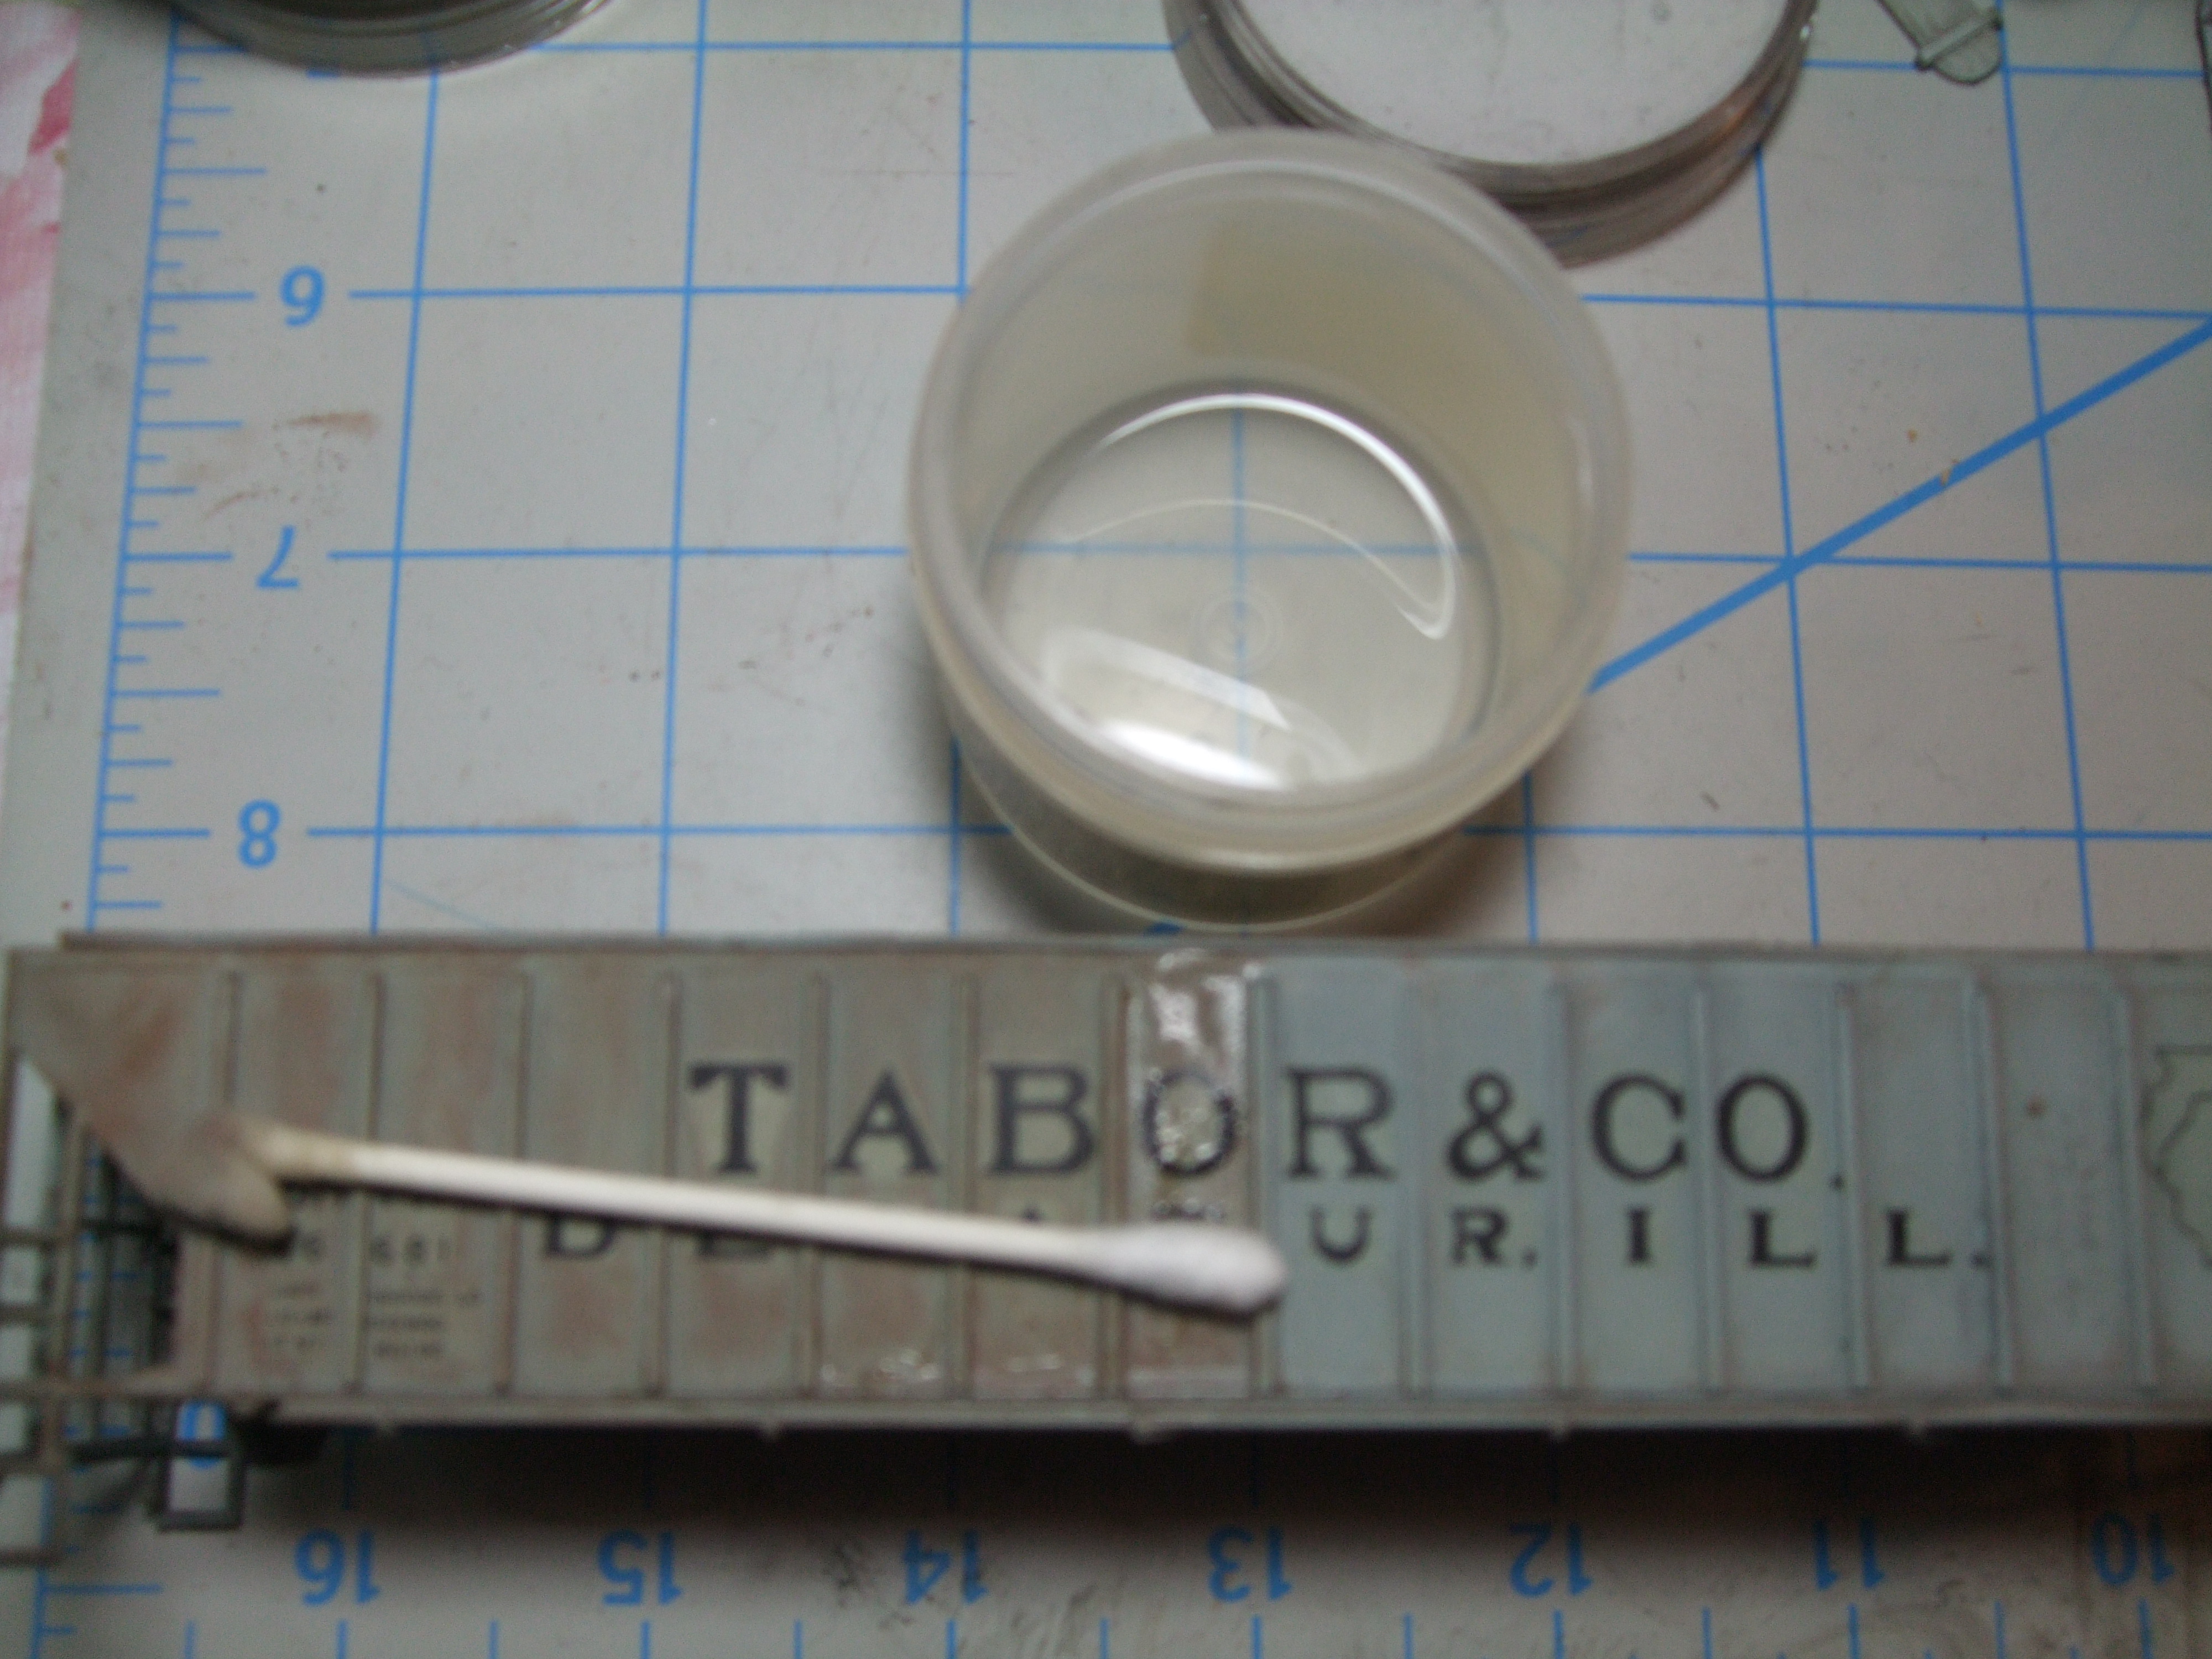
Funner for me is pouring through my acquired data to find that “right” photo in order to model the subject as accurately as possible. Weathering is definitely one of those facets. I’m sure you can build a kit and weather it as realistically as possible by using your imagination and creativity. That’s one of the elements that separates a good model from a great model. Having that extra dimension of accuracy is what makes the model truly a work of art. Well that’s my opinion. 

In order to make a detailed model unique and an exact representation of reality I have turned to building resin cast models. Unlike plastic models that may represent a type of generic car, these kits are exact. They’re usually more detailed and require a higher level of skills and tools. I was a fan of these kits but I felt I lacked the necessary skills to build one of these masterpieces. I did buy a few kits in hopes that I would improve and eventually finish some of these cars one day. 

SPOILER ALERT: I did. 

Read more

Thorsten Ströver Weathering Article

Thorsten Ströver’s article in the April 2017 issue of German magazine Eisenbahn Kurier features PanPastel for weathering. The 6 page article shows many of the techniques that Thorsten uses with PanPastel. Even if you don’t speak German, the images speak for themselves and showcase the realistic weathering effects that Thorsten was able to successfully achieve.

Note: for readers of US magazine “Model Railroader” – Thorsten is featured in the Trackside Gallery in the August 2017 issue.

Read more

Using White Pearl Mediums

Pearl WHITE Pan Group
Here are some simple techniques for using the new PanPastel Pearl Medium White (Fine) 011:

C:\Documents and Settings\Owner\My Documents\3_PanPastel_Weathering_Article\BLOG\SPARKLE_PEWTER BLOG\Reefer_PaynesGray.jpg

Apply PanPastel Neutral Grey 820.5 with Sofft Mini Applicator to represent weathered wood running board and hatches.

WP_20160217_21_35_55_Pro.jpg

PanPastel Neutral Grey 820.5 on wood running boards and platforms. Orange sides of reefer faded with Yellow Ochre Shade 270.3.

Simulate ice and brine damage on upper corner and drain above truck and wheels using Pearl Medium White Fine 011.

Other uses for White Pearl Fine and Coarse would be white caps on marine dioramas, waterfronts and rivers. I have a small diorama my wife, Bev, built for her covered bridge model. I plan on adding “water” to the creek and using the Pearl White Fine and Coarse 012 to create waves or foam on the top of the water. I’ll cover this in detail when I show you, in a future post, how to use PanPastel® for scenery construction.

~ Rob Manley

Showcase – Jeremey Janzen

SP cab forward 4292 was weathered starting with initial washes of Testors enamel paints followed by PanPastel Colors.   

20160724_113649

View from the Fireman’s side of 4292 as it awaits servicing

20160724_150758

 4292 on the turntable

20160724_150832

Front of 4292

20160724_150927

Roof shot of 4292

20160724_151022

4292 leaving the turntable

Photos were taken at an engine facility modeled by James Lynch, Jr   My website is http://www.janzenfamilytrains.com/


Structures

I really haven’t covered structures in my blogs. They are, in my opinion, one of the most important elements in model railroading. They are the setting for the trains we detail and weather. One of my favorite structures in the railroad realm is the country grain elevator. I have a nice collection of 35mm slides that I took starting in the seventies. I am sure many of these “Country Skyscrapers” are now gone. One of the best ways we can recapture those memories is by building a model of them. The model I chose for this portion is the Walthers® corrugated elevator. I primed it with a Light Grey acrylic. Originally meant to be weathered with washes, I procrastinated long enough to discover PanPastel® and use them instead. I am so glad that happened.

DSCF5089.JPG

Weathered with Sofft Sponge Bar and random colors from the PanPastel Rust & Earth set.

Step 1. I started by using my Sofft® Sponge Bar by scrubbing on an overall covering of Burnt Sienna 740.5 and Burnt Sienna Shade 740.3. You have to really push the color into the corrugated grooves. The overall effect is to have the rust in the recesses and the high spots to be slightly polished by the wind. I then used random swipes of Burnt Sienna Tint 740.8, Raw Umber Tint 780.8, Red Iron Oxide Extra Dark 380.1, to name a few. Honestly, I work so fast I barely remember what colors I used. If an area looks too heavily colored I will keep brushing it down with one of my Sofft® Sponge Bars. If I want to tone it down further, I use the PanPastel Colorless Blender 010 as seen on the roof panel. The Colorless Blender will soon become one of your most used “Un-Colors”. It can also be used as a primer for lighter colors.

WP_20160217_21_52_21_Pro.jpg

Step 2. Next any stray excess color was blown off and a paper towel was used to lightly wipe the excess on the raised corrugations. This allowed the Pewter 921.5 and Silver 920.5 to accent the high spots as in real life. I then used the flat spongy side of the block to add the final overlay of Silver. This side took less than 5 minutes. Structures are not handled like rolling stock so a flat finish (spray) is rarely needed.

Elevator_BrushingSilver

Step 3. Add silver and Pewter to tops of corrugations.

Well, as always, it’s been fun sharing more techniques with you. I have more projects in mind to post about in the near future. ~ Rob Manley

Using Metallic Colors & Giveaway

WP_20160217_22_03_16_Pro.jpg

“All That Glitters”

I’ve had these PanPastel® Metallic Colors for a while and I always thought they looked pretty cool. Lots of potential. A little hard to write about. I guess it is because they are more subtle than the other colors we use in weathering our models. Now, I didn’t make an immediate reference to my obsession with freight car modeling. By models I mean the plastic kits that most of us started with like Revell planes, Monogram cars and Sci-fi kits.

There are 6 PanPastel Metallic Colors:

910.5 Light Gold
911.5 Rich Gold
920.5 Silver
921.5 Pewter
930.5 Bronze
931.5 Copper

The colors have some interesting properties; they can add highlights to a model that add that “human” touch. A realistic sign that miniature folks left their mark on the model. Metal can show signs of rust, mud and dirt; it can also show signs of wear. Paint fails down to the metal when rubbed or gouged. This can be easily simulated with the swipe of a Sofft Tool®.

Let’s talk about the Silver and Pewter first. In a previous post I described the weathering of exposed galvanized sheet metal on boxcar roofs. The technique can also be used for structure roofs, corrugated sides like grain elevators, truck or trailer cargo areas.

Read more

Modeling is Real with Fade Away

DSCF4893

We are going to cover a much talked about subject, fading.  This is the effect of the sun on real prototype paint which causes the color to change to a lighter shade or in some cases “pink out”.

Soot and dirt will make some colors go much darker, in the case of the Burlington’s 1958 chinese red boxcars that look almost boxcar brown when viewed in the late 70’s. This I know because it’s the railroad I model and I have a color chip painted with the exact formula of Dupont ®paint. The cars I saw were in a scrap line at Chicago’s Metron Steel almost 30 years ago with my friend Dave Sarther and his son Davie.  I couldn’t believe the overall change in its hue when we hiked up to their boxcar purgatory. I picked a sharp rock and scraped a patch on the side of the car and amazingly the familiar orangey-red color appeared.  This type of fade would be simulated with a wipe of PanPastel®  740.3 Burnt Sienna Shade.

DSCF4832

The Cast and Crew of this post…

Equipment painted in the transition era had a mostly lead composition and took quite a while to fade. Locomotives and freight cars painted starting in the late 60’s were required to use a paint or coating using less or no lead. This gave us a different chemical change due to the elements. The colors were also much brighter and varied. Remember the 70’s? My Mom’s house had a fridge that was two-tone brown and around the corner, red and gold foil wall paper in the hall. Those brighter colors like Rock Island Material Service Red, Light (aka. Bankruptcy) Blue, Railbox Yellow, Conrail Blue and BN Green gave us a much wider palette to work with and they faded into some interesting pastel shades. Hey we’re working with PanPastel so this should be easy.

Recently in the model world much of the available rolling stock is now pre-painted and built up.  The manufacturers give us nice paint jobs most of the time but for purists there is room for correction. So for example, I have a group of Burlington open hoppers that are painted Boxcar Red. The actual cars were painted in Mineral Red which had a redder or more orangey tone. I was happy, at the time, to weather them with my airbrush and hope I didn’t notice. Years later with PanPastel in my life, I found  380.3 Red Iron Oxide Shade that looked much closer to the color I wanted. Unlike an airbrush, PanPastel with a small Sofft Tool can get right up to the white lettering without obscuring or covering it.

Read more

Rust

By Rob Manley

“Rust Never Sleeps” It’s better to burn out than it is to rust….
The baby boomer covered hopper edition.
I thought it would be appropriate to borrow an album title from Neil Young. He is a model railroader and a fine musician. Music means a lot to me and I have very intense feelings about it. My favorite radio station is Chicago’s WXRT which plays progressive Rock and has been since the early ‘70s. During a recent “Panic Modeling” attack the week before the “All American Model Railroad Show” in Lagrange Illinois, I had the stereo tuned to 93.1 FM. It was also more convenient than loading up a bunch of CDs. Speaking of convenience, I was in fact weathering with my PanPastel® on the dining room table.

DINING_Table

Hard at work on the dining room table, scrubbing with 90% Isopropyl alcohol and paper towel.

These cars were previously painted, decaled and weathered by another modeler. I used 90% Ispopropyl alcohol, small squares of paper towel and Q-Tips® to scrub the previous wet brush style weathering off. This stripped off some of the Dullcoat and gave a mottled and faded look to the paint. We’re going to re-coat the model with a Model Masters flat finish to prepare for the PanPastel®. (For more about using flat finishes read this post: Preparing to Weather

Some of the paint was enhanced with more PanPastel® Paynes Grey Tint 840.8 (a close enough match). This filled in areas that were damaged during the cleaning. It’s also a method to introduce fading paint to your weathering repertorie. We’ll cover this in more detail in a later blog.

BEFORE_TABR

Before cleaning.

Clean_Tabr

Cleaning with Alcohol and a cotton swab. I feel like the art restoration people. There is some decal blush visible because the decals were applied directly to flat paint. They should always be applied to a glossy finish and flatted later.

AFTR_TABR

After cleaning with the color addition and correction of Paynes Grey Tint 840.8
_________________________________________________________

Our topic of discussion today is rust. It’s a really broad subject and I am going to cover as much as possible in this space.

Read more

Preparing to Weather – Flat Finishes

By Rob Manley

I had a great time at the Amherst Model Train Show back in January this year. I gave a PanPastel® weathering clinic to a full house on Friday and did demos at the PanPastel table for the rest of the weekend. It’s always great to meet the modelers that use PanPastel and those who are interested in trying. The word is definitely out and there are some great examples of really high-end modeling by using PanPastel. What I have to remember is that the product has as much appeal for the novice as for the more experienced user too.

I’ve been using PanPastel since 2009 and sometimes I forget about those starting out in the hobby. So after some soul searching (I should have looked in the back of my sock drawer) we are going back to the beginning…

So why do we modelers weather our stuff? Well in a word, realism. It is also another way to put our personal mark on our models in a hobby that is becoming more “ready to run”. Models have become straight from the box, contest winners, with all the prototype details correctly installed and painted. Some of the time anyway. Weathering is also a great way to hide flaws too.

I saw some great layouts at the show but on some of them I did notice was that the motive power (and most of the train) looked like it rolled from the paint booth. Yep, no weathering. Right from the box and on the rails. So why, does this happen? Well I’m glad I asked that question. Modelers I met at the show who don’t weather gave me some of the answers.

  1. “I can’t weather.”
  2. “I don’t have an airbrush.”
  3. “I’m afraid of wrecking my expensive model.”

All, extremely, valid, points. Well, here are my answers:

To #3 – You can not wreck it with PanPastel because it can be removed/corrected easily.

To #2 – You don’t need an airbrush.

And to #1, that’s OK ‘cause I’ll teach you how I weather.

PanPastel is a great product with an amazing limitless number of uses. It’s easy too. There is really no down side to it as it lasts a really long time. Read more

Degrees of Weathering

“It depends.” My zen-like graphic arts teacher once gave our class the universal answer to everything. That phrase even works on the job and in relationships. It especially works in modeling. The question often posed to me is,” How much should I weather my model?”

“It depends.”

Well what it depends on can be categorized into: time, place and occupation. It has been well written that your model can be like an actor on the stage. When seen, he or she should look and act the part in order to be convincing. After all that’s why that amazing detailing is cast into the model. So one purpose of weathering should be to bring out that detail. Sometimes I’ll use PanPastel to highlight some details on an added part like a brake wheel just to make it pop. You know, more visible. Military modelers use dry-brushing of a white or lighter color on the edges of surfaces just to bring out the highlighting of the sun. The more than 90 colors of PanPastel are great for this too. Think about it. A Yellow or Orange refrigerator car can have highlights of a lighter shade of that color to show the same effect. The sun will fade a color and this is a great way to show variation in a wood side or just tone down the brightness of a freshly painted model.

PP_ReeferDS_V2

The traditional eras of railroad modeling are Early Steam or pre-Depression, Steam Era generally 1930 to 1950, Baby Boomer 1960 to 1980 and The Modern era which takes in a very broad range. The Steam Era is defined by lead based paint on wood cars which weather differently than a modern steel car with a non-lead base paint and let’s not forget graffiti. Like it or not it’s there and does get modeled. Modern cars generally rust more heavily than earlier periods of time.

Read more