By Rob Manley
“Rust Never Sleeps” It’s better to burn out than it is to rust….
The baby boomer covered hopper edition.
I thought it would be appropriate to borrow an album title from Neil Young. He is a model railroader and a fine musician. Music means a lot to me and I have very intense feelings about it. My favorite radio station is Chicago’s WXRT which plays progressive Rock and has been since the early ‘70s. During a recent “Panic Modeling” attack the week before the “All American Model Railroad Show” in Lagrange Illinois, I had the stereo tuned to 93.1 FM. It was also more convenient than loading up a bunch of CDs. Speaking of convenience, I was in fact weathering with my PanPastel® on the dining room table.
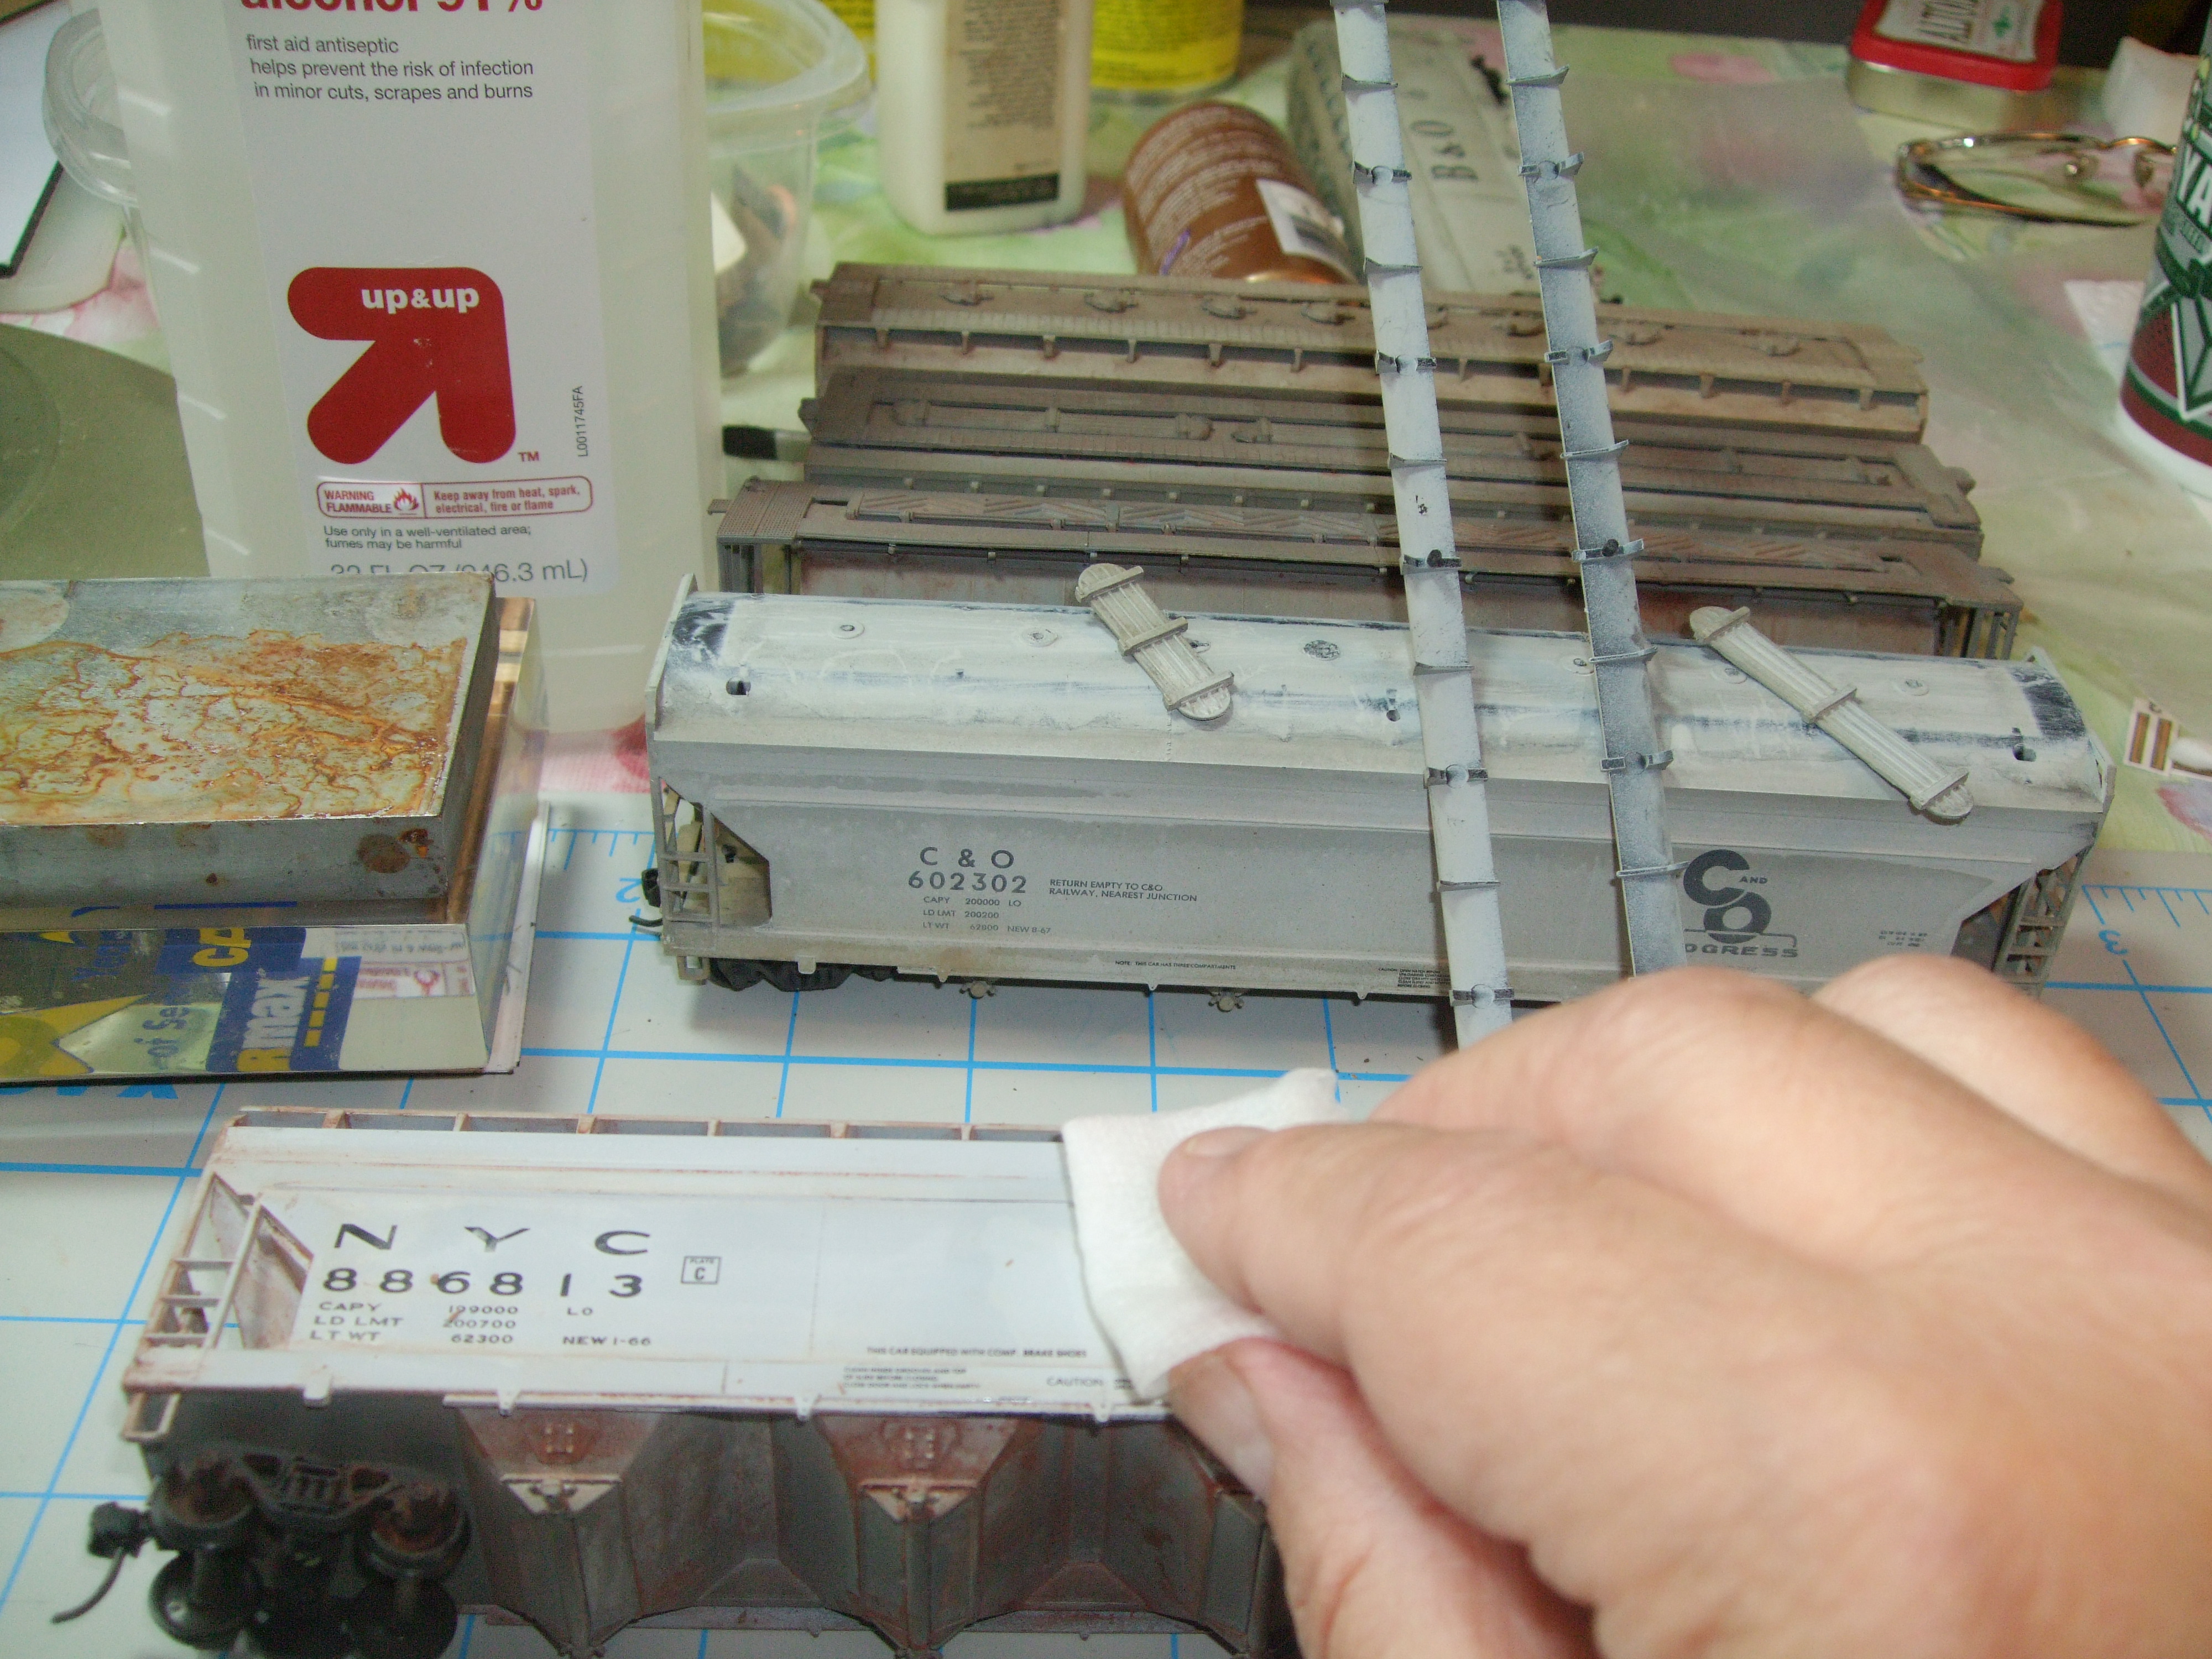
Hard at work on the dining room table, scrubbing with 90% Isopropyl alcohol and paper towel.
These cars were previously painted, decaled and weathered by another modeler. I used 90% Ispopropyl alcohol, small squares of paper towel and Q-Tips® to scrub the previous wet brush style weathering off. This stripped off some of the Dullcoat and gave a mottled and faded look to the paint. We’re going to re-coat the model with a Model Masters flat finish to prepare for the PanPastel®. (For more about using flat finishes read this post: Preparing to Weather
Some of the paint was enhanced with more PanPastel® Paynes Grey Tint 840.8 (a close enough match). This filled in areas that were damaged during the cleaning. It’s also a method to introduce fading paint to your weathering repertorie. We’ll cover this in more detail in a later blog.
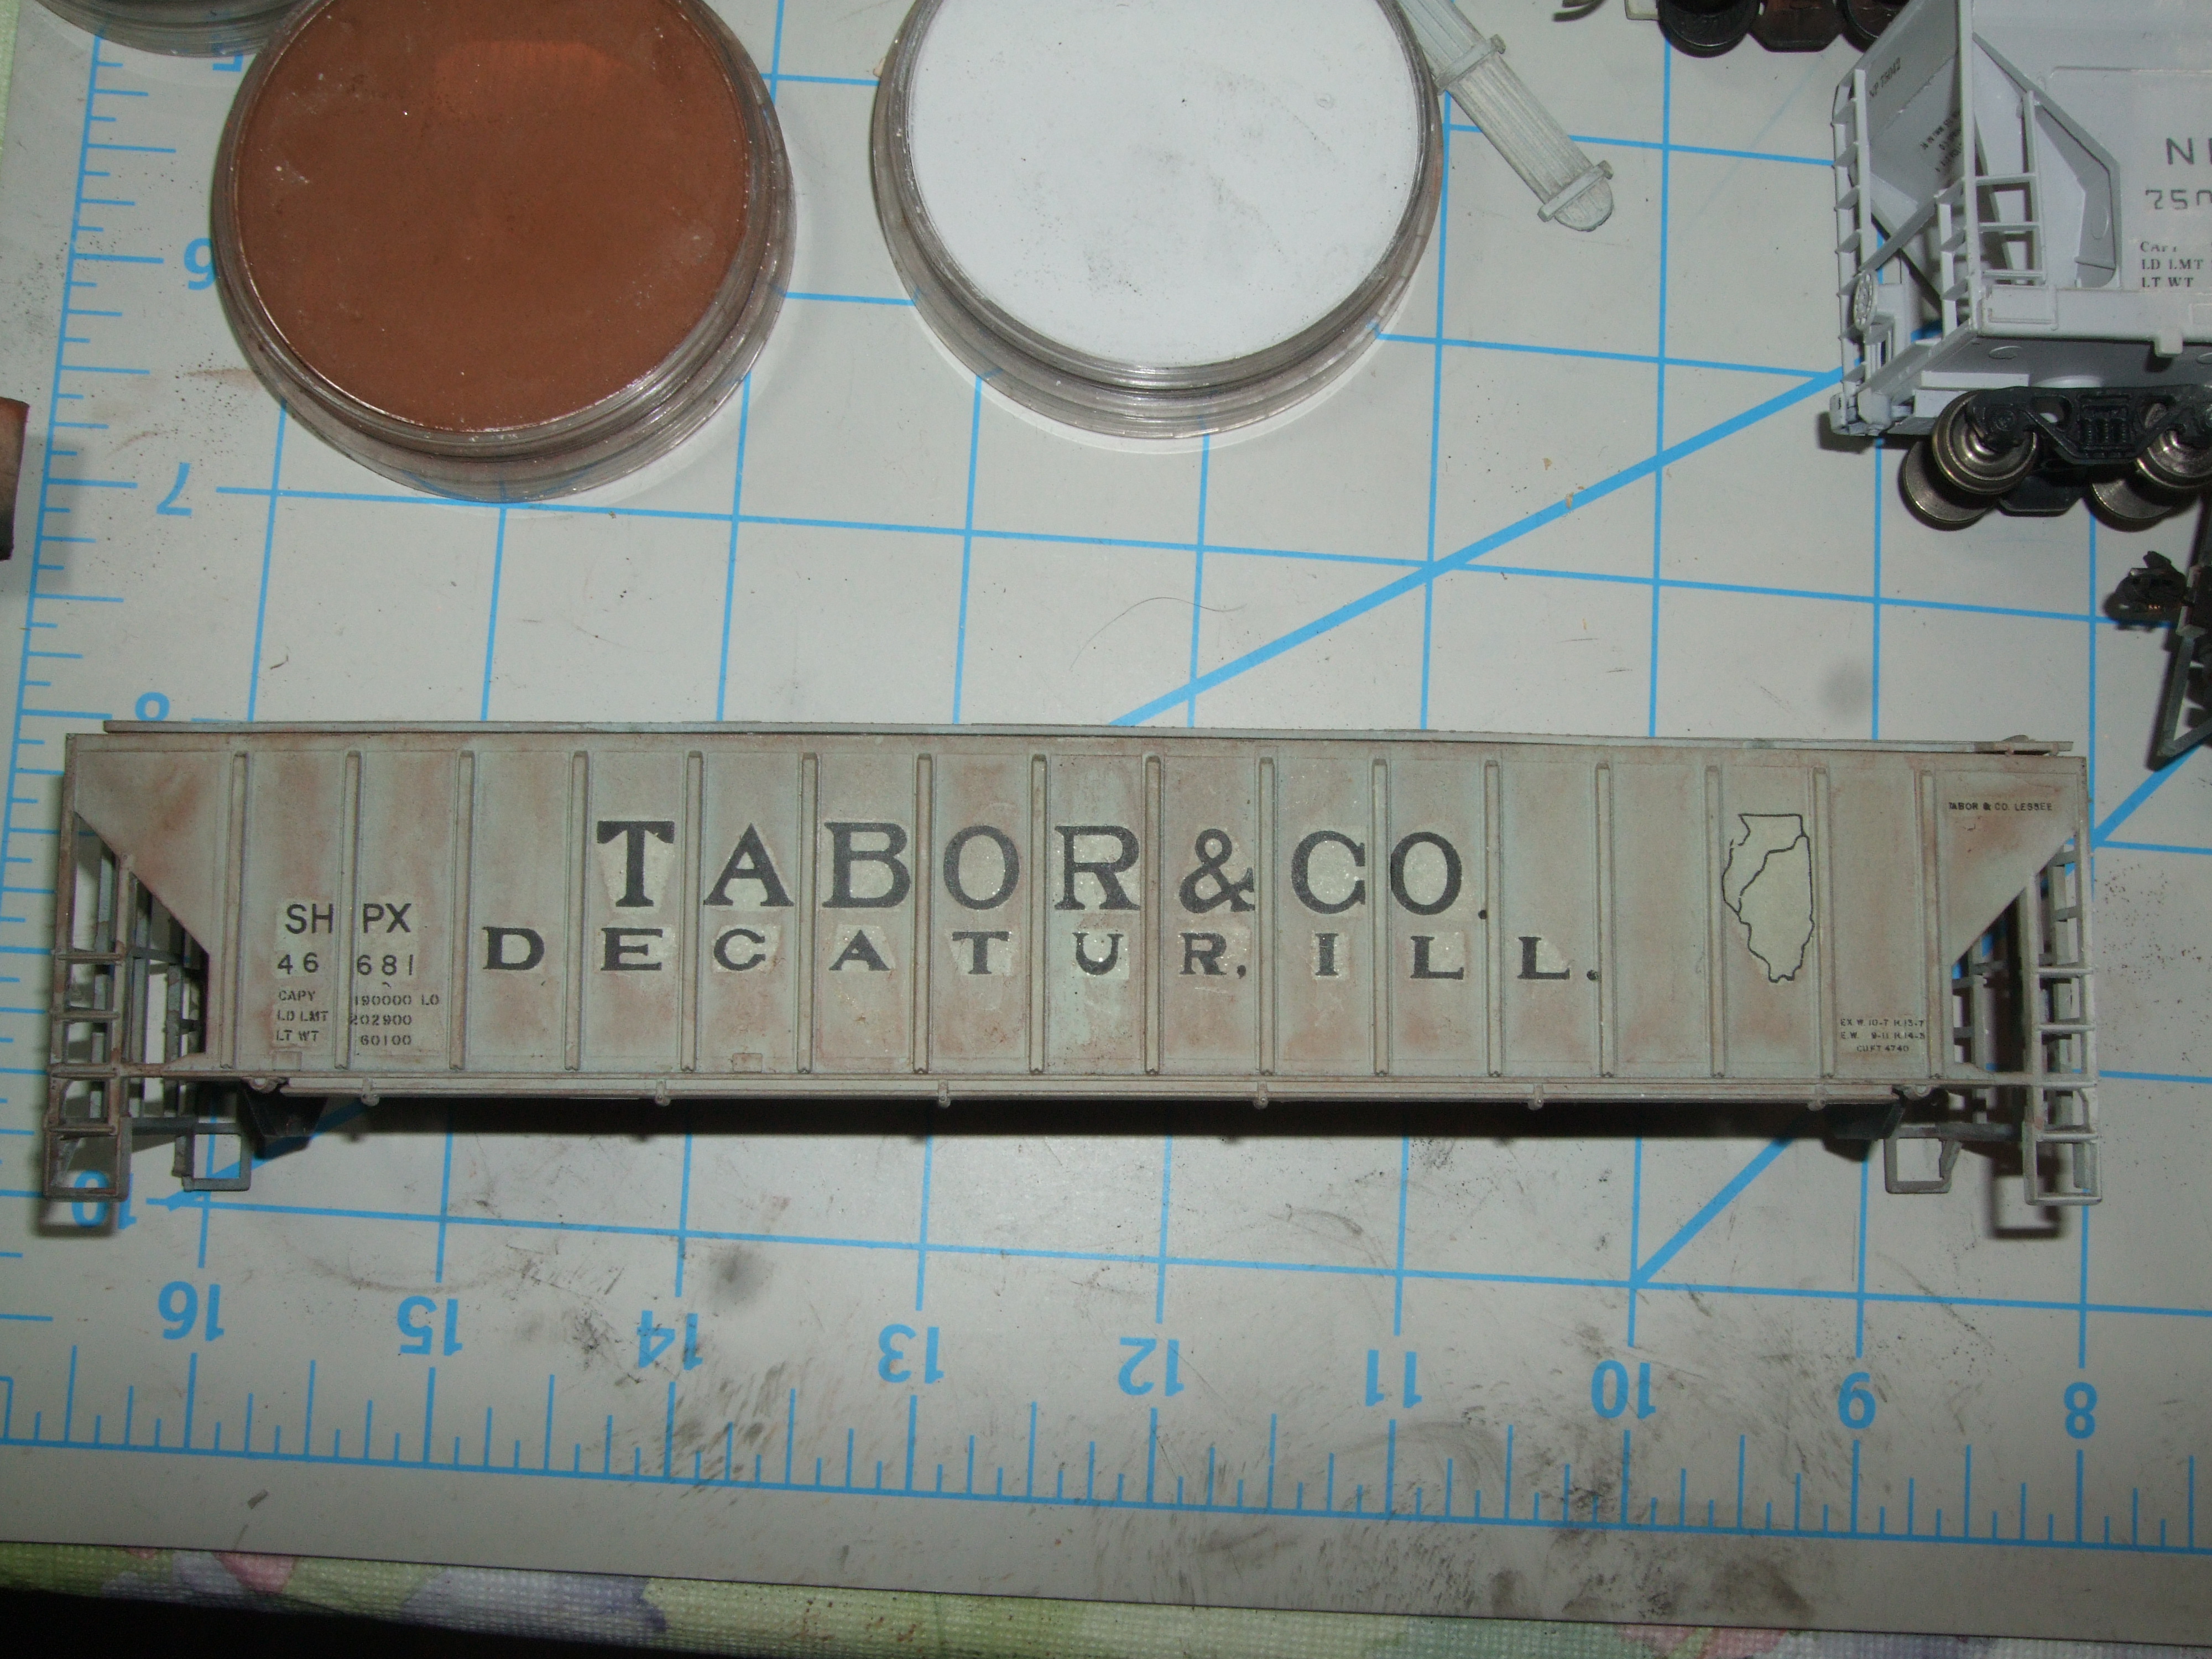
Before cleaning.
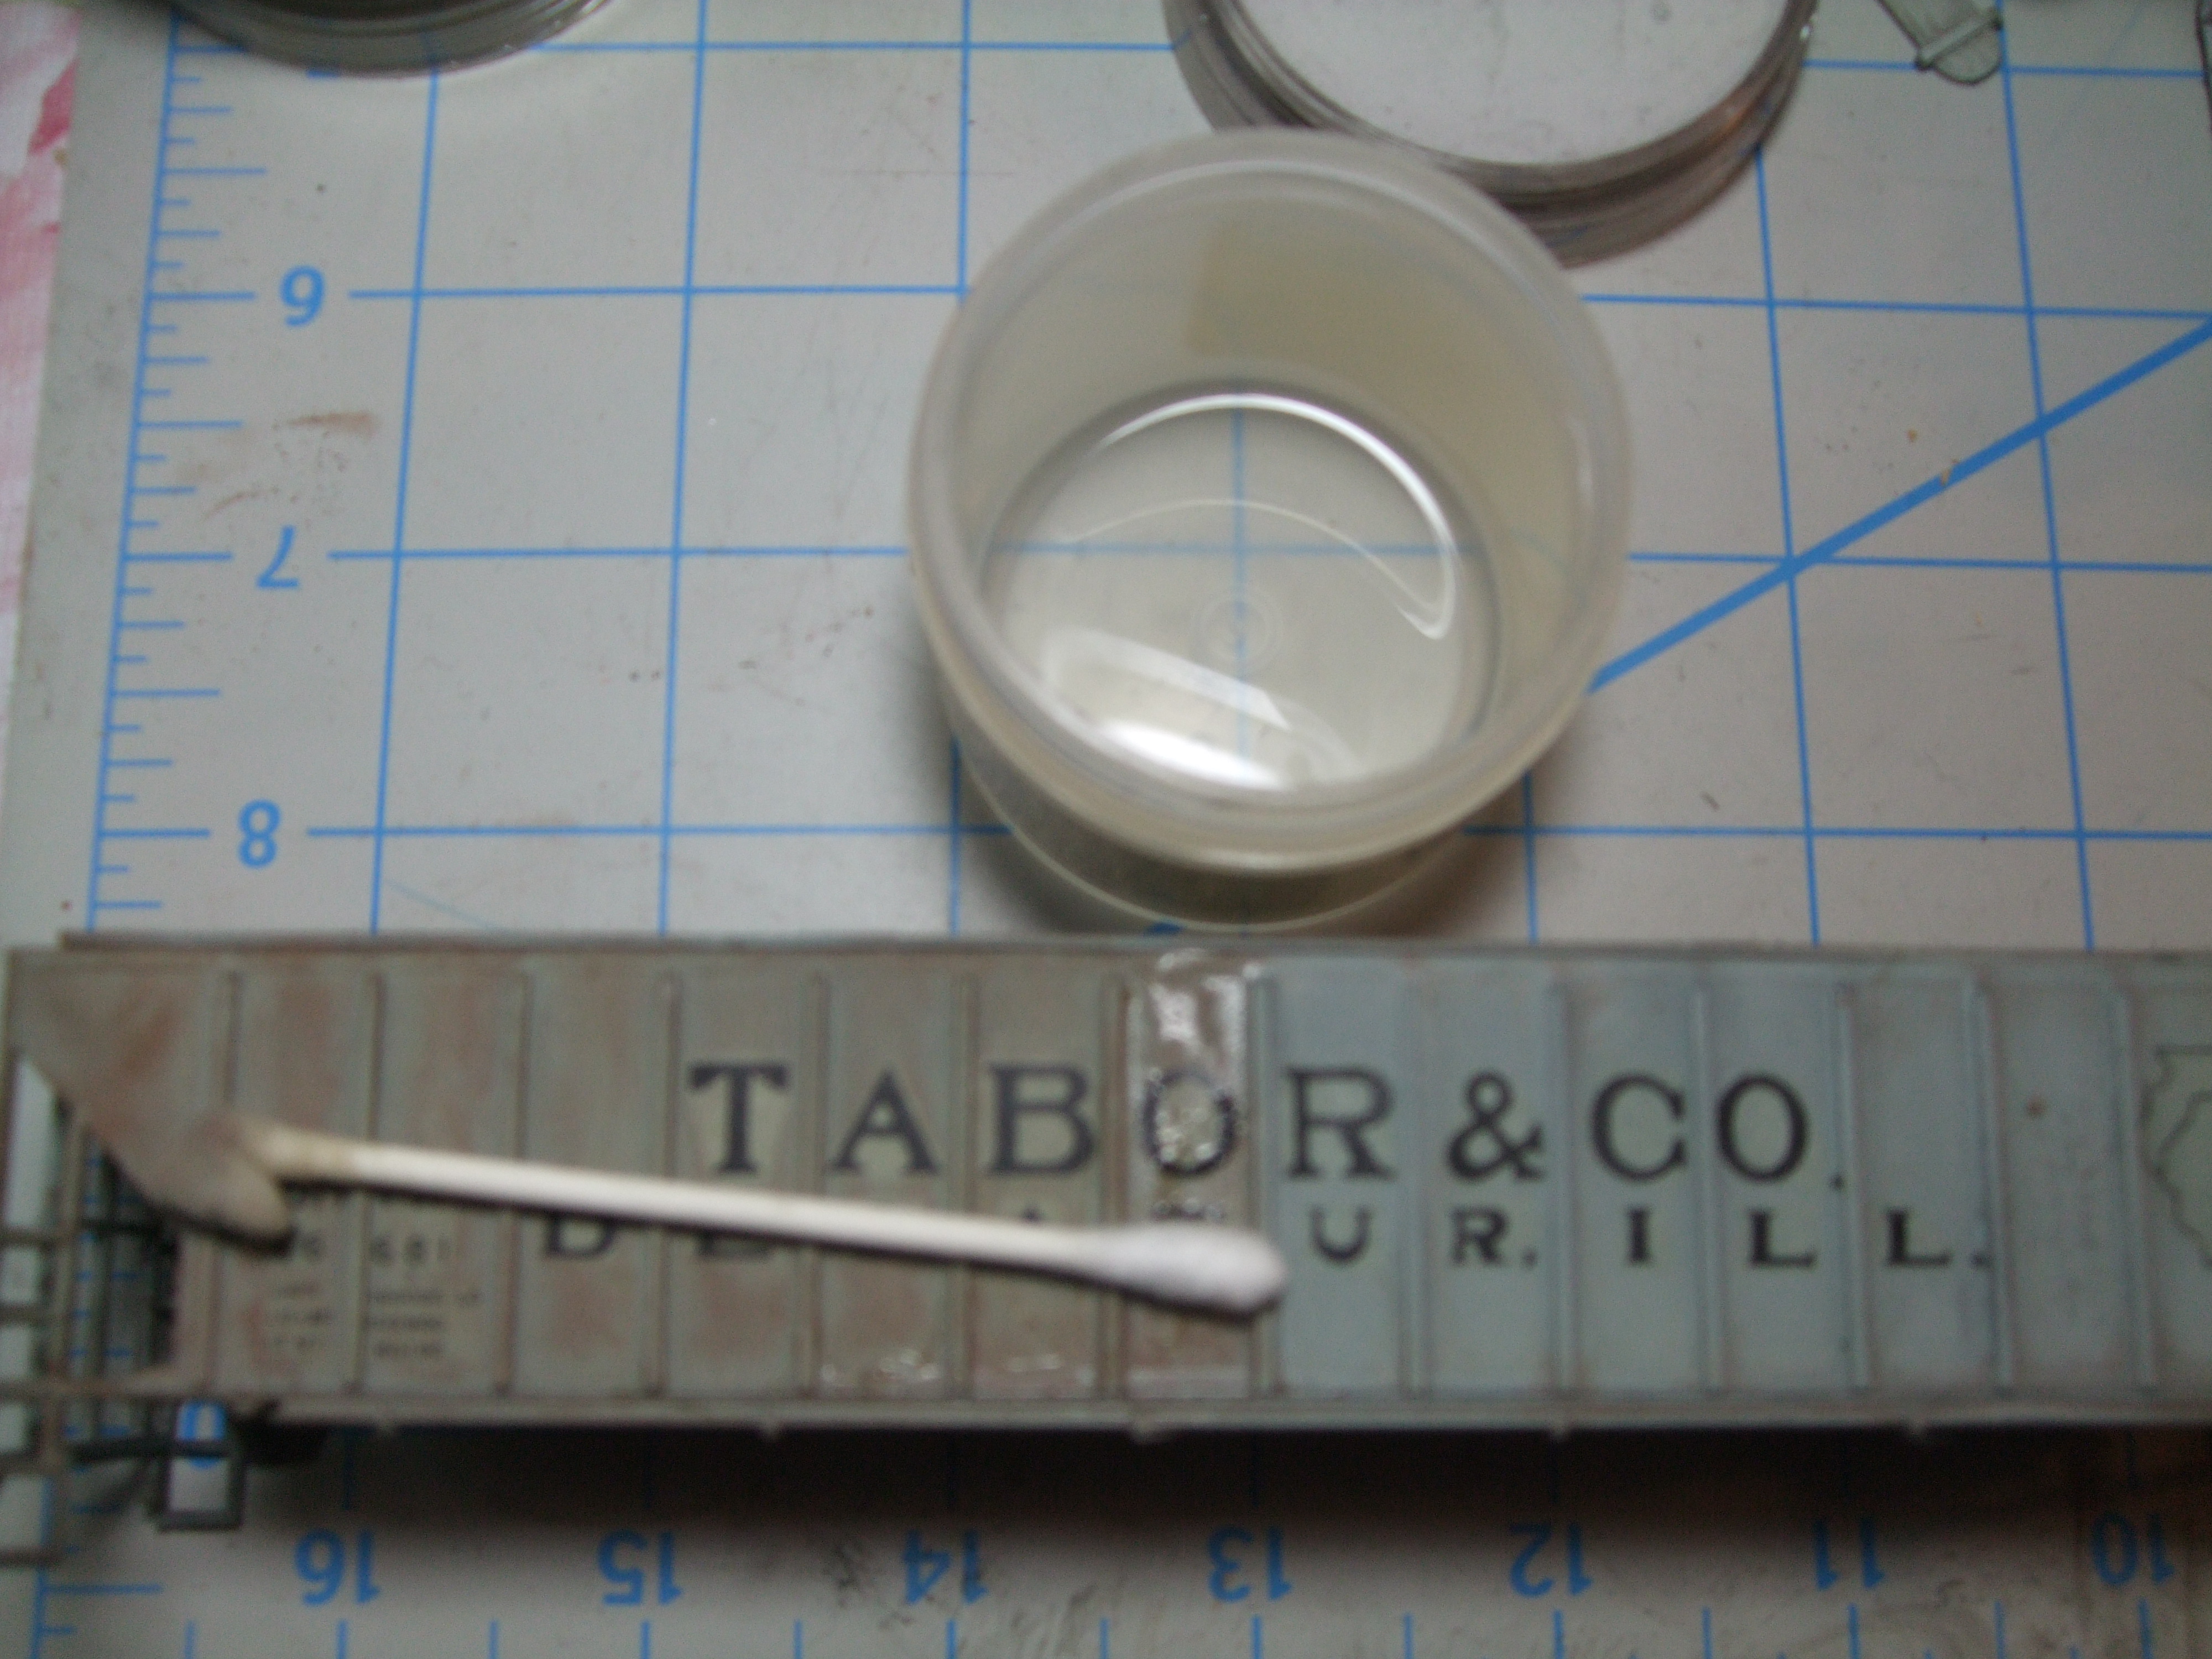
Cleaning with Alcohol and a cotton swab. I feel like the art restoration people. There is some decal blush visible because the decals were applied directly to flat paint. They should always be applied to a glossy finish and flatted later.
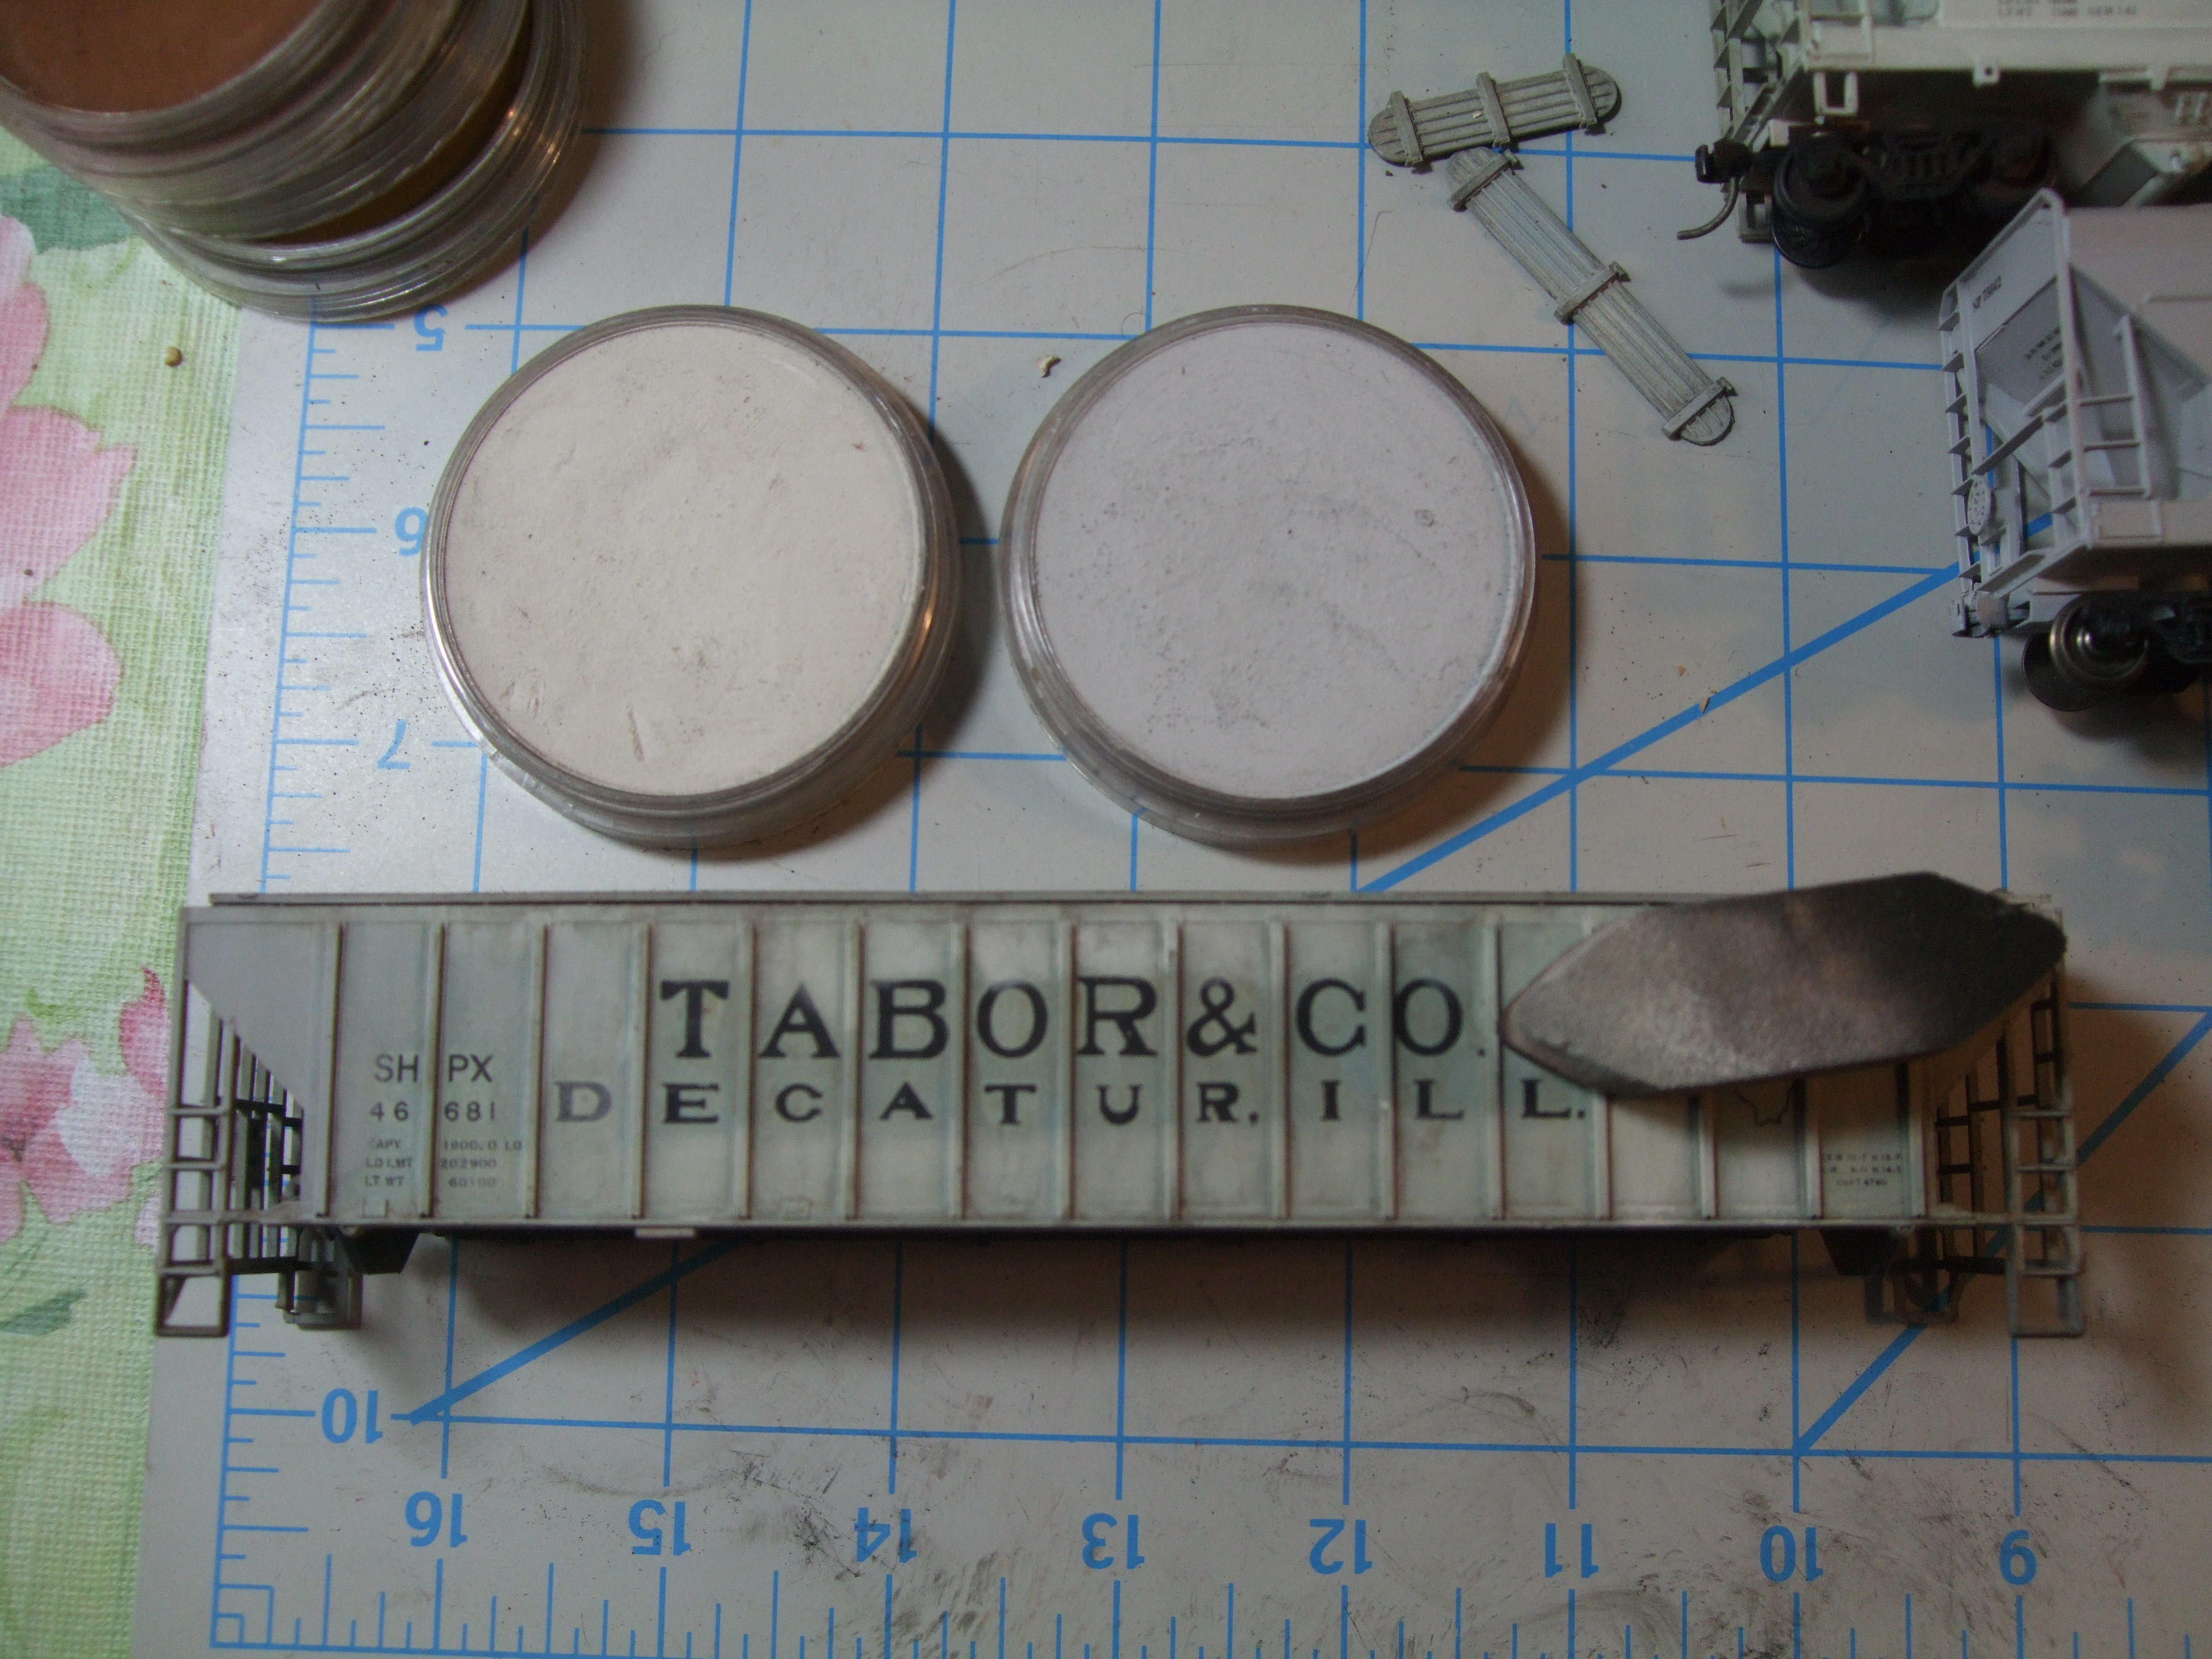
After cleaning with the color addition and correction of Paynes Grey Tint 840.8
_________________________________________________________
Our topic of discussion today is rust. It’s a really broad subject and I am going to cover as much as possible in this space.

The photo above is real rust on a B&O M-53 Wagon Top boxcar at Illinois Railway Museum. Hey, I’m not that good. (Rob Manley photo)
Our models can show many stages of rust and that depends on how old you need to make the model look. Rust will appear fairly quickly on unprotected metal. A good example is a brake rotor on a car that has been sitting undisturbed in a wet environment. That will show as a lighter color orange cast. Rust can go to an extreme dark brown and look like the model is ready for the scrap heap, those can be the most fun. I have also seen examples of unrealistic, over-weathering on models. Some of the best examples of great weathering have been by the military modelers. The trick is to make the models look like they actually rusted and not like they were brush painted. Floquil has a color called “Rust” and is best used in tiny amounts and not slopped all over the model with abandon. Yes I saw a boxcar on e-bay that looked like that color was applied with a mop. Just because it is named something else doesn’t mean you can’t use it. We are using the art world’s terms not ours. If it looks like there is yellow or orange in the photo you are working with, then use those colors. You can correct it or work another color on top of it.
With PanPastel® we use a variety of earth tones to simulate rust and they are the basic building block colors in the “Rust and Earth” set. Briefly the colors are in the Burnt Sienna, Raw Umber and Red Iron Oxide family of Shades and tints. You can see the colors on modelingcolors.com for examples if you don’t have the set.
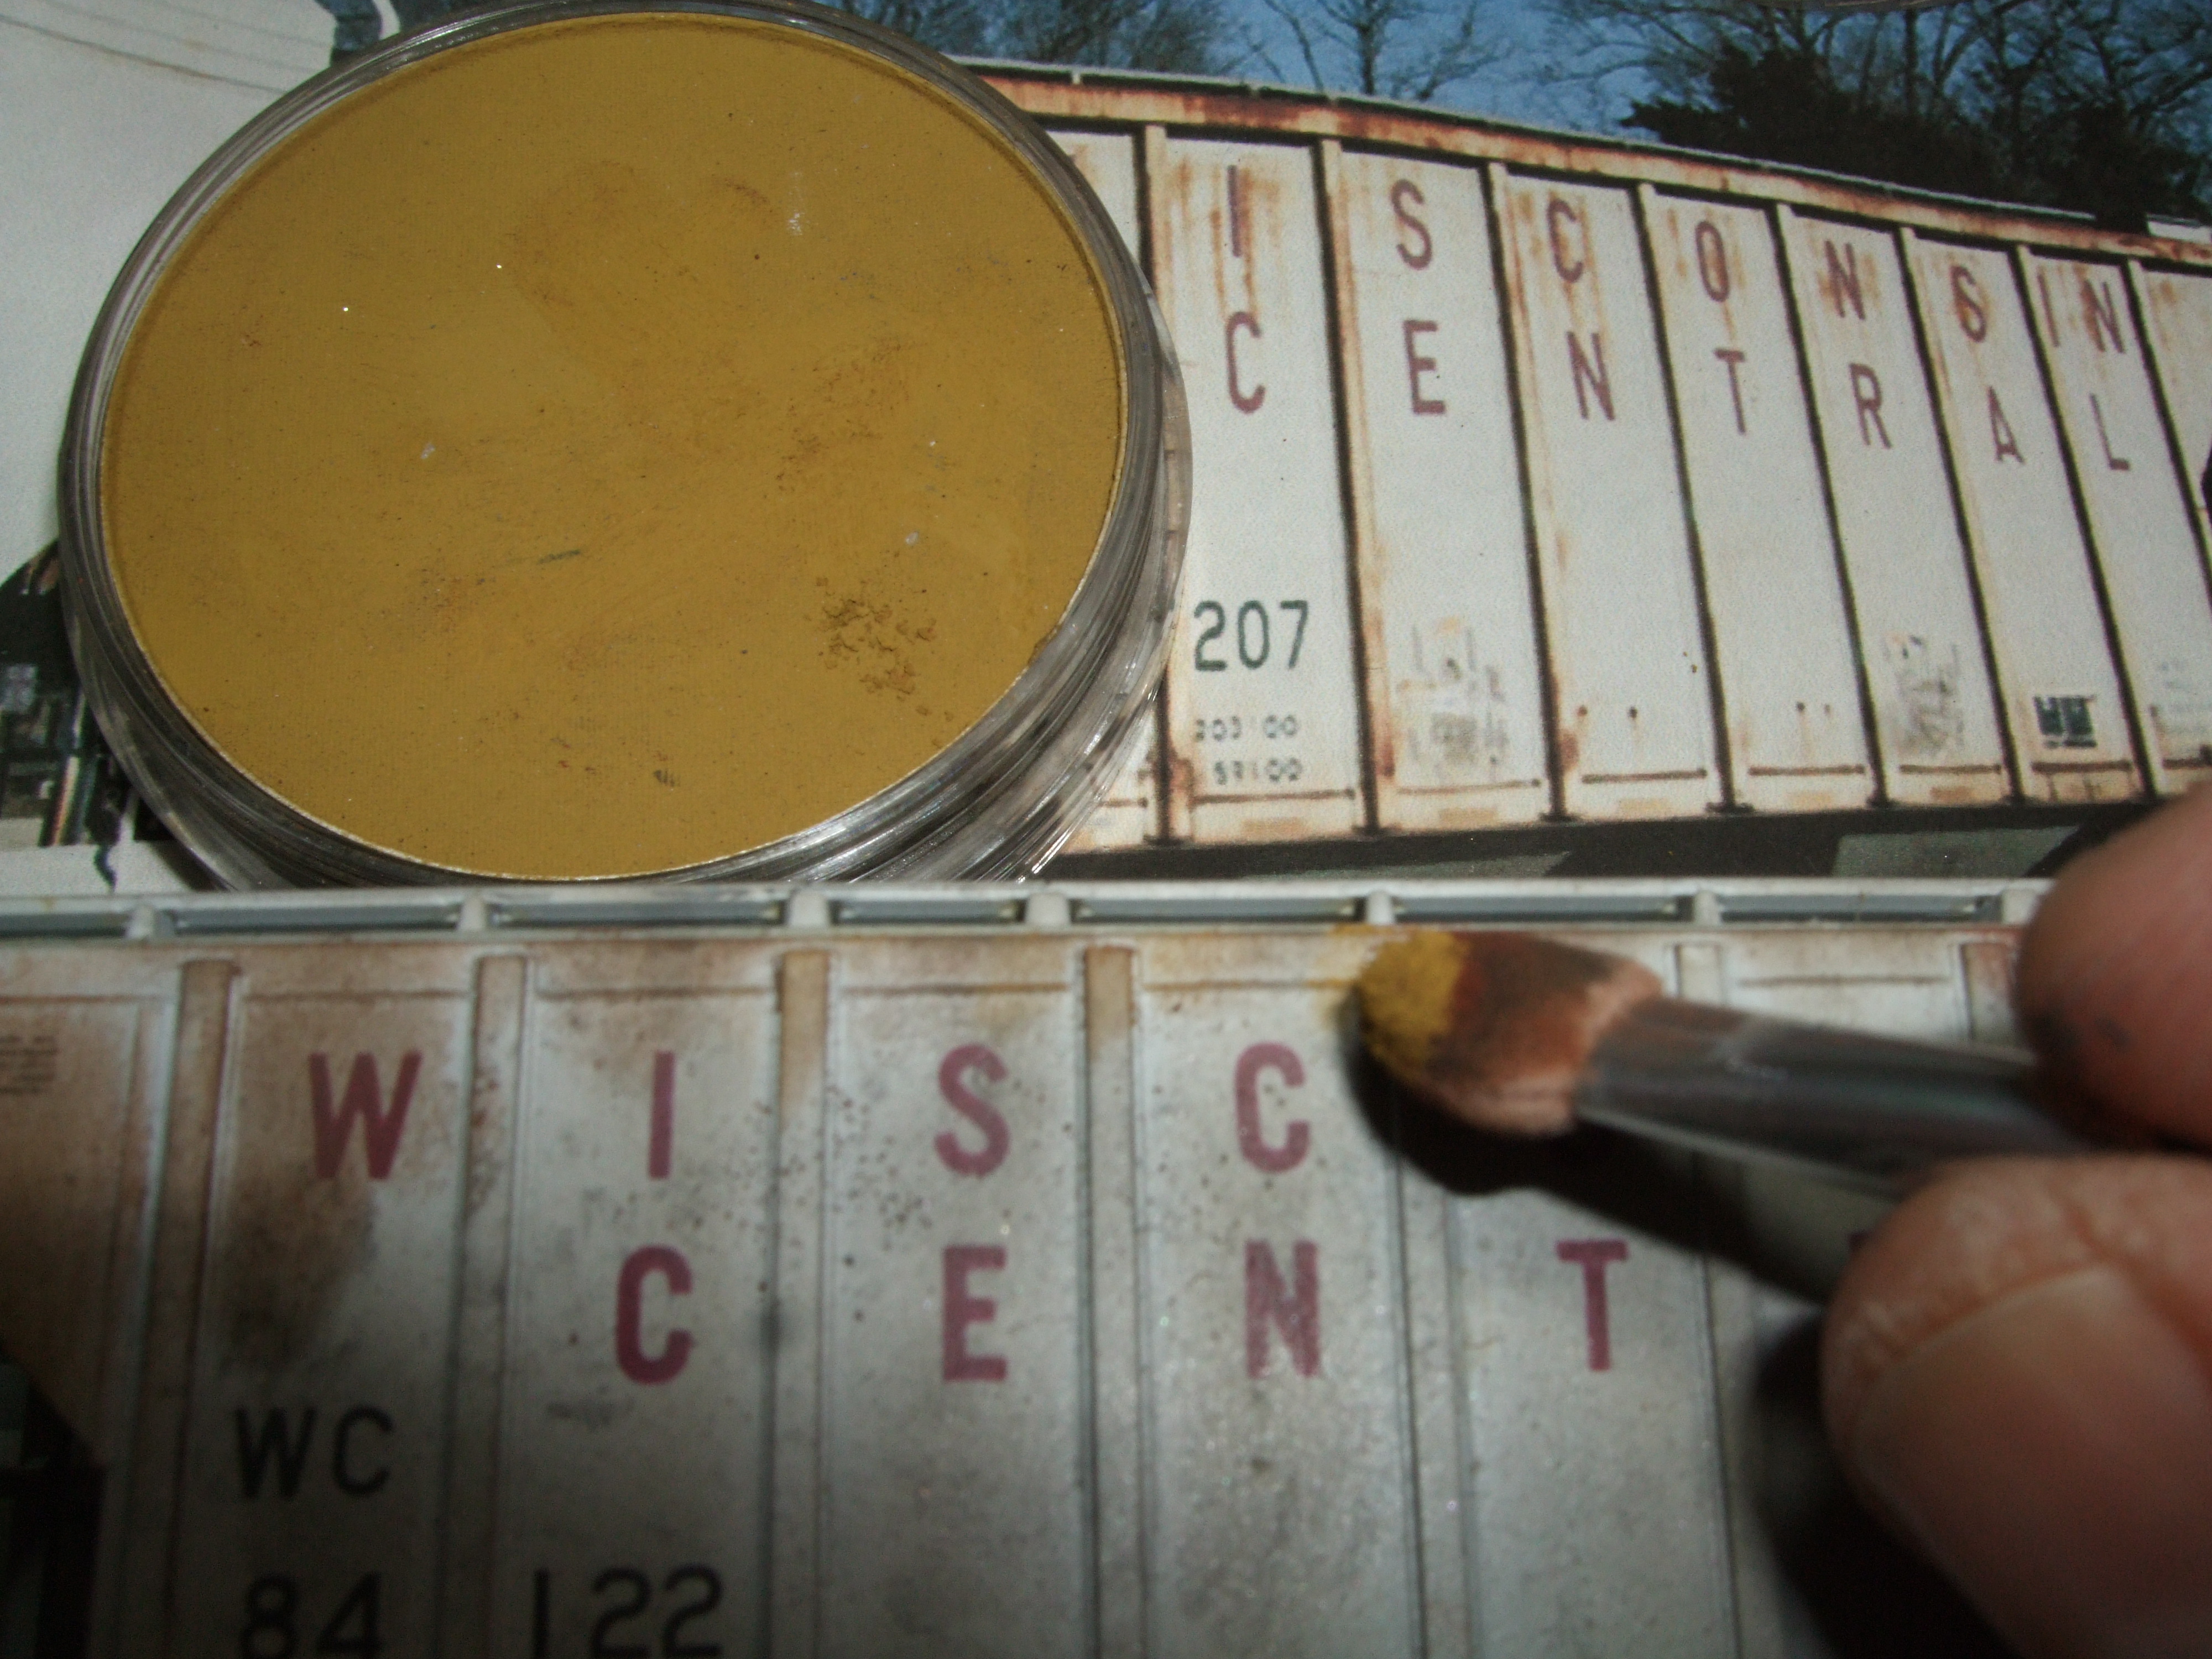
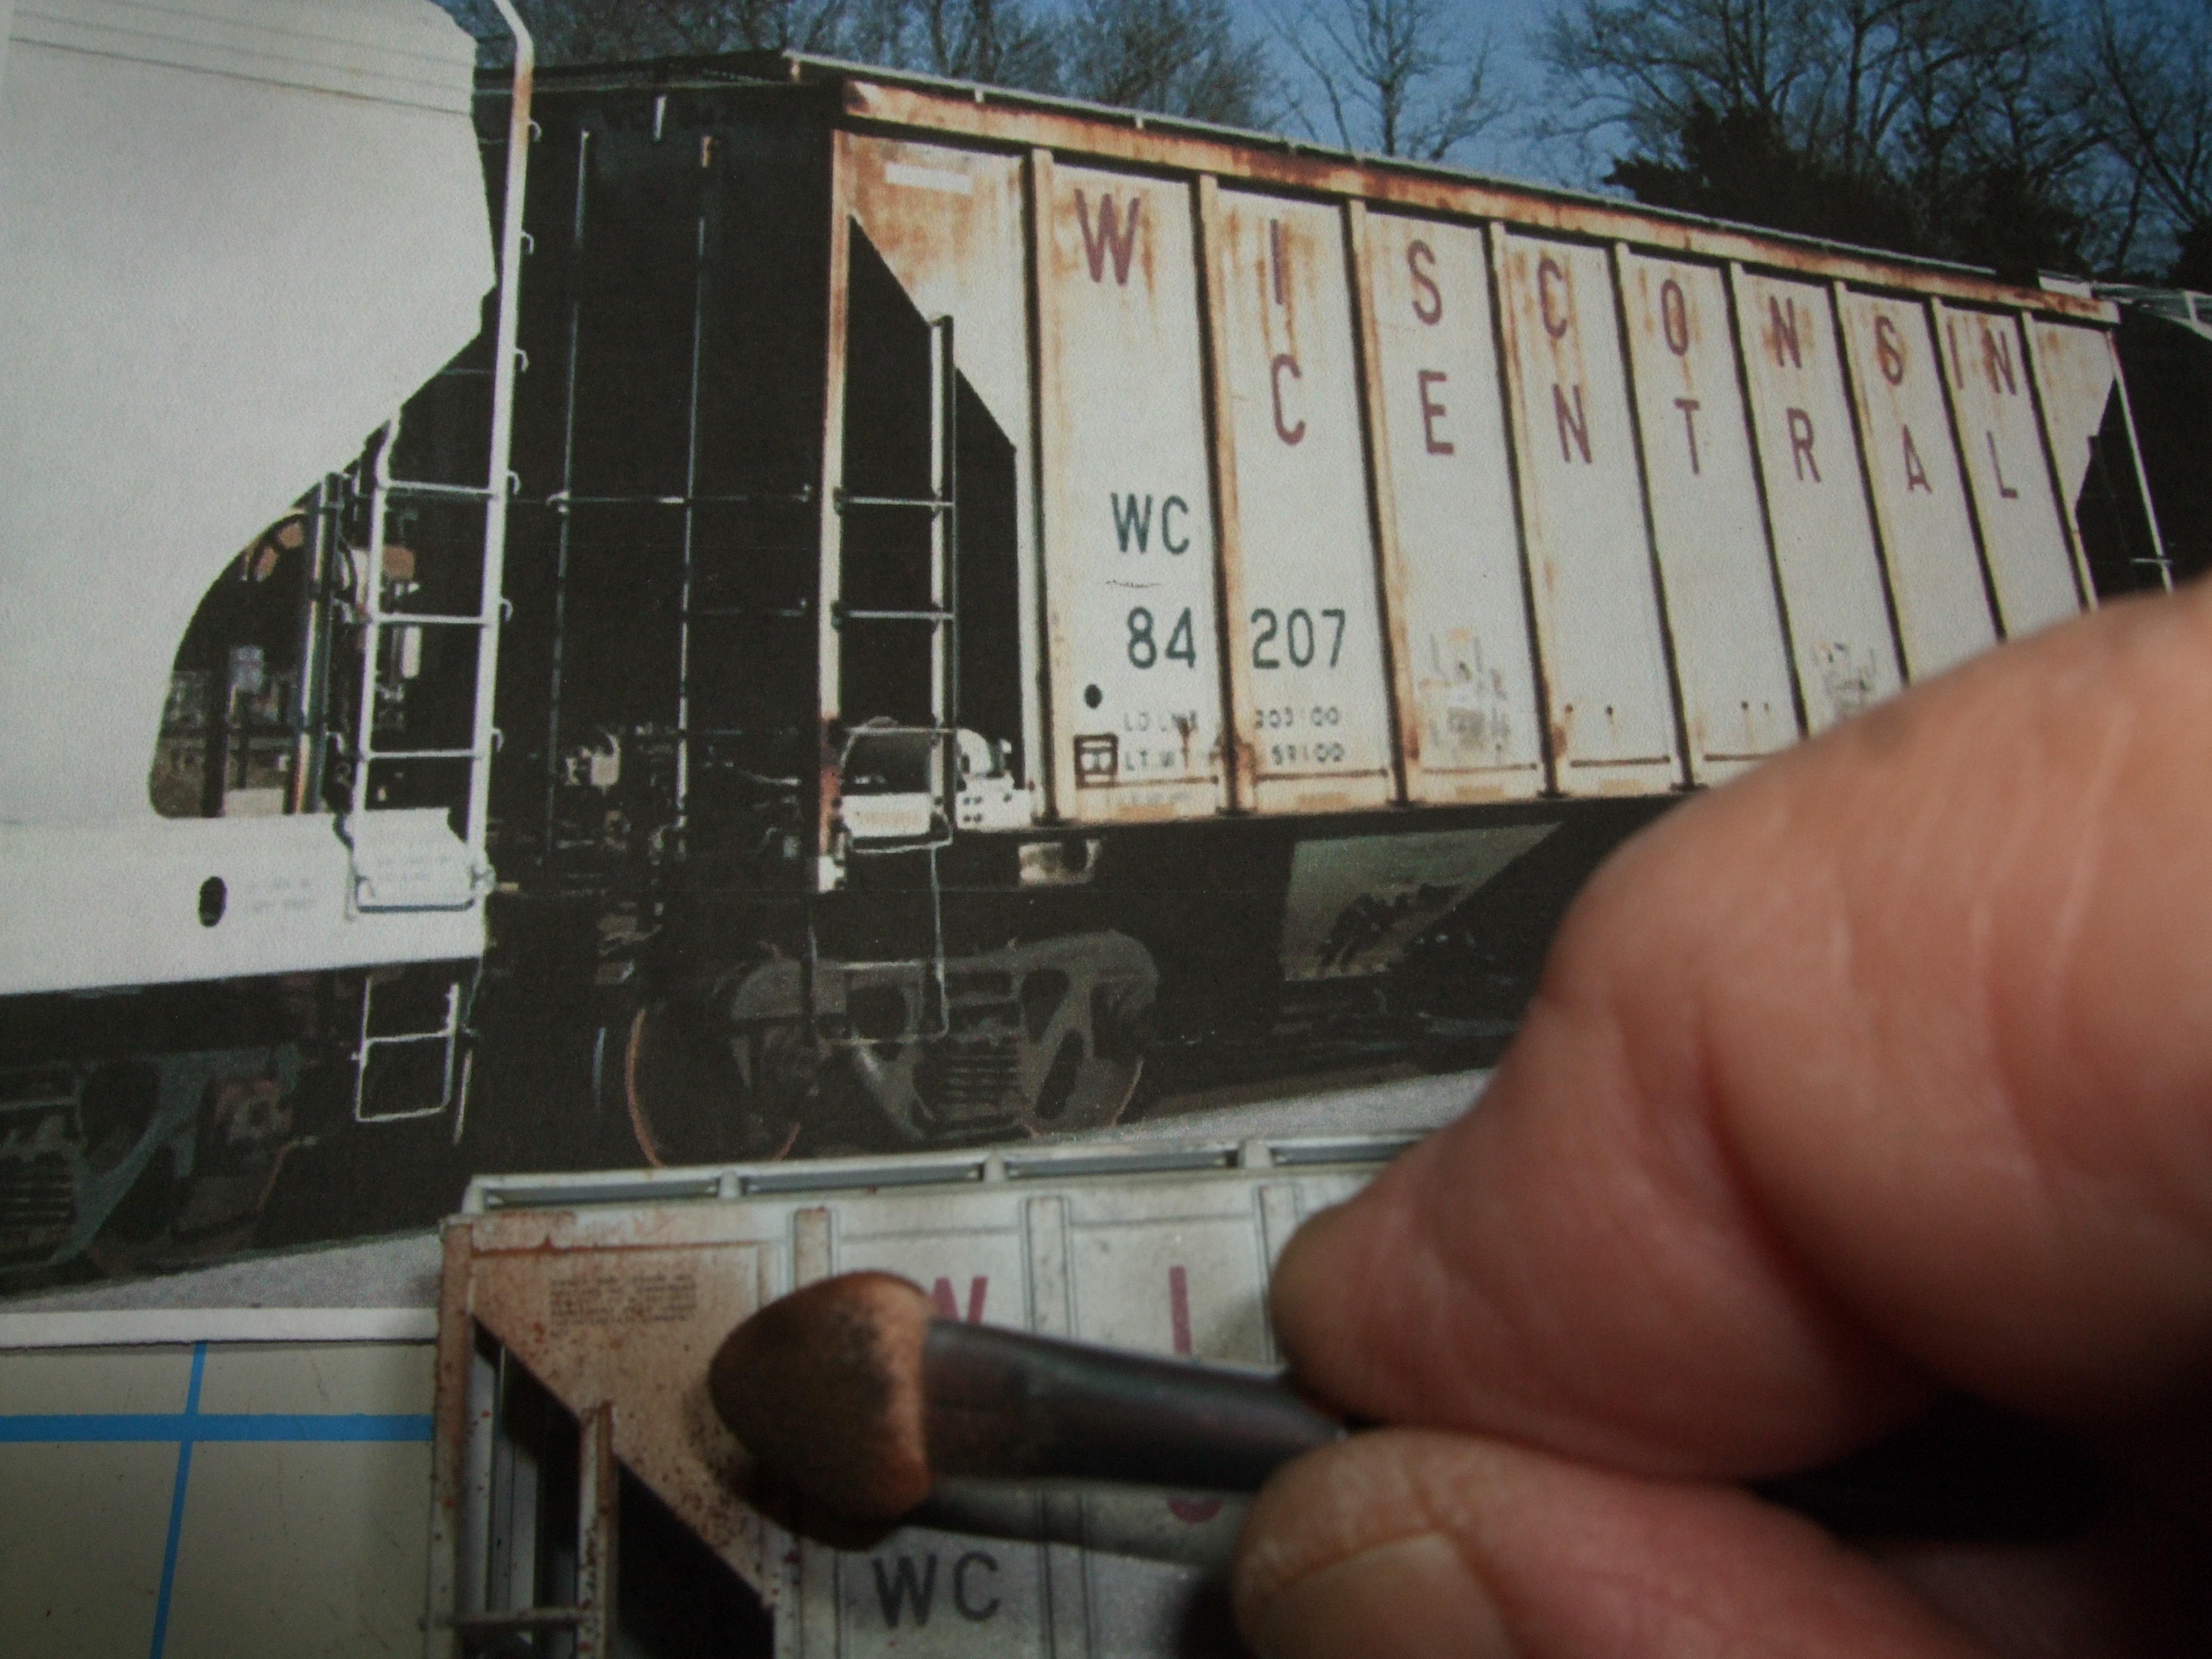
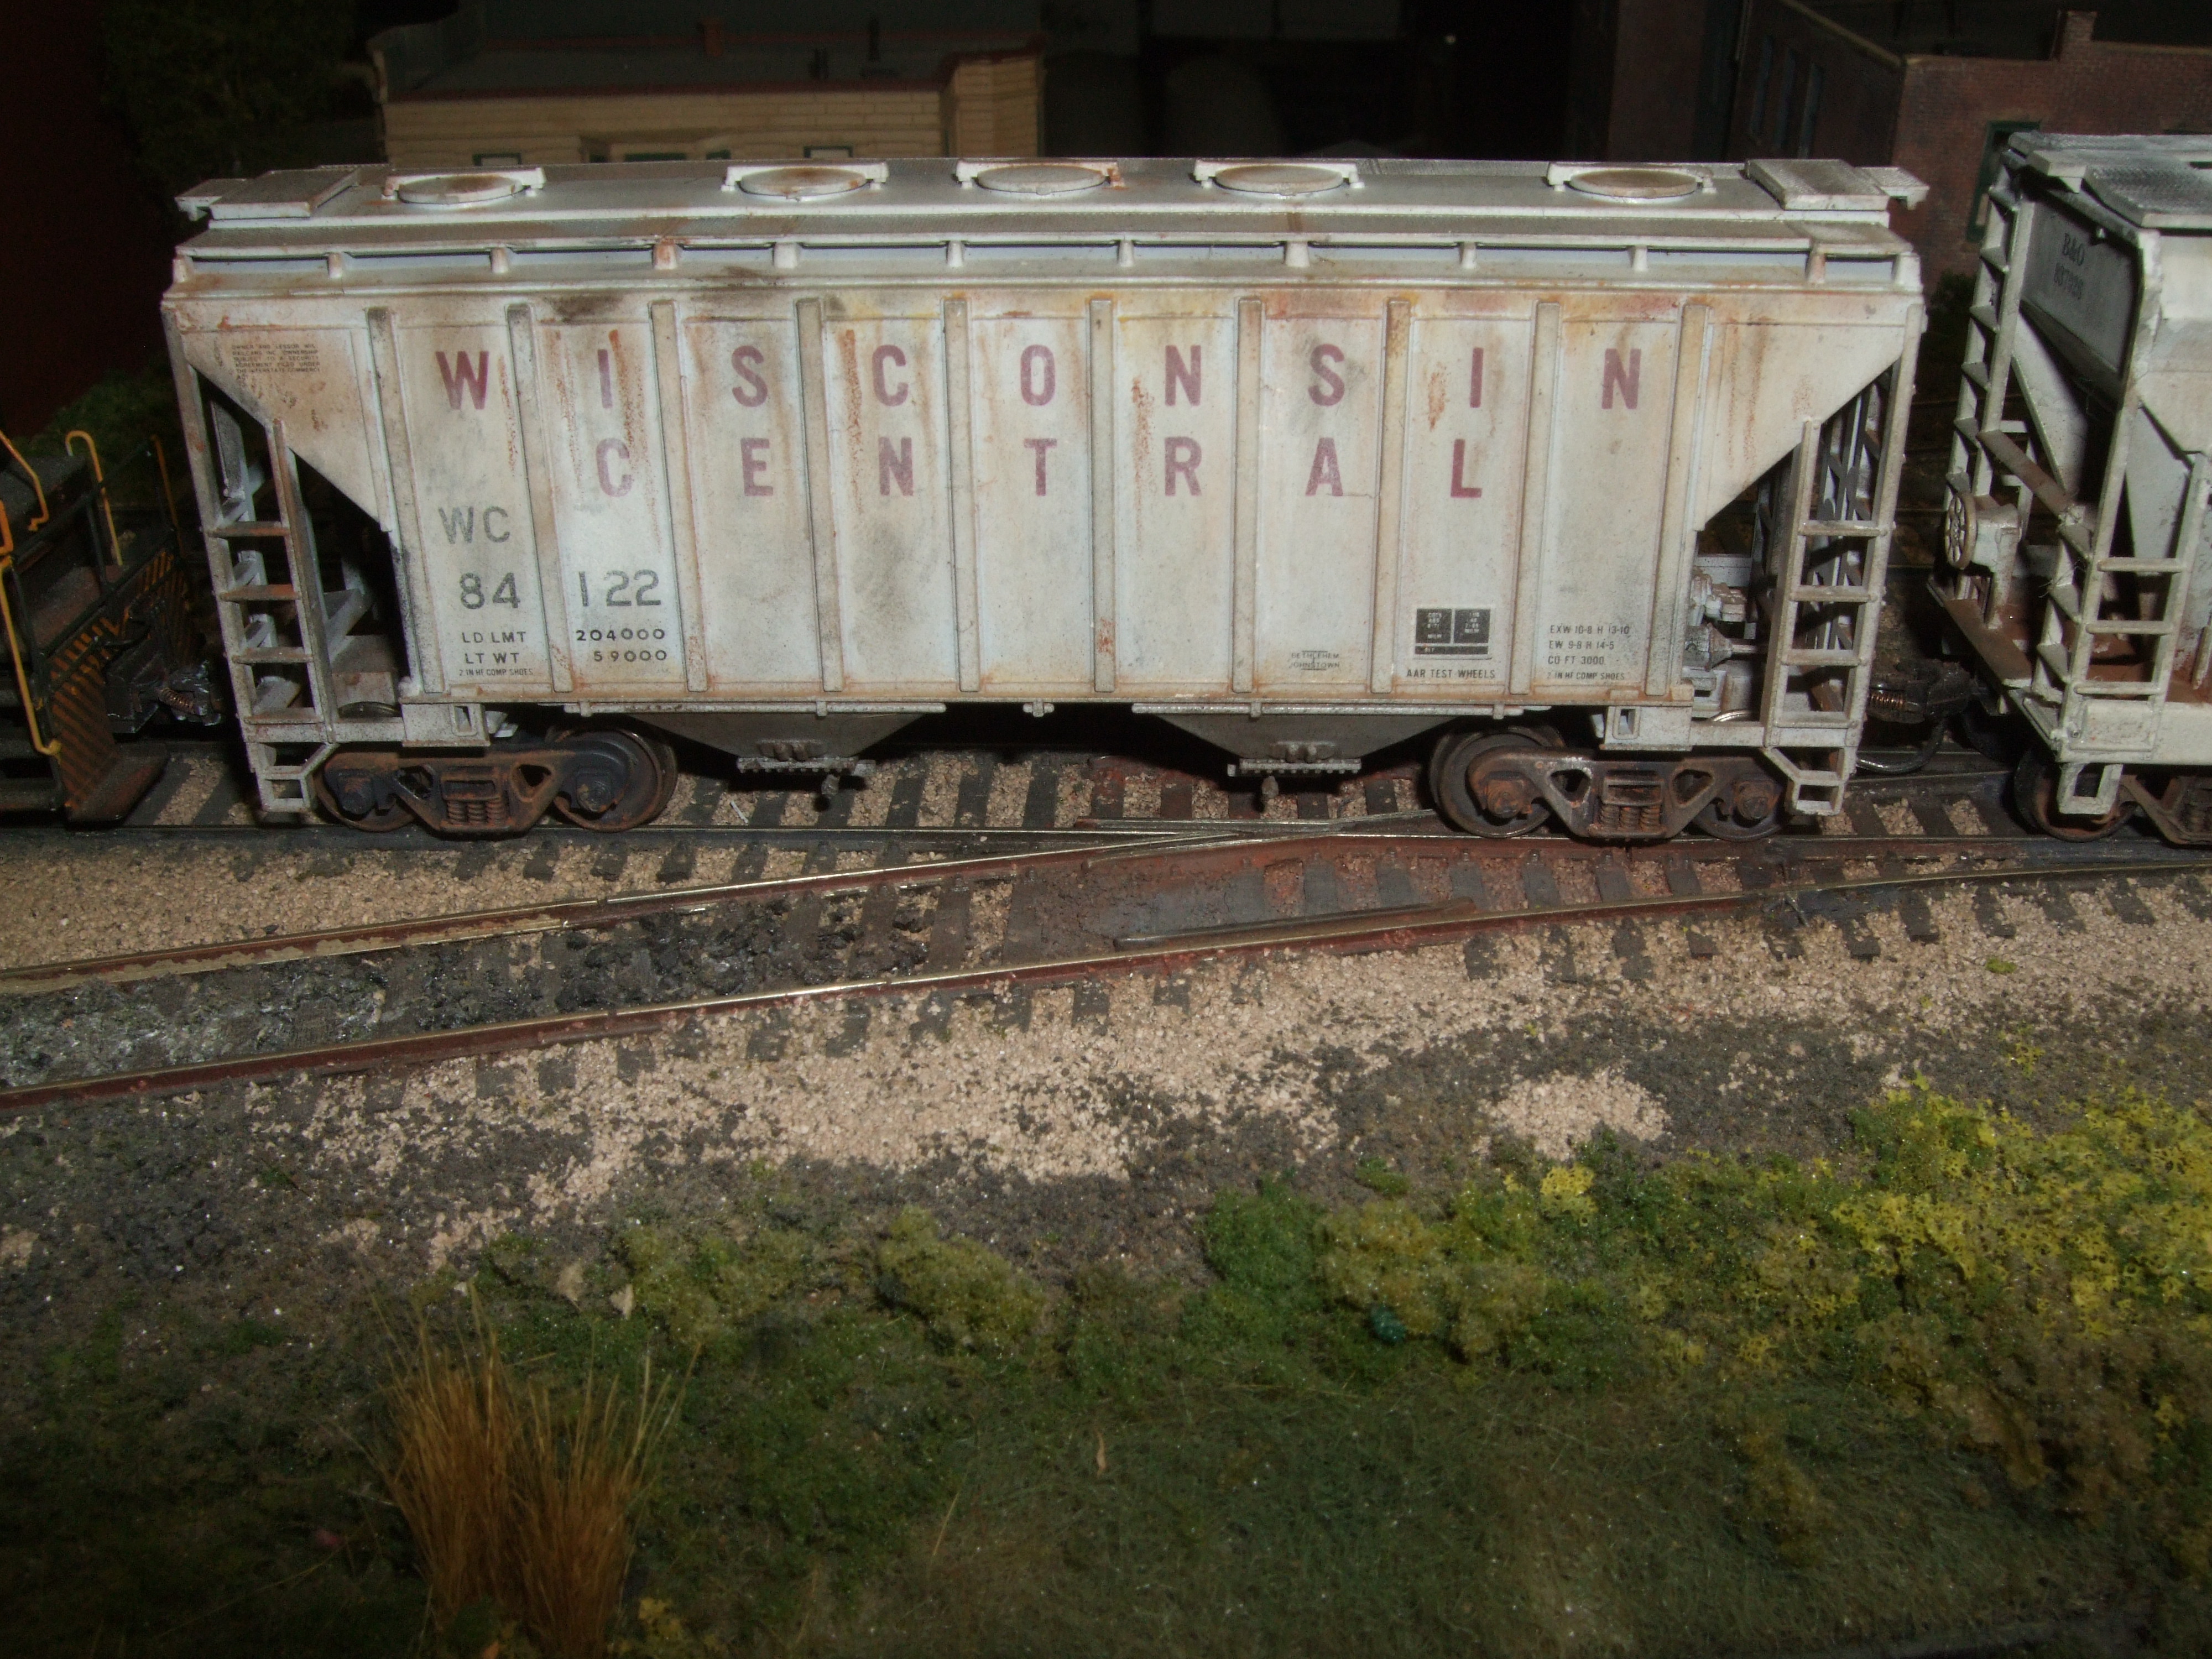
So let’s get started. I’ve picked out a model of a covered hopper and located a photo by Googling “Wisconsin Central Covered Hopper”. Other images for inspiration can be found in “ACF Centerflow Covered hopper” or Freightcars.blogspot.com depending on the car you are modeling. This keeps me honest. Sort of. Some of the models are the same type of car but not the same railroad. We are going to create some streaks, patches and toning using some new tools. I printed out the image to have handy at my work area and to better analyze how the rust colors are made.

Photo copyright 2006 by Jeffery M Tritthart, typical of those found on the interweb.
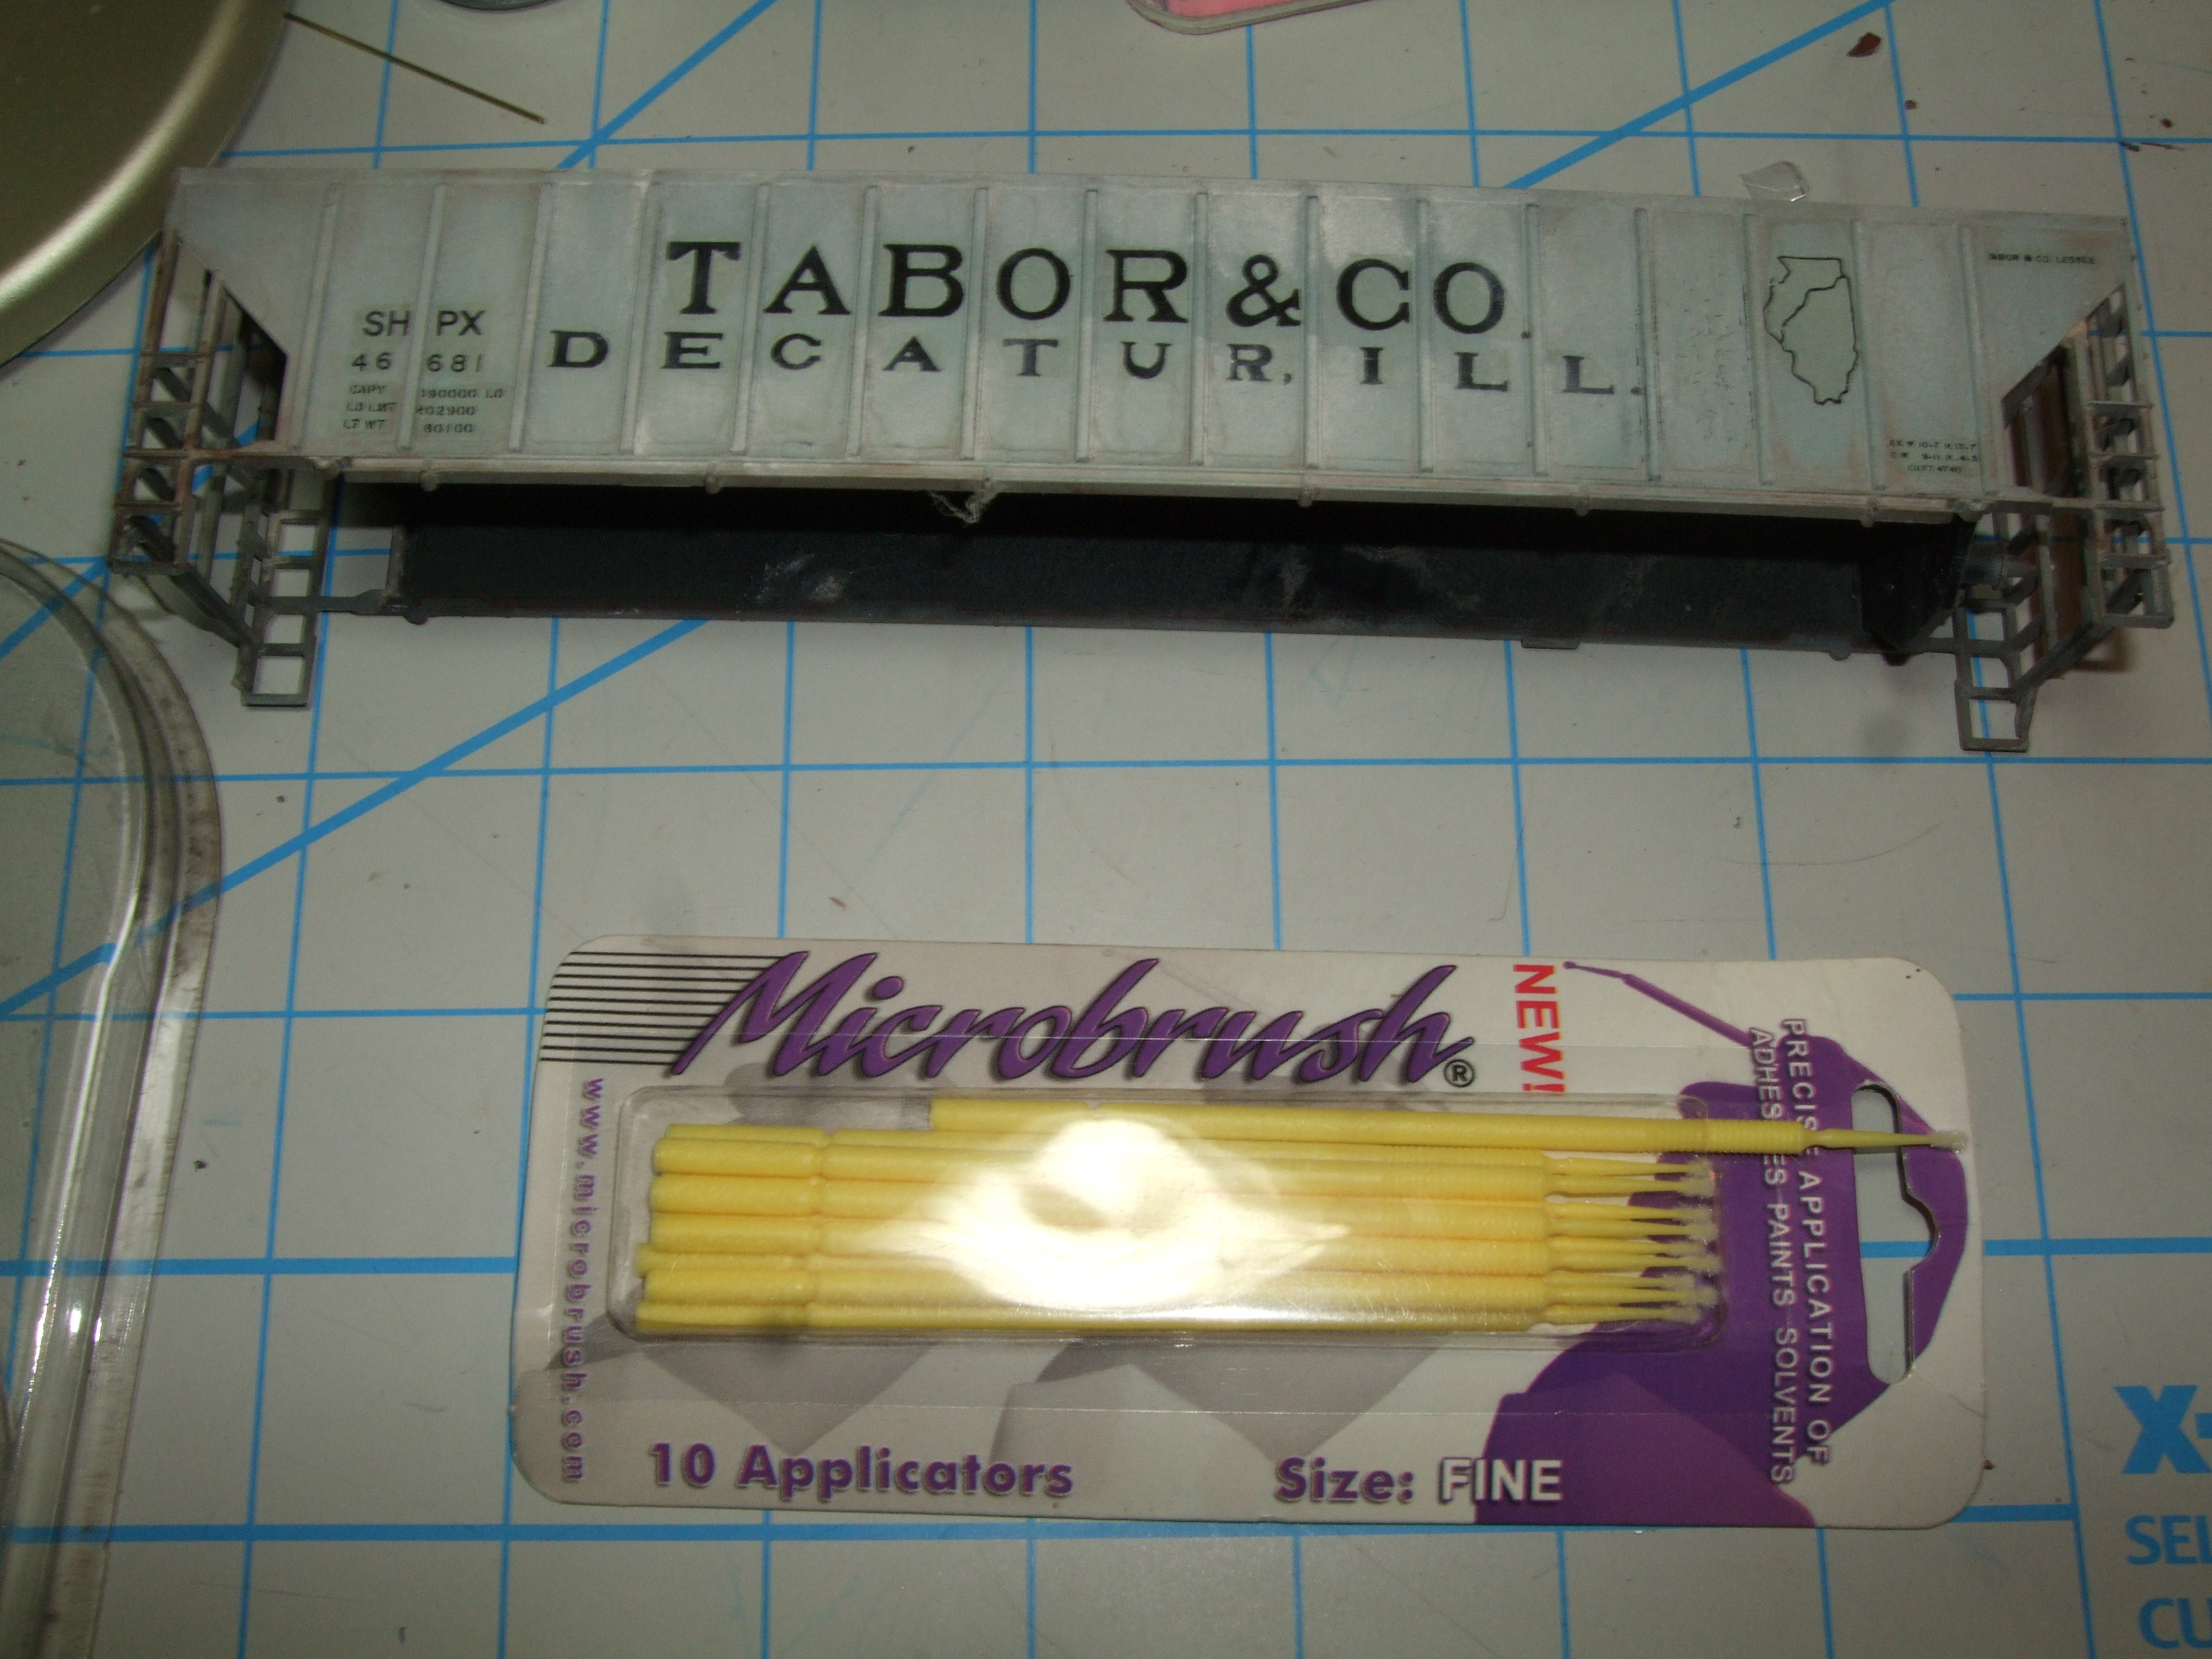
Fine Microbrush® for tiny areas and ribs
For the larger areas we’ll use the following Sofft® Tools – Wedge Sponge Bar, and Mini Applicator – and a really small brush from Microbrush® that I bought at my local hobby shop. The first thing I notice is that the rust is made up of at least 3 colors. The rust patches look lighter at the edge Burnt Sienna 740.5 a little darker more inward Red Iron Oxide 380.3 and much darker Burnt Sienna Shade 740.3 for the streaks. Remember to apply a flat finish as we discussed earlier in the blog or you can use a factory painted model if the finish is flat enough. These models were sprayed with “Workable Fixative” (Krylon) but came out semi-gloss so I loaded up the airbrush and resprayed with Model Masters Flat in my airbrush. That gave me a more workable dead flat surface. Krylon’s Flat spray would have been a better choice for those without an airbrush.
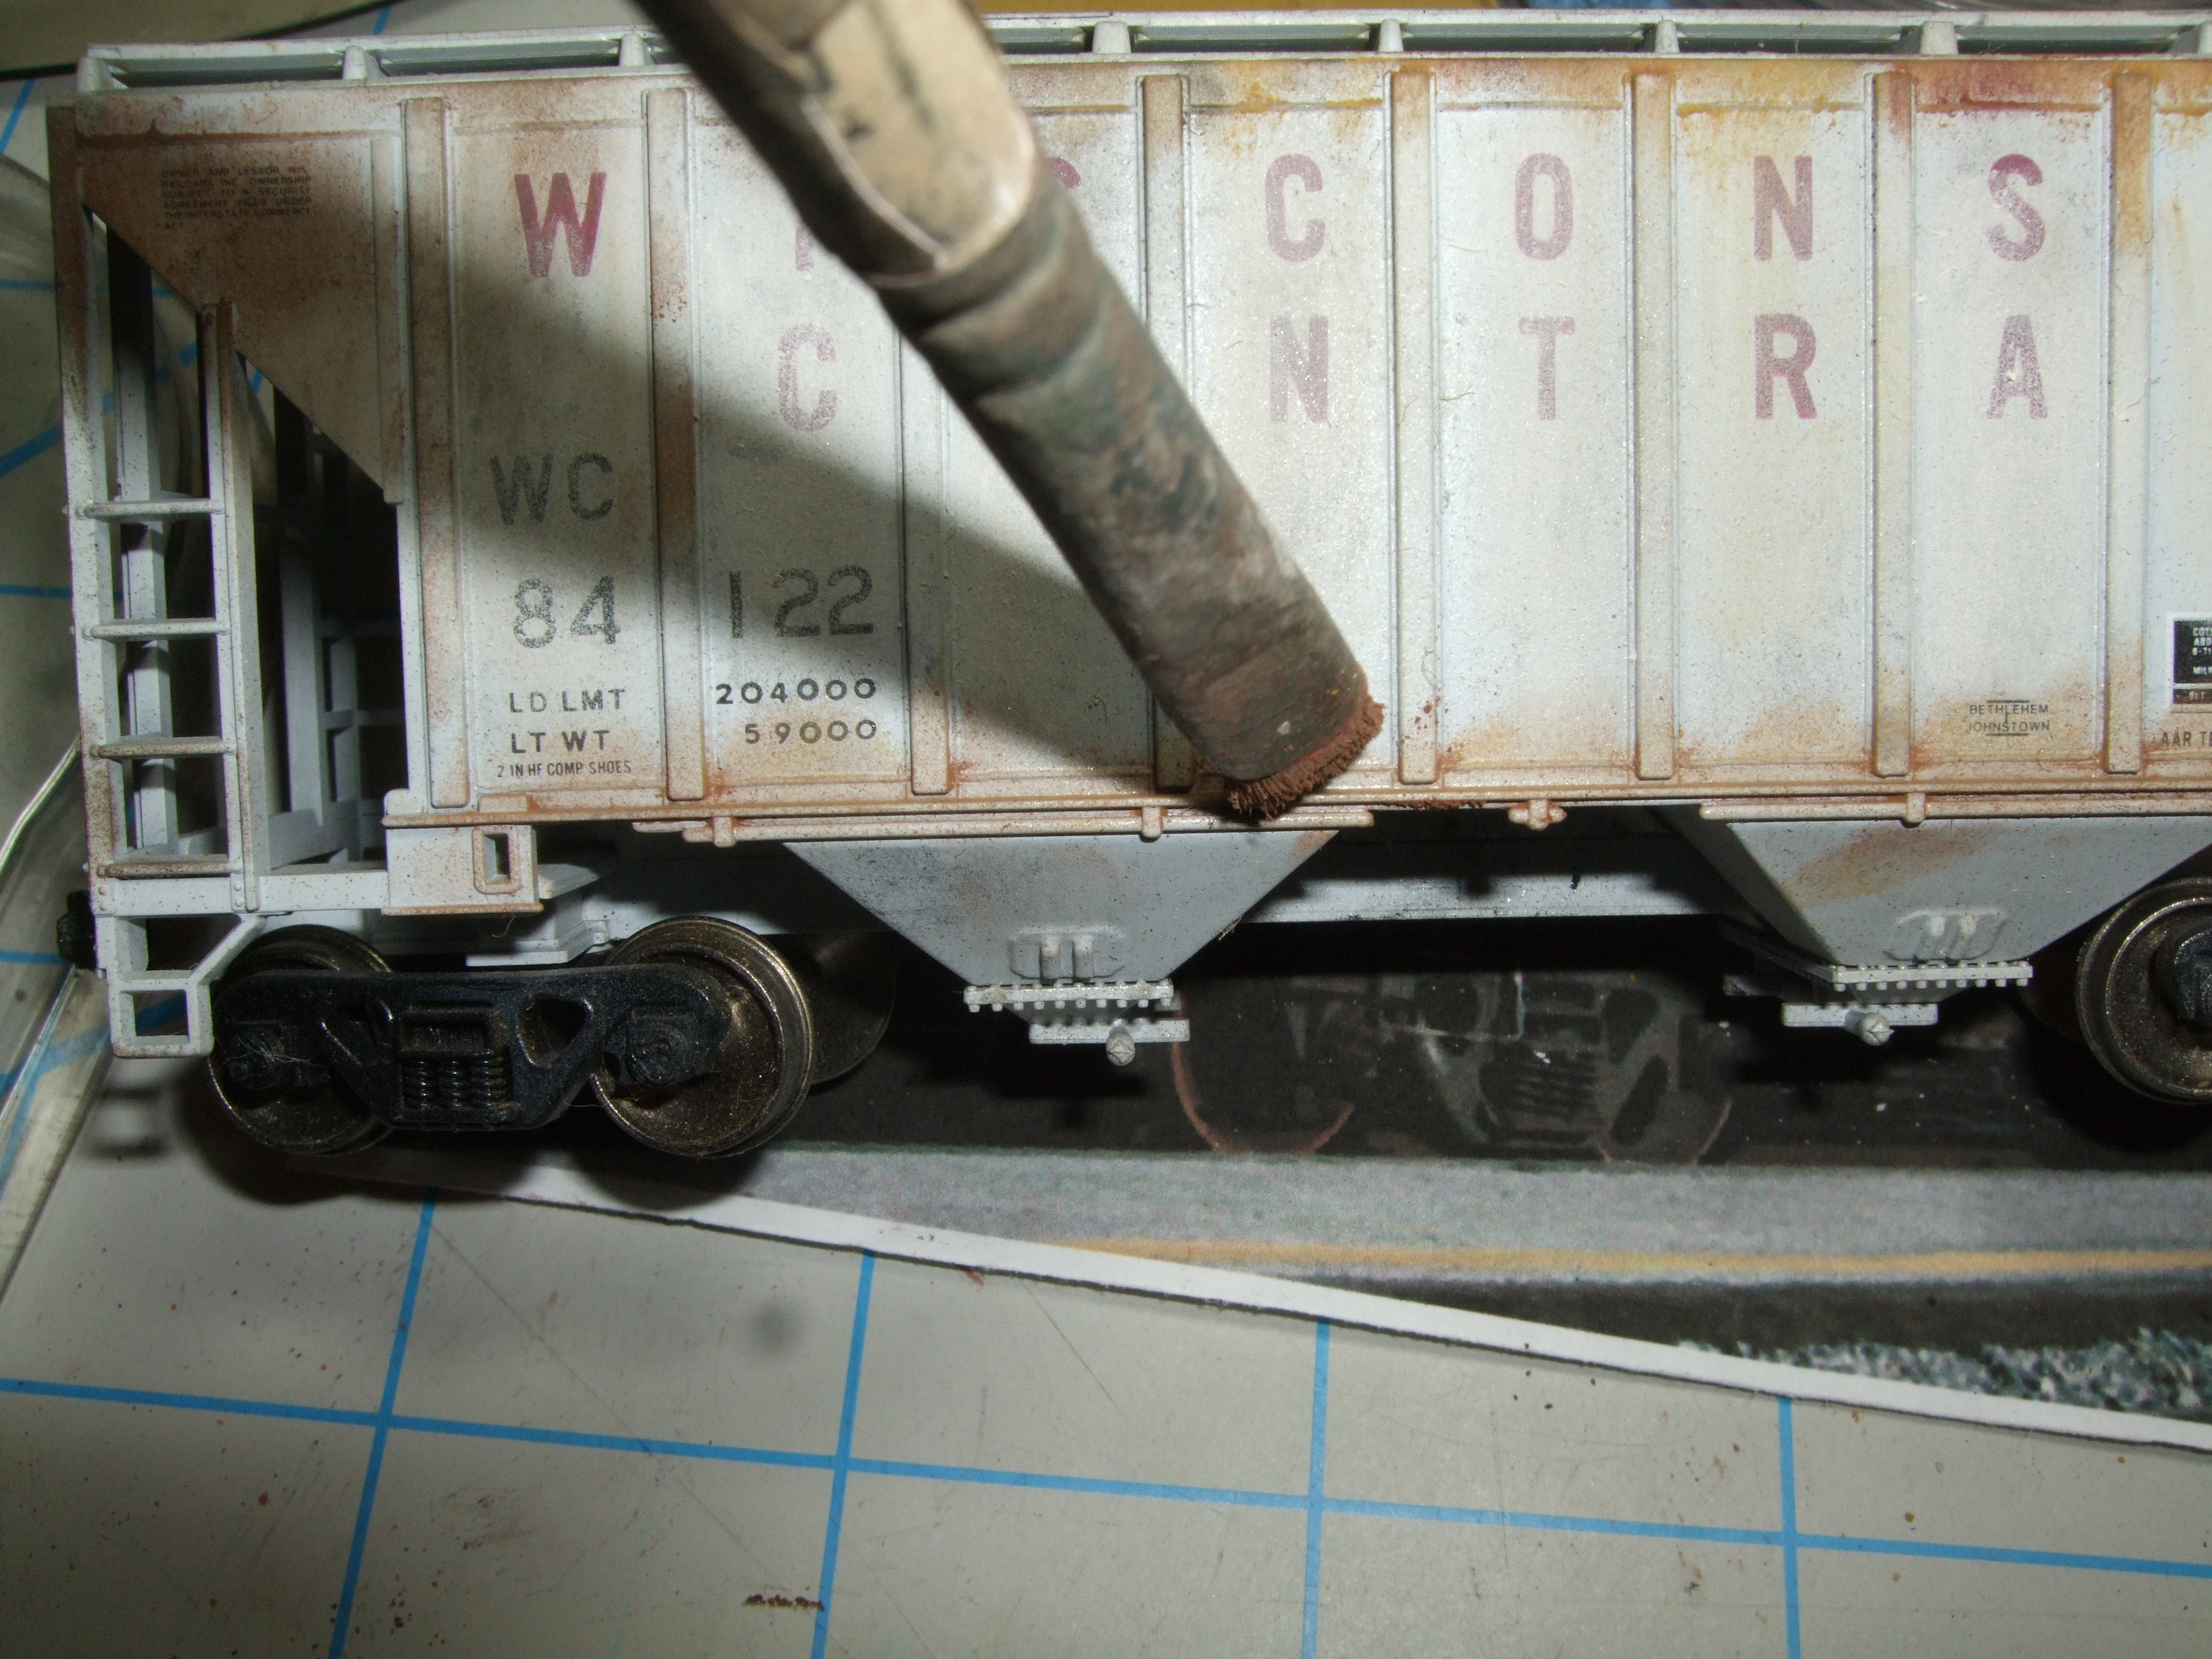
Let’s add slight patches of rust to the car roof. We can use the small soft tool for creating these. The running boards (walkways) are first treated with a wash of Flat Black Acrylic paint and wiped down before drying. Then add wipes of Paynes Grey Tint 840.8 to the raised grid to bring out the detail. The cast plastic running boards represent perforated metal or grid but the depth on some plastic models is pretty shallow. The treads receive small inconsistent areas of color and not a general wipe. We are using the cast on details but if you take the time to replace these with Plano etchings they will really make the car scream. Dab on Paynes Grey Tint 840.8 and follow up with a slightly darker Neutral Grey 820.5. You can also wipe down them with a much darker Burnt Sienna 740.5 and rub a Paynes Grey Tint 840.8 to simulate the galvanized metal on the raised edges to match the photo. Raw Umber Tint 780.8 can be used as an accent color on the running boards for variance.

Pre-Blacken running board to give depth to recessed detail. This may also be painted flat black.
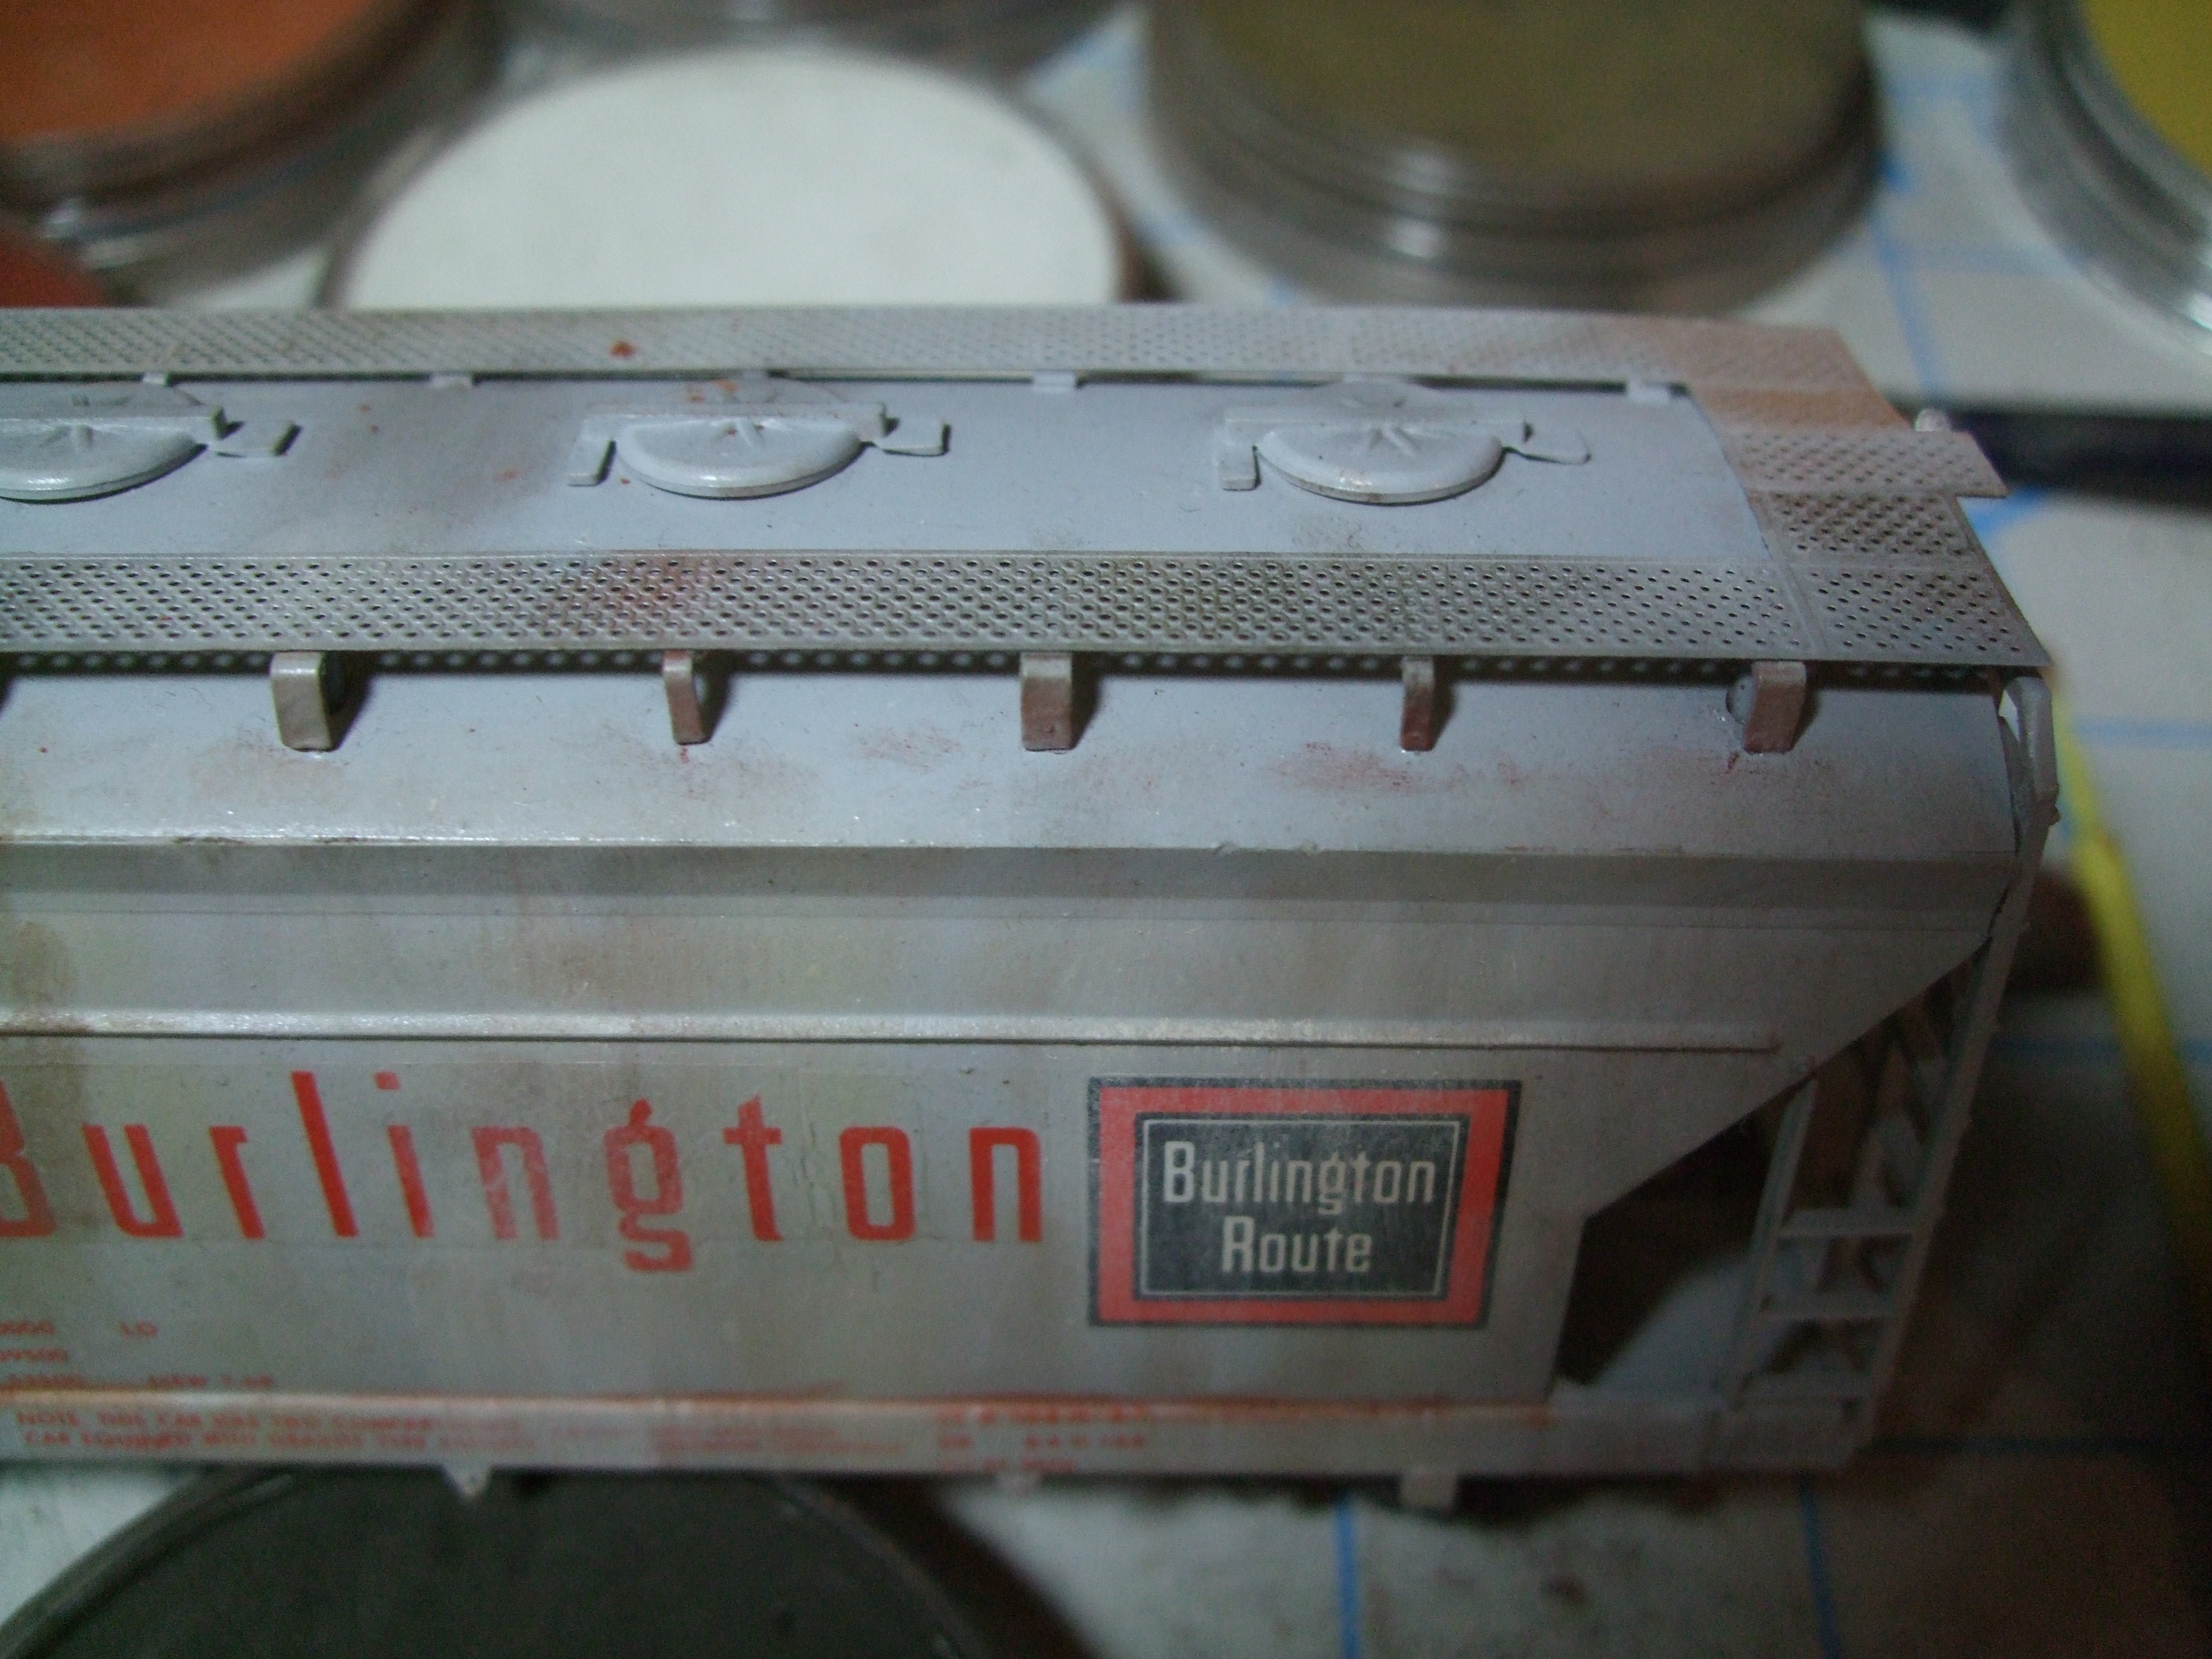
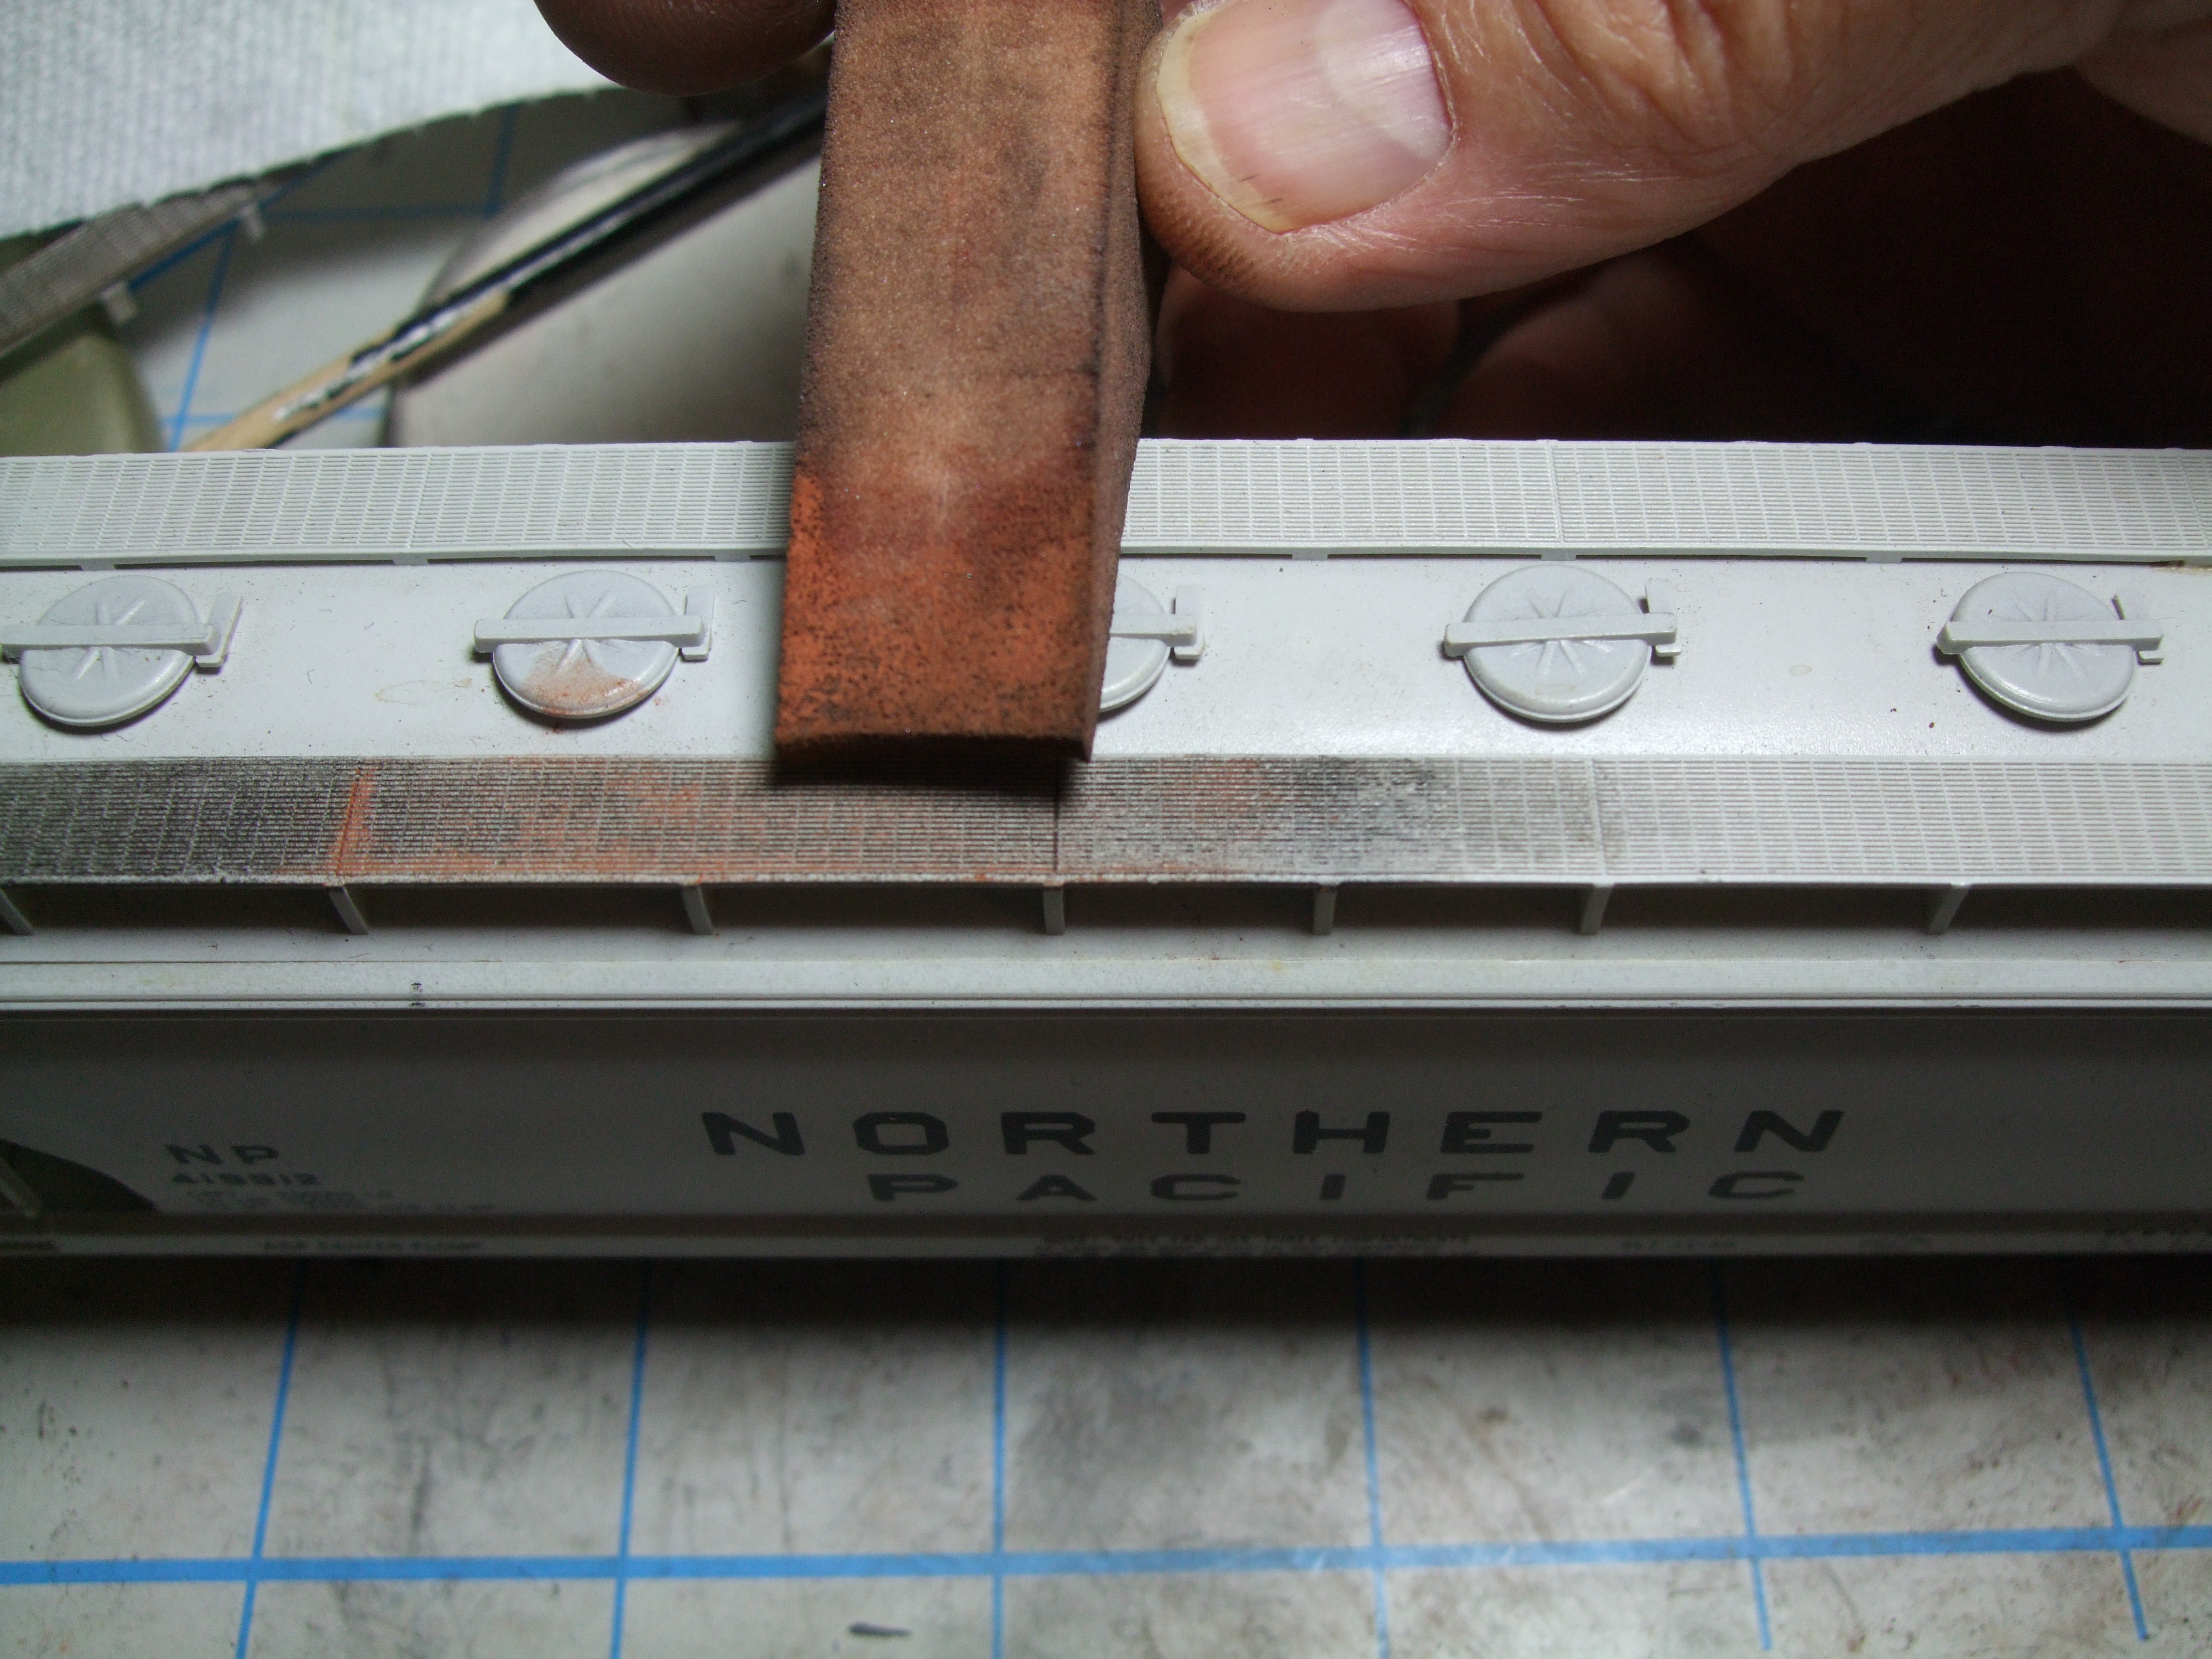
Photo etched running board showing fineness of detail and cross section.
The cast plastic running boards represent perforated metal or grid but the depth on some models is pretty shallow. As an alternate to paint, I used Black 800.5 over all and with a light amount of alcohol diluted the pastel on the surface causing most of it to settle into the depressions. (If we used etchings this would be unnecessary). I then wiped lightly with a sponge bar and Paynes Grey Tint 840.8 to pick out the raised detail. Red Iron Oxide Shade 380.3 was added to represent Rust.
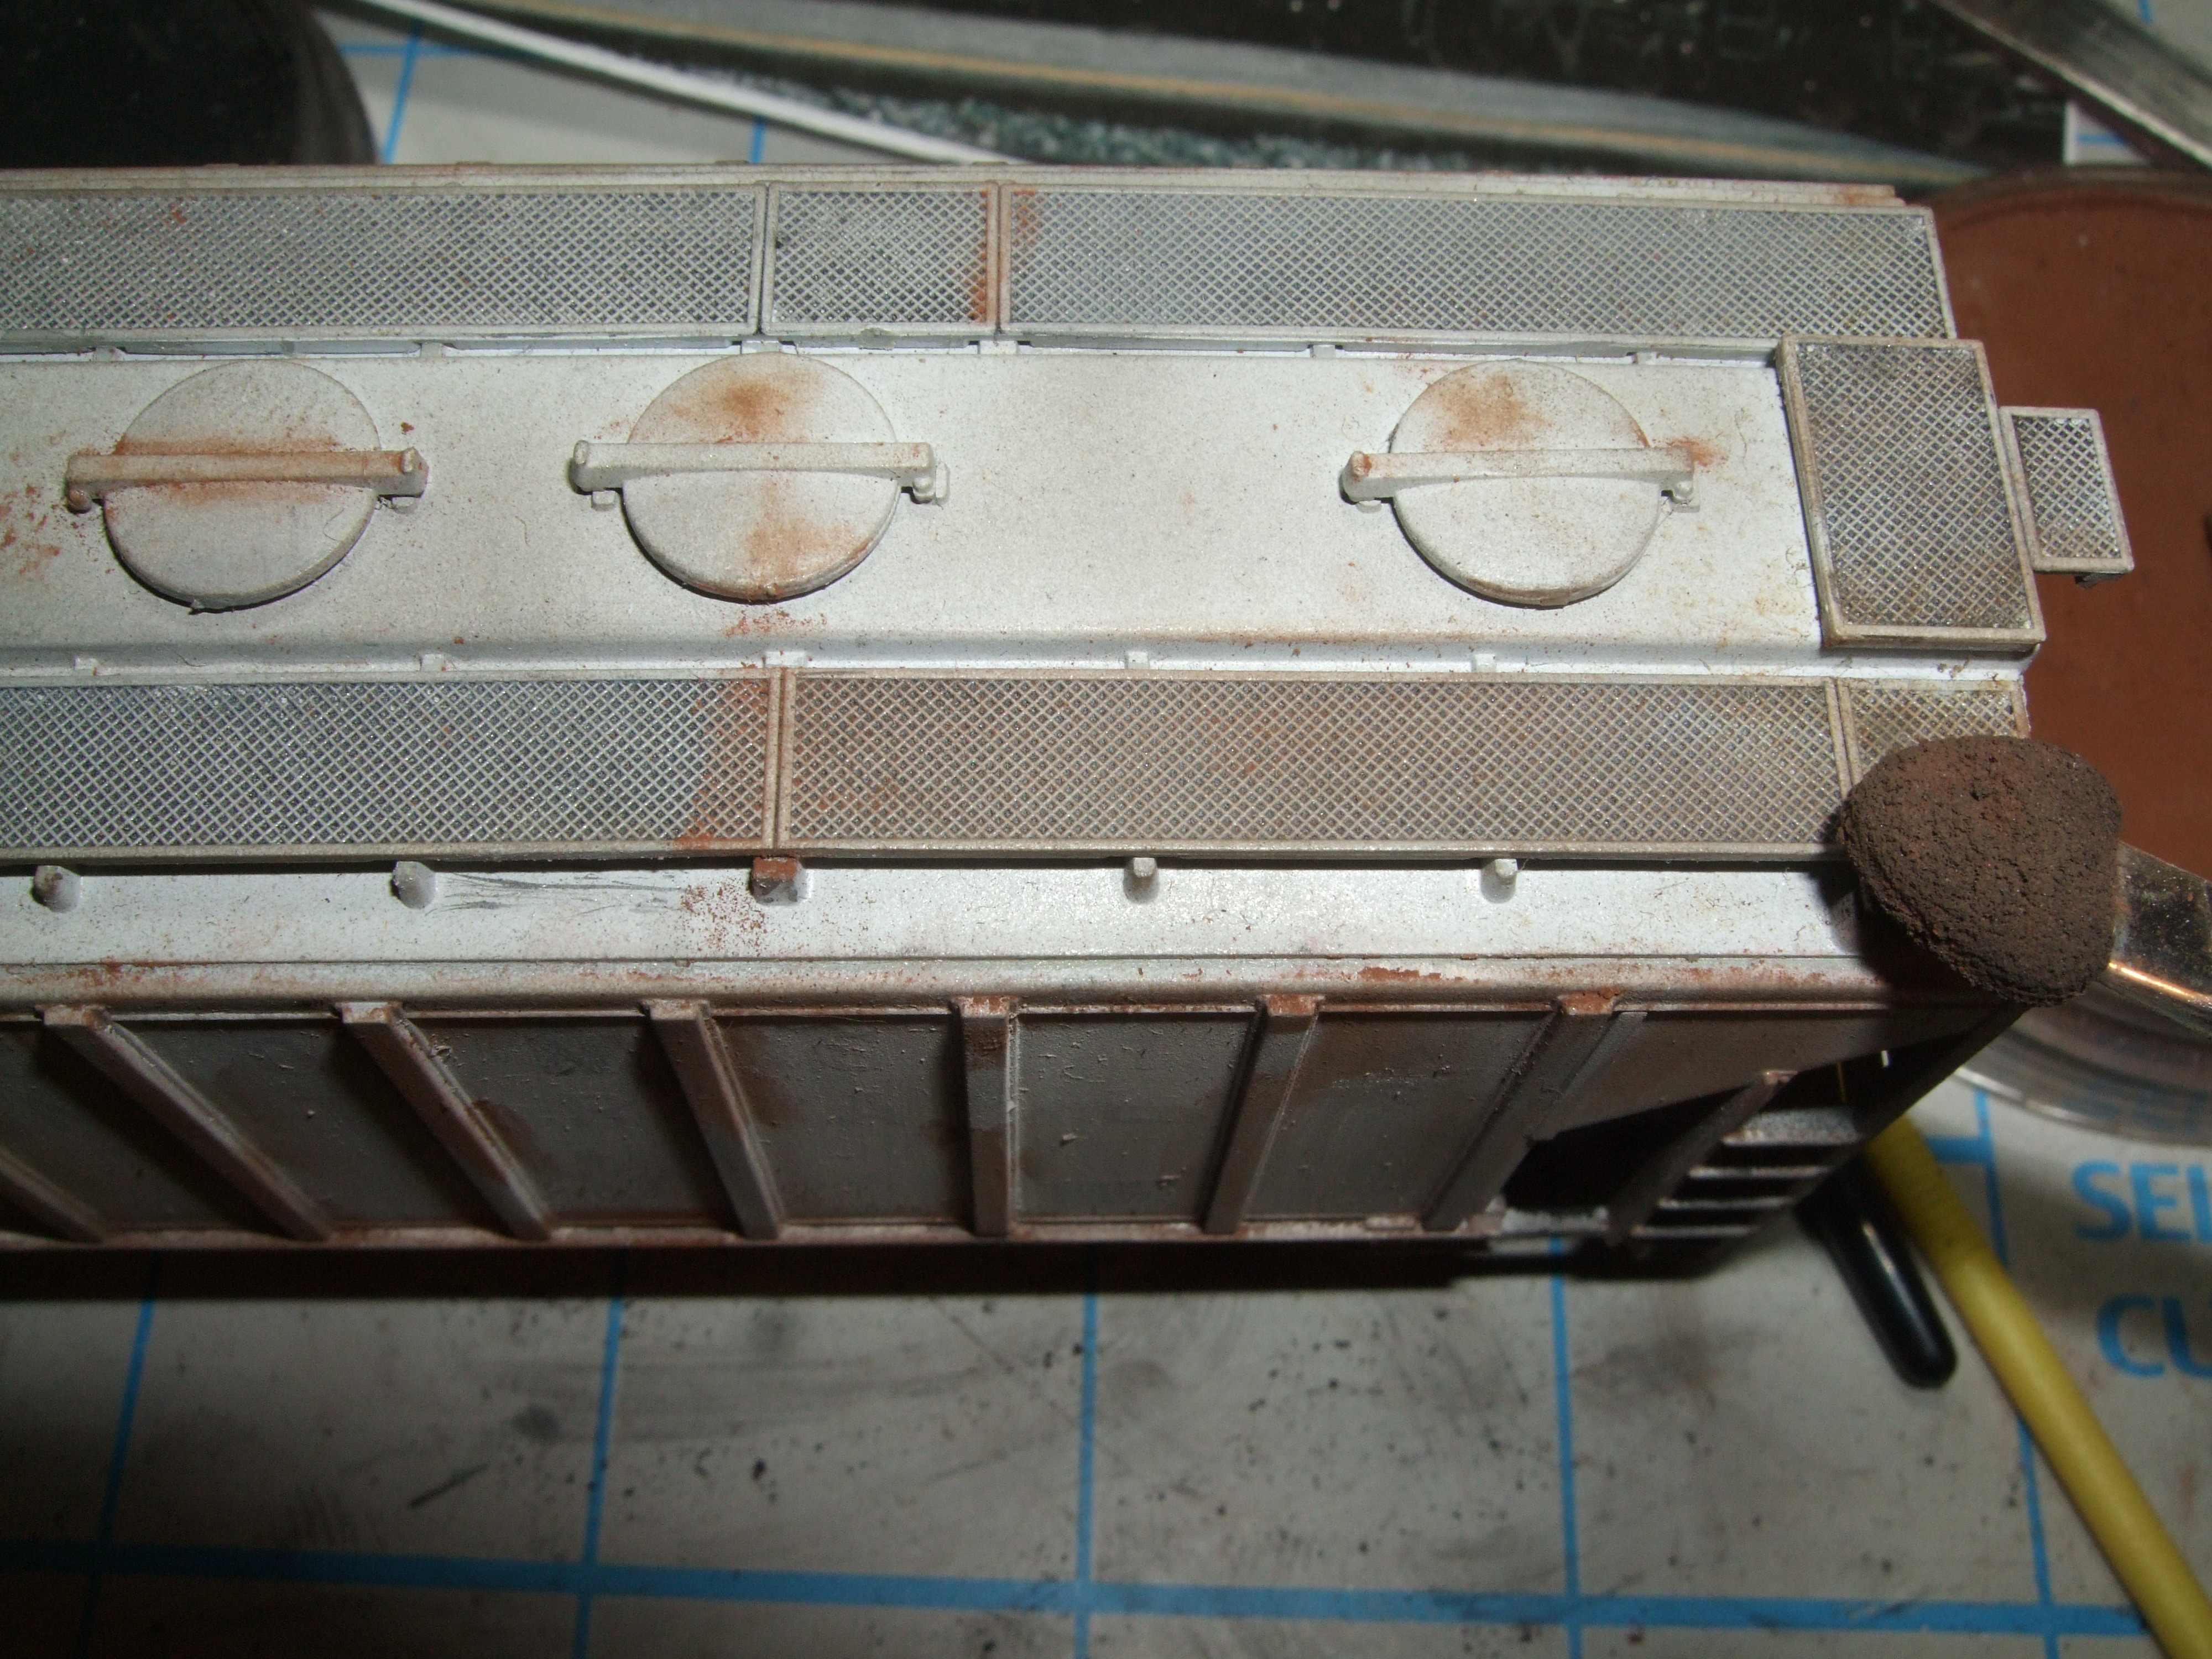
Foam wedge adding Paynes Grey Tint 840.8 and Red Iron Oxide Shade 380.3 to create rust.
This Walthers car running board has much deeper detail. I am adding rust here.
I am using Yellow Ochre Shade 270.3 to add subtle color variance to the rust.
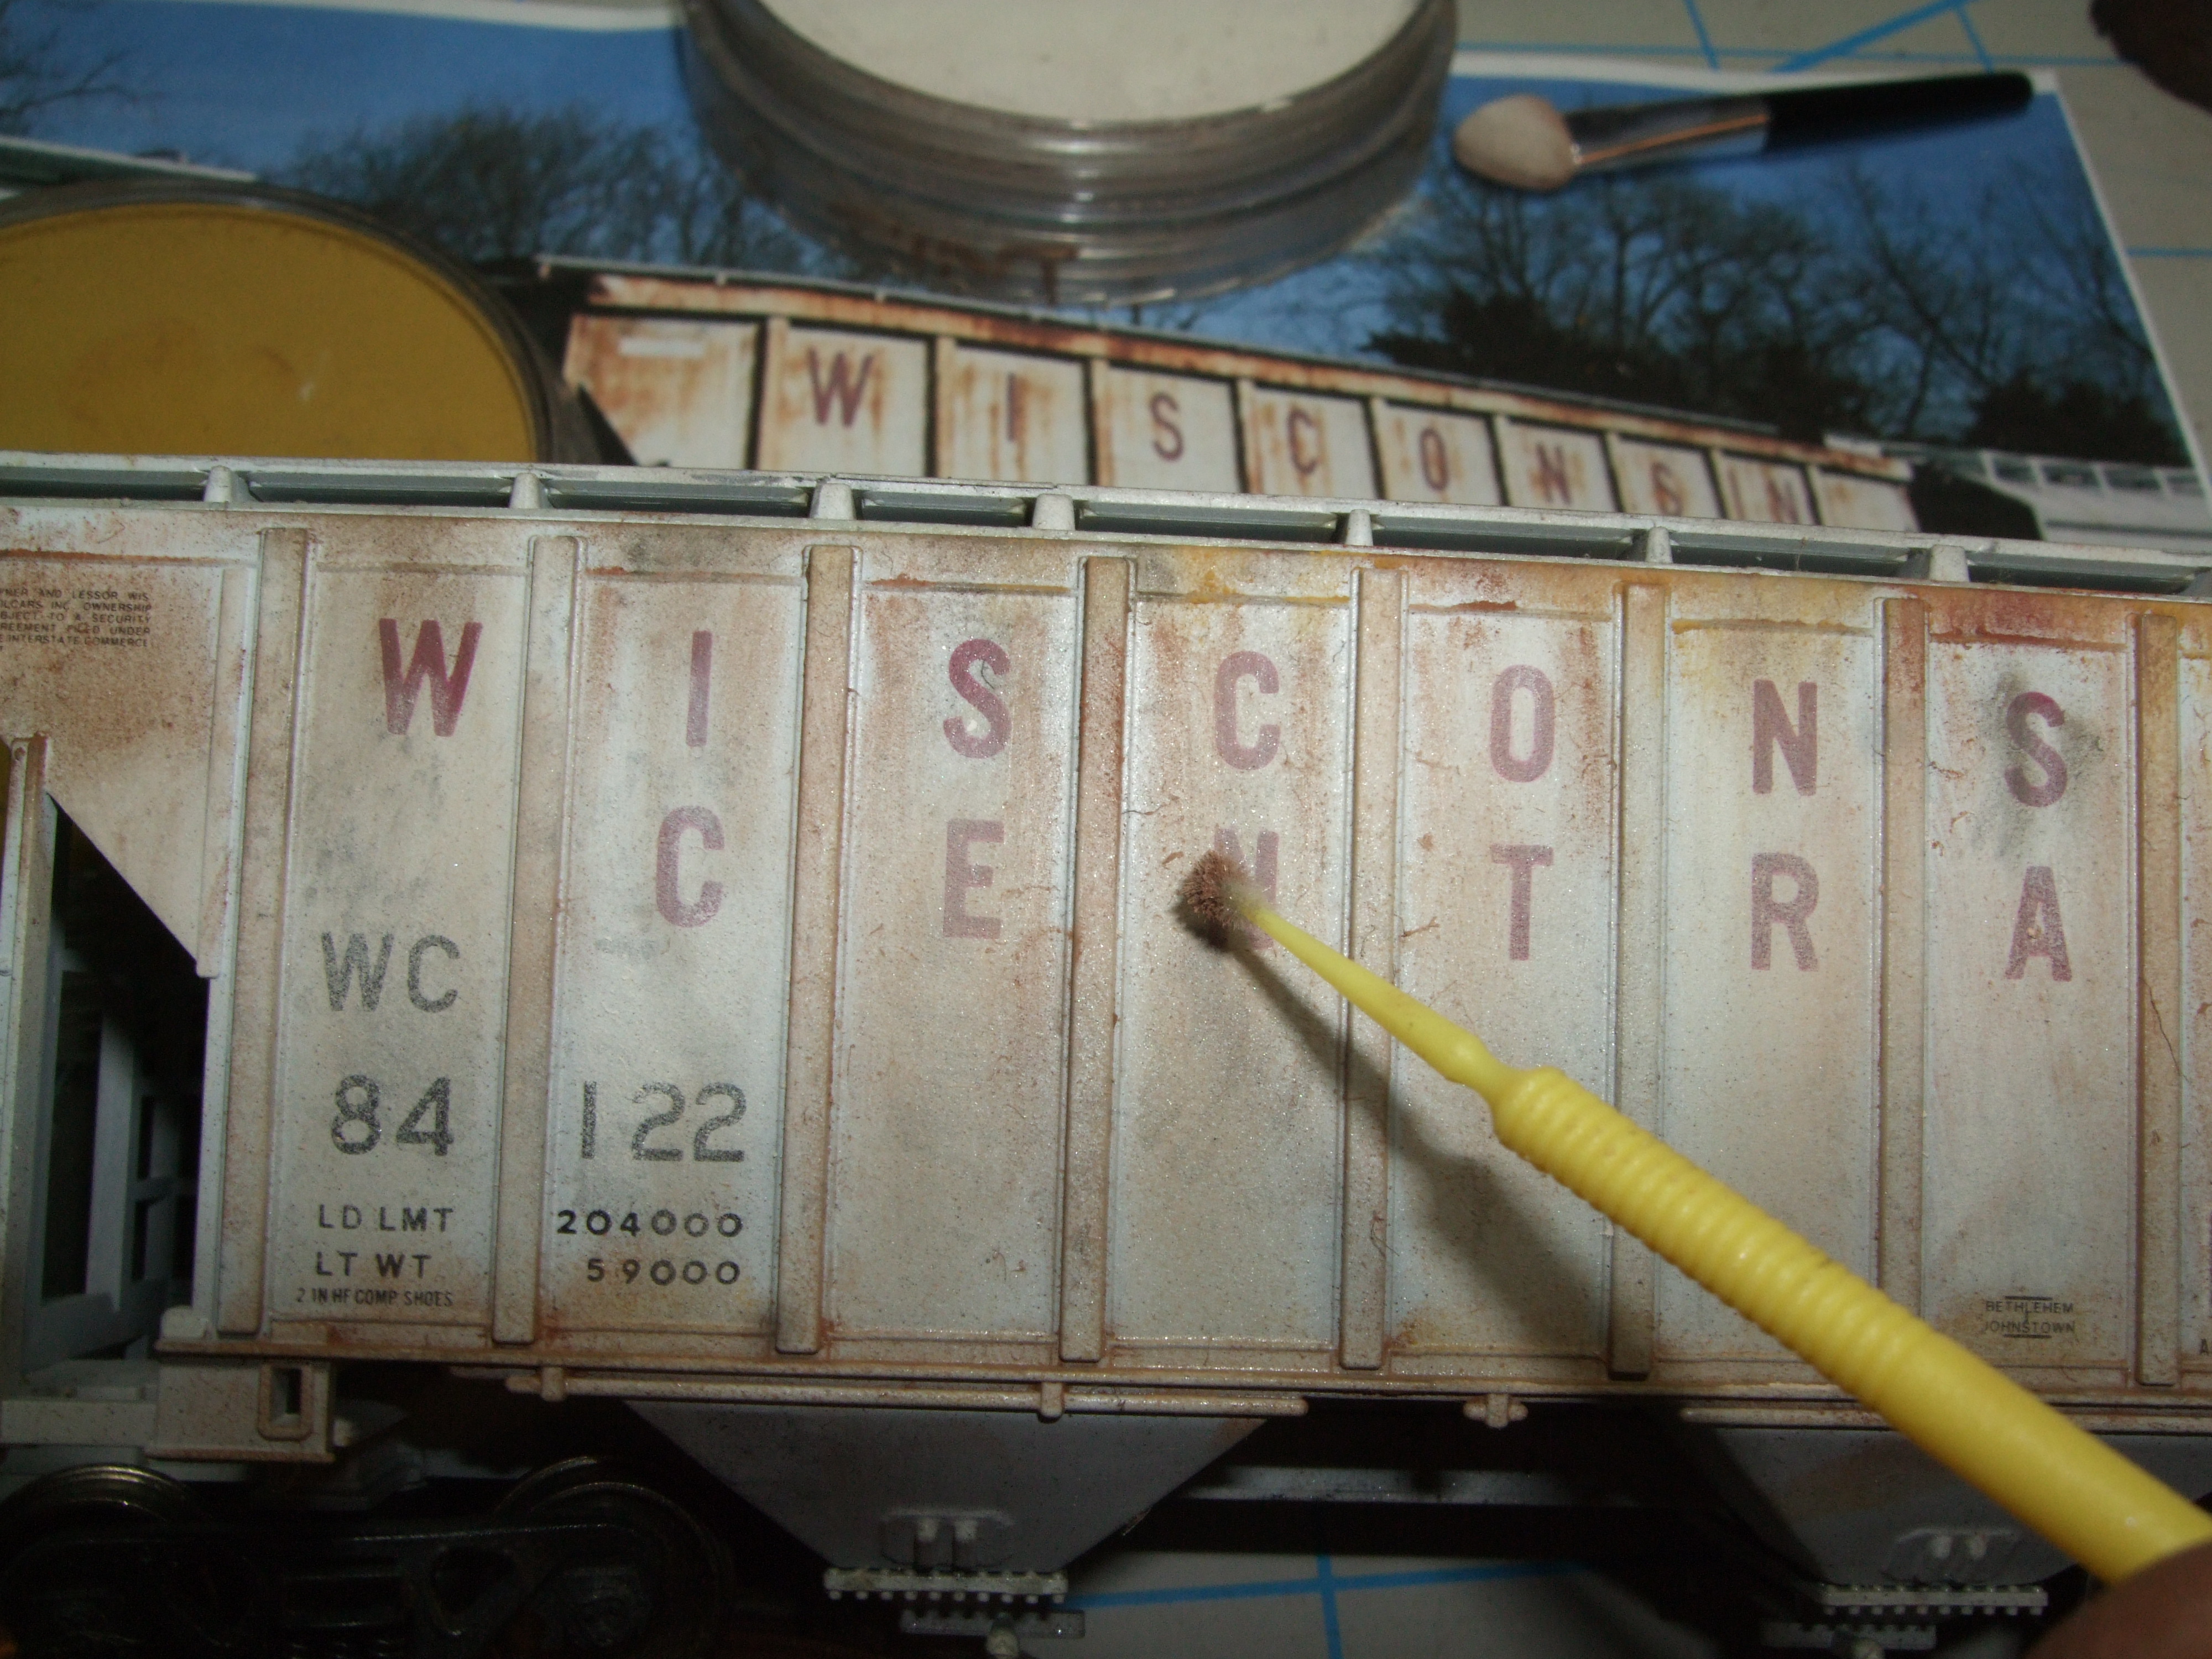
You will start to notice there is a pattern and the rust follows weak spots in the real cars construction. I held the print at arm’s length and noticed the streaks seemed to line up with the brackets. Panel lines, points of attachment for components, grab irons and depressions will all attract rust. When you wash and rinse the model prior to weathering you’ll see the water collecting in certain areas just like rain does.
Matching tones on the car side.
Working PanPastel® into recesses with oil painters brush.
Let’s lay down some patches on the roof and we’ll do it in 3 steps. Light to medium using the Sofft Tool® and the Microbrush® to the dark streaks. If you want to get really detailed use a WATER Soluble PENCIL (e.g. Faber Castell® or Derwent®) to make fine dark streaks and rust spots. PanPastel will work with lots of other water-based mediums. Do not use the waxy based color pencils for this.

These streaks will line up with the running board brackets.
Creating vertical streaks with Microbrush®.

Detailing the horizontal frame indentation where water collects.

Adding rust pock-marks with dark brown watersoluble pencil. Remember: not wax-based pencils.

Using Microbrush® to pick out the weld seams and soften darker rust streaks from color pencil with Burnt Sienna 740.5.
The discharge gates are darkened with Raw Umber Extra Dark 780.1. The bays on the bottom will not be as rusty but will pick up earth tones from the dirt and rail/wheel crud accumulated in travel. Some of the railroads had the bays painted black and not body color. Check your reference photos. This underframe still has the Workable Fixative and didn’t let the PanPastel® grab like it should have.
We use the Microbrush and the hard edge of the Sofft® Sponge Bar (Wedge) to create straight vertical streaks. This car has a neat double line pattern of rust between the exterior posts. A little care and a good straight edge works well here. We use the Microbrush® here. Colors used are Red Iron Oxide Shade 380.3, Burnt Sienna 740.5 and Raw Umber Extra Dark 780.1. You can vary the colors to match your inspiration.
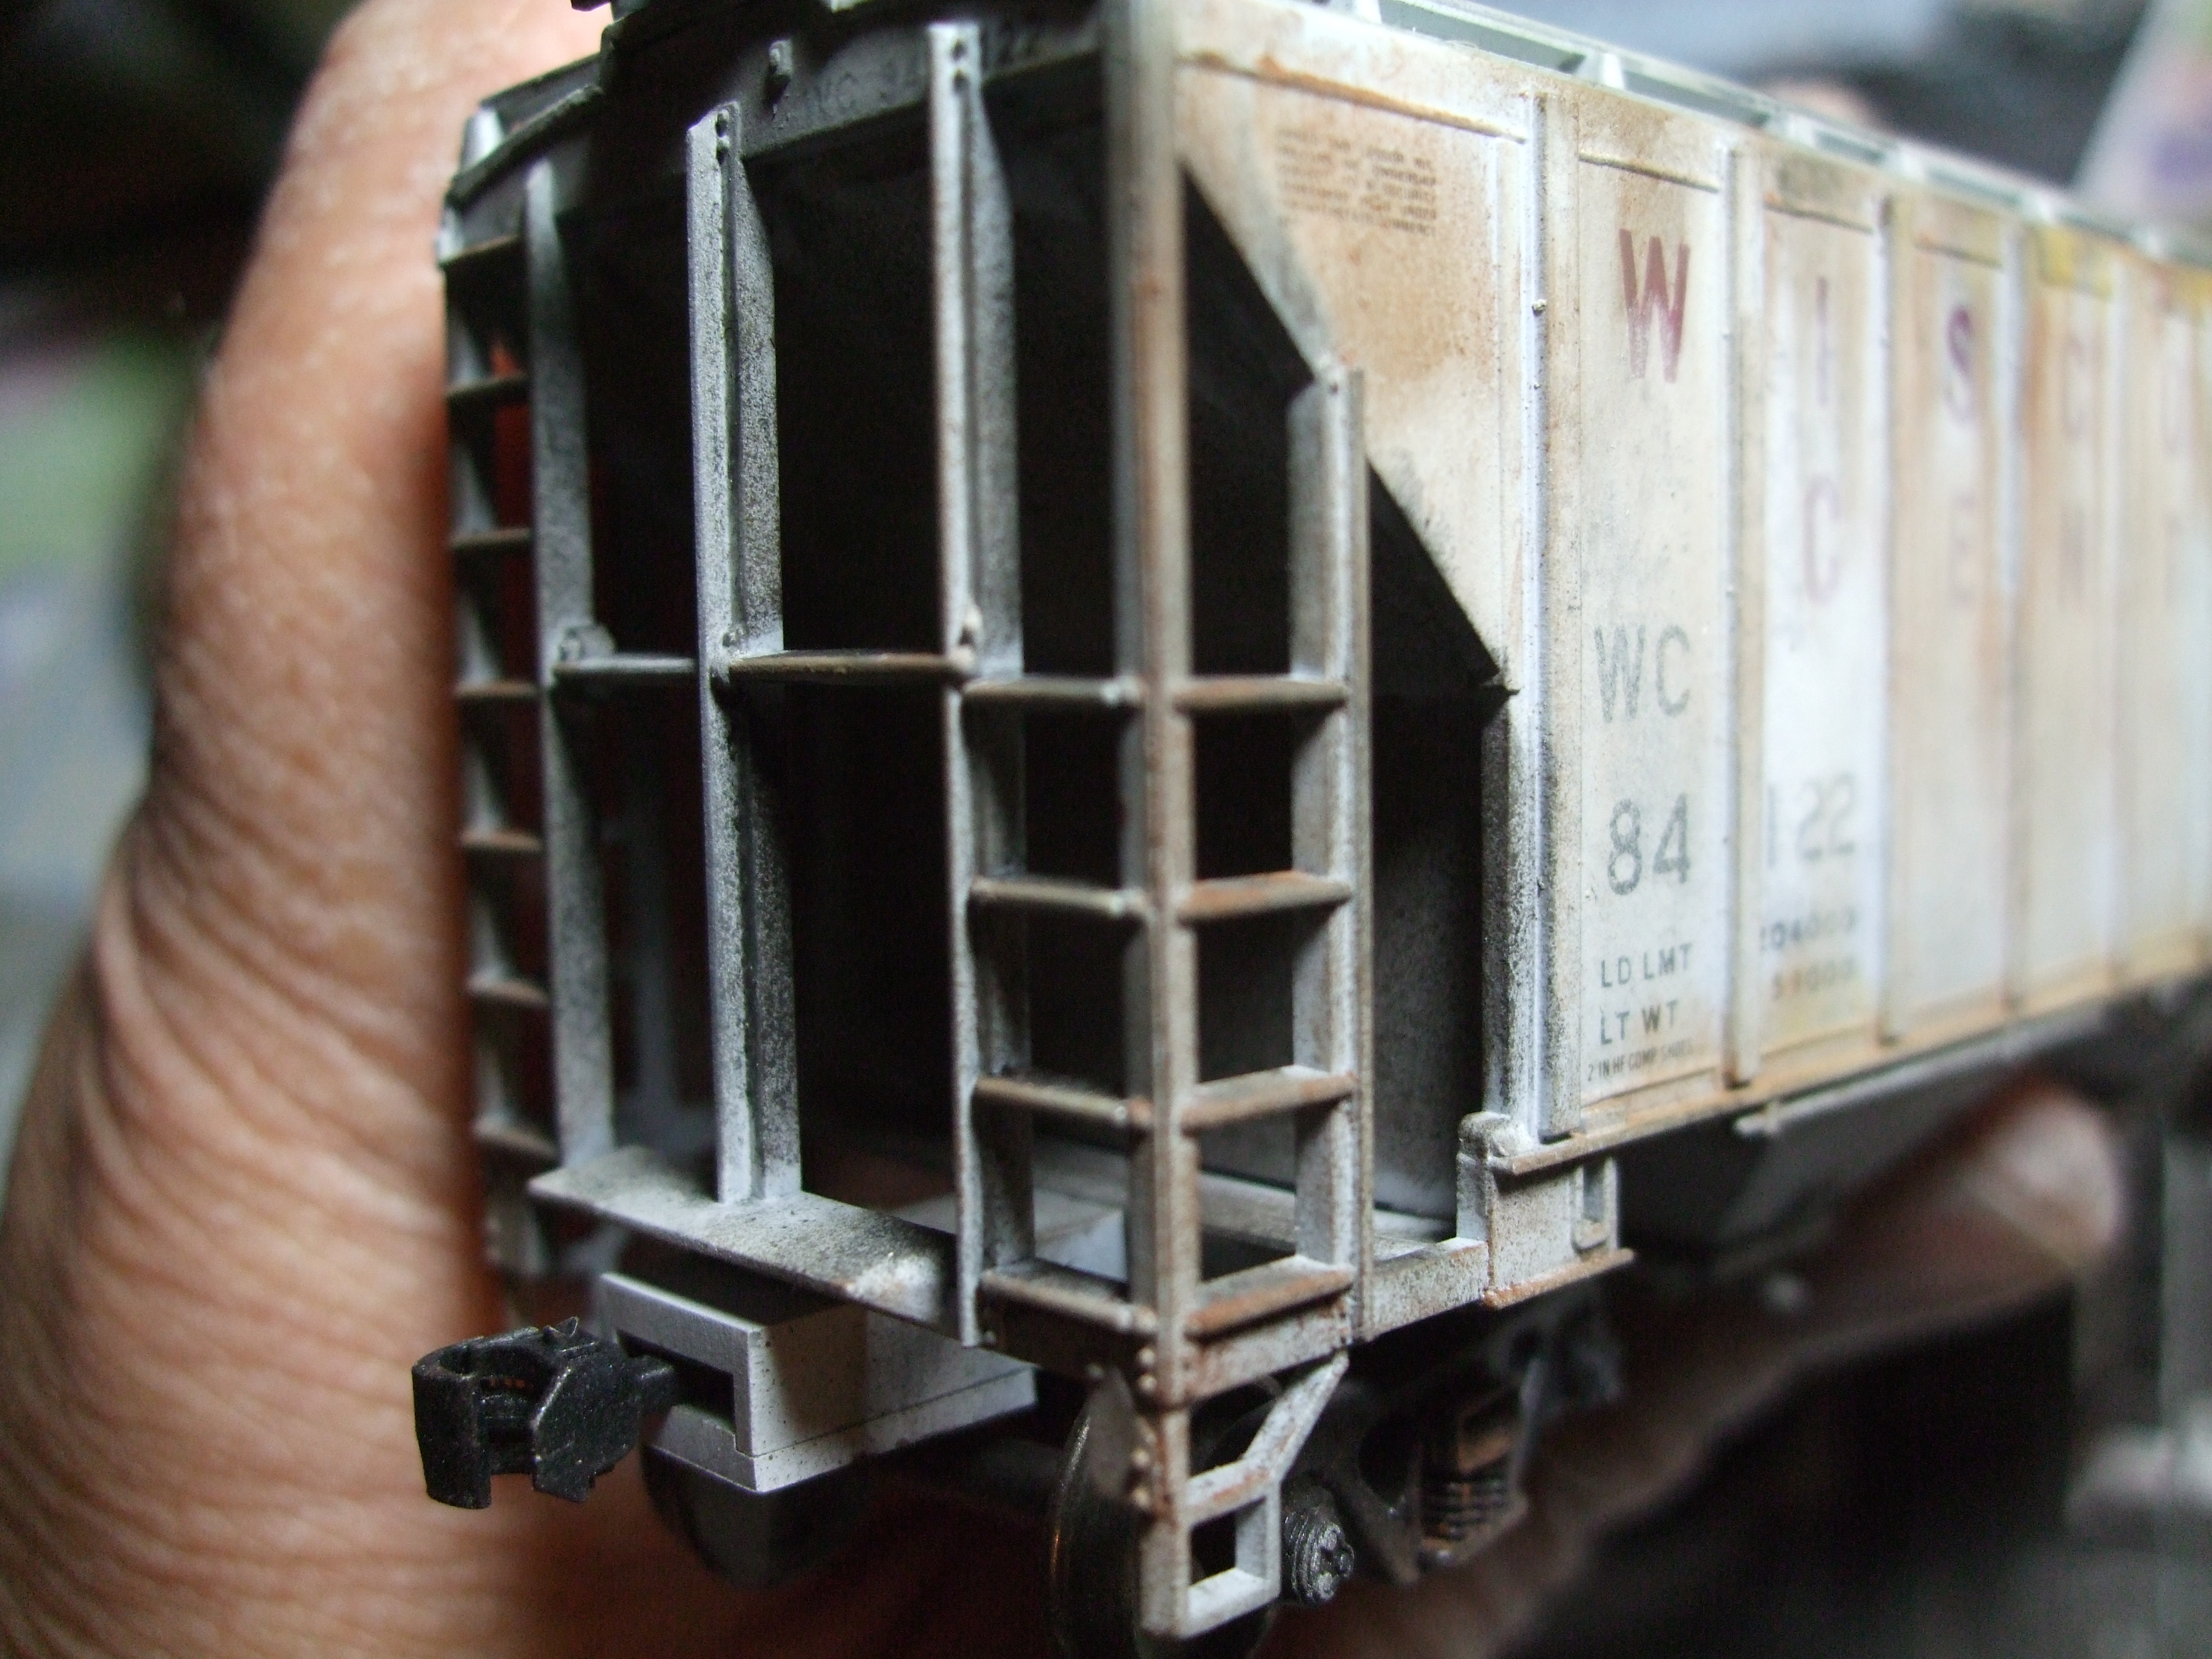
The front and back “porch” area gets really rusty, Start with Raw Umber Extra Dark 780.1.
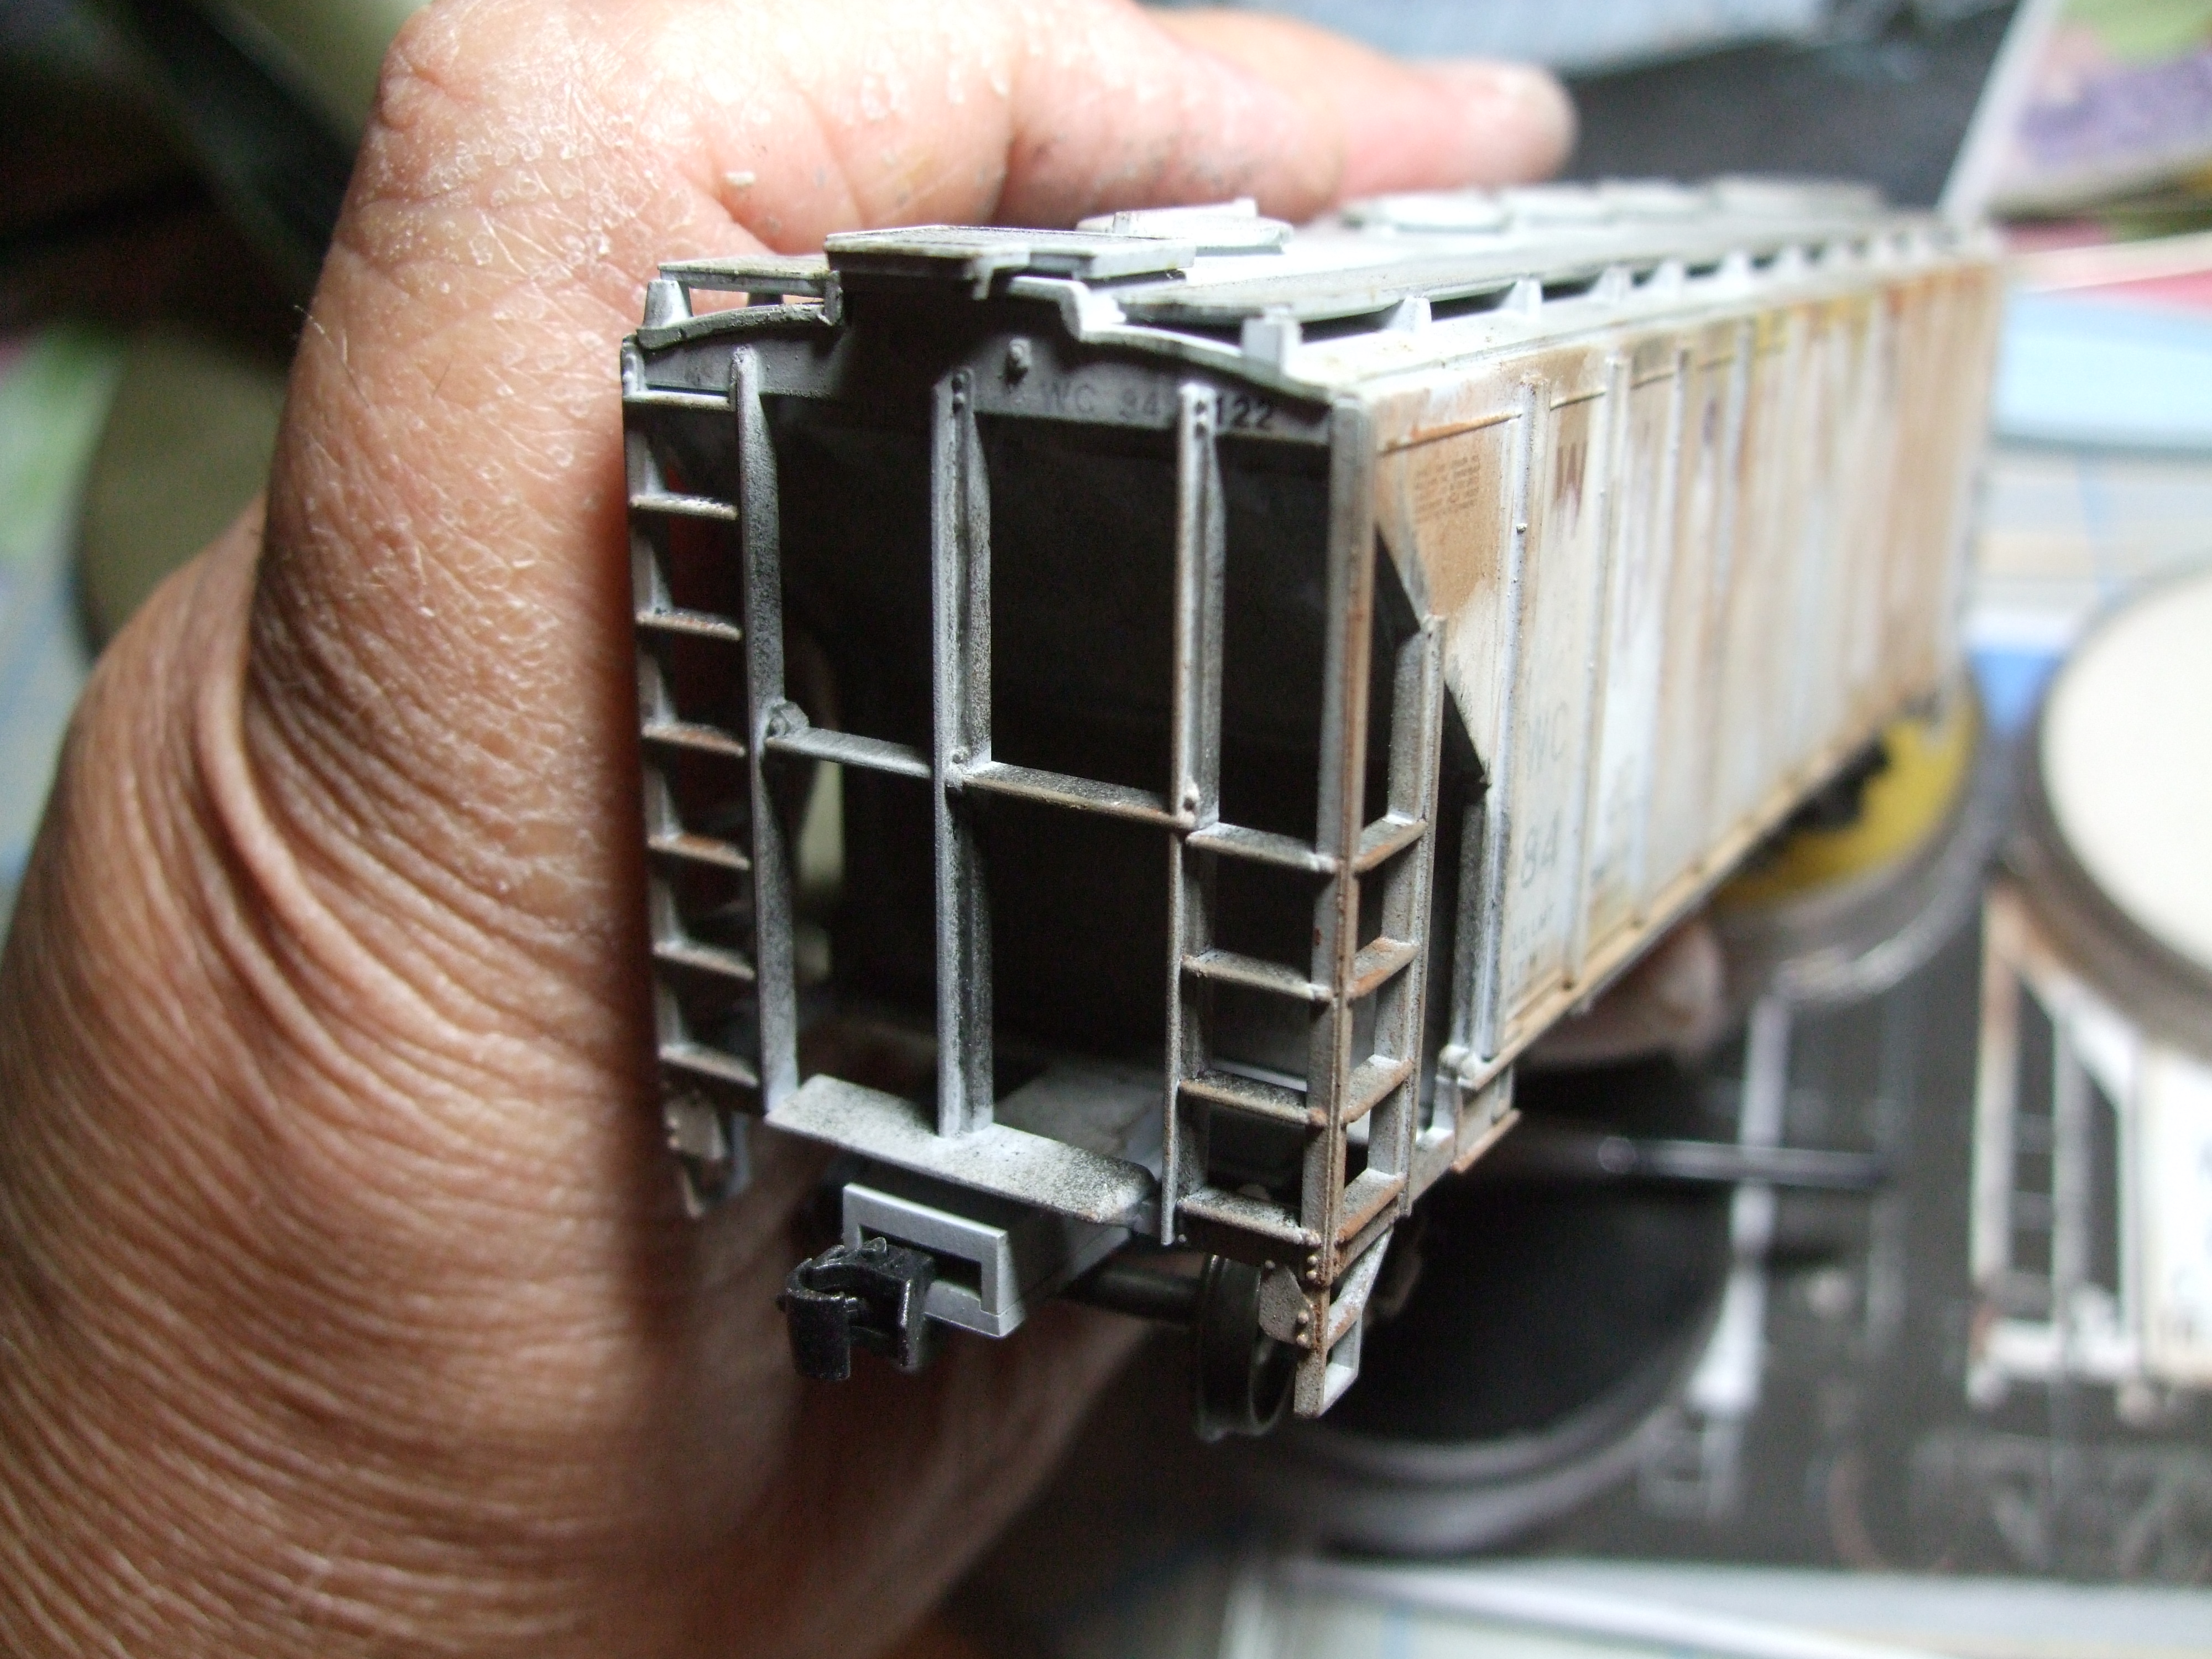
Darken the sides and backs of the over- size grab irons and uprights, lighten or rust the outer edges.
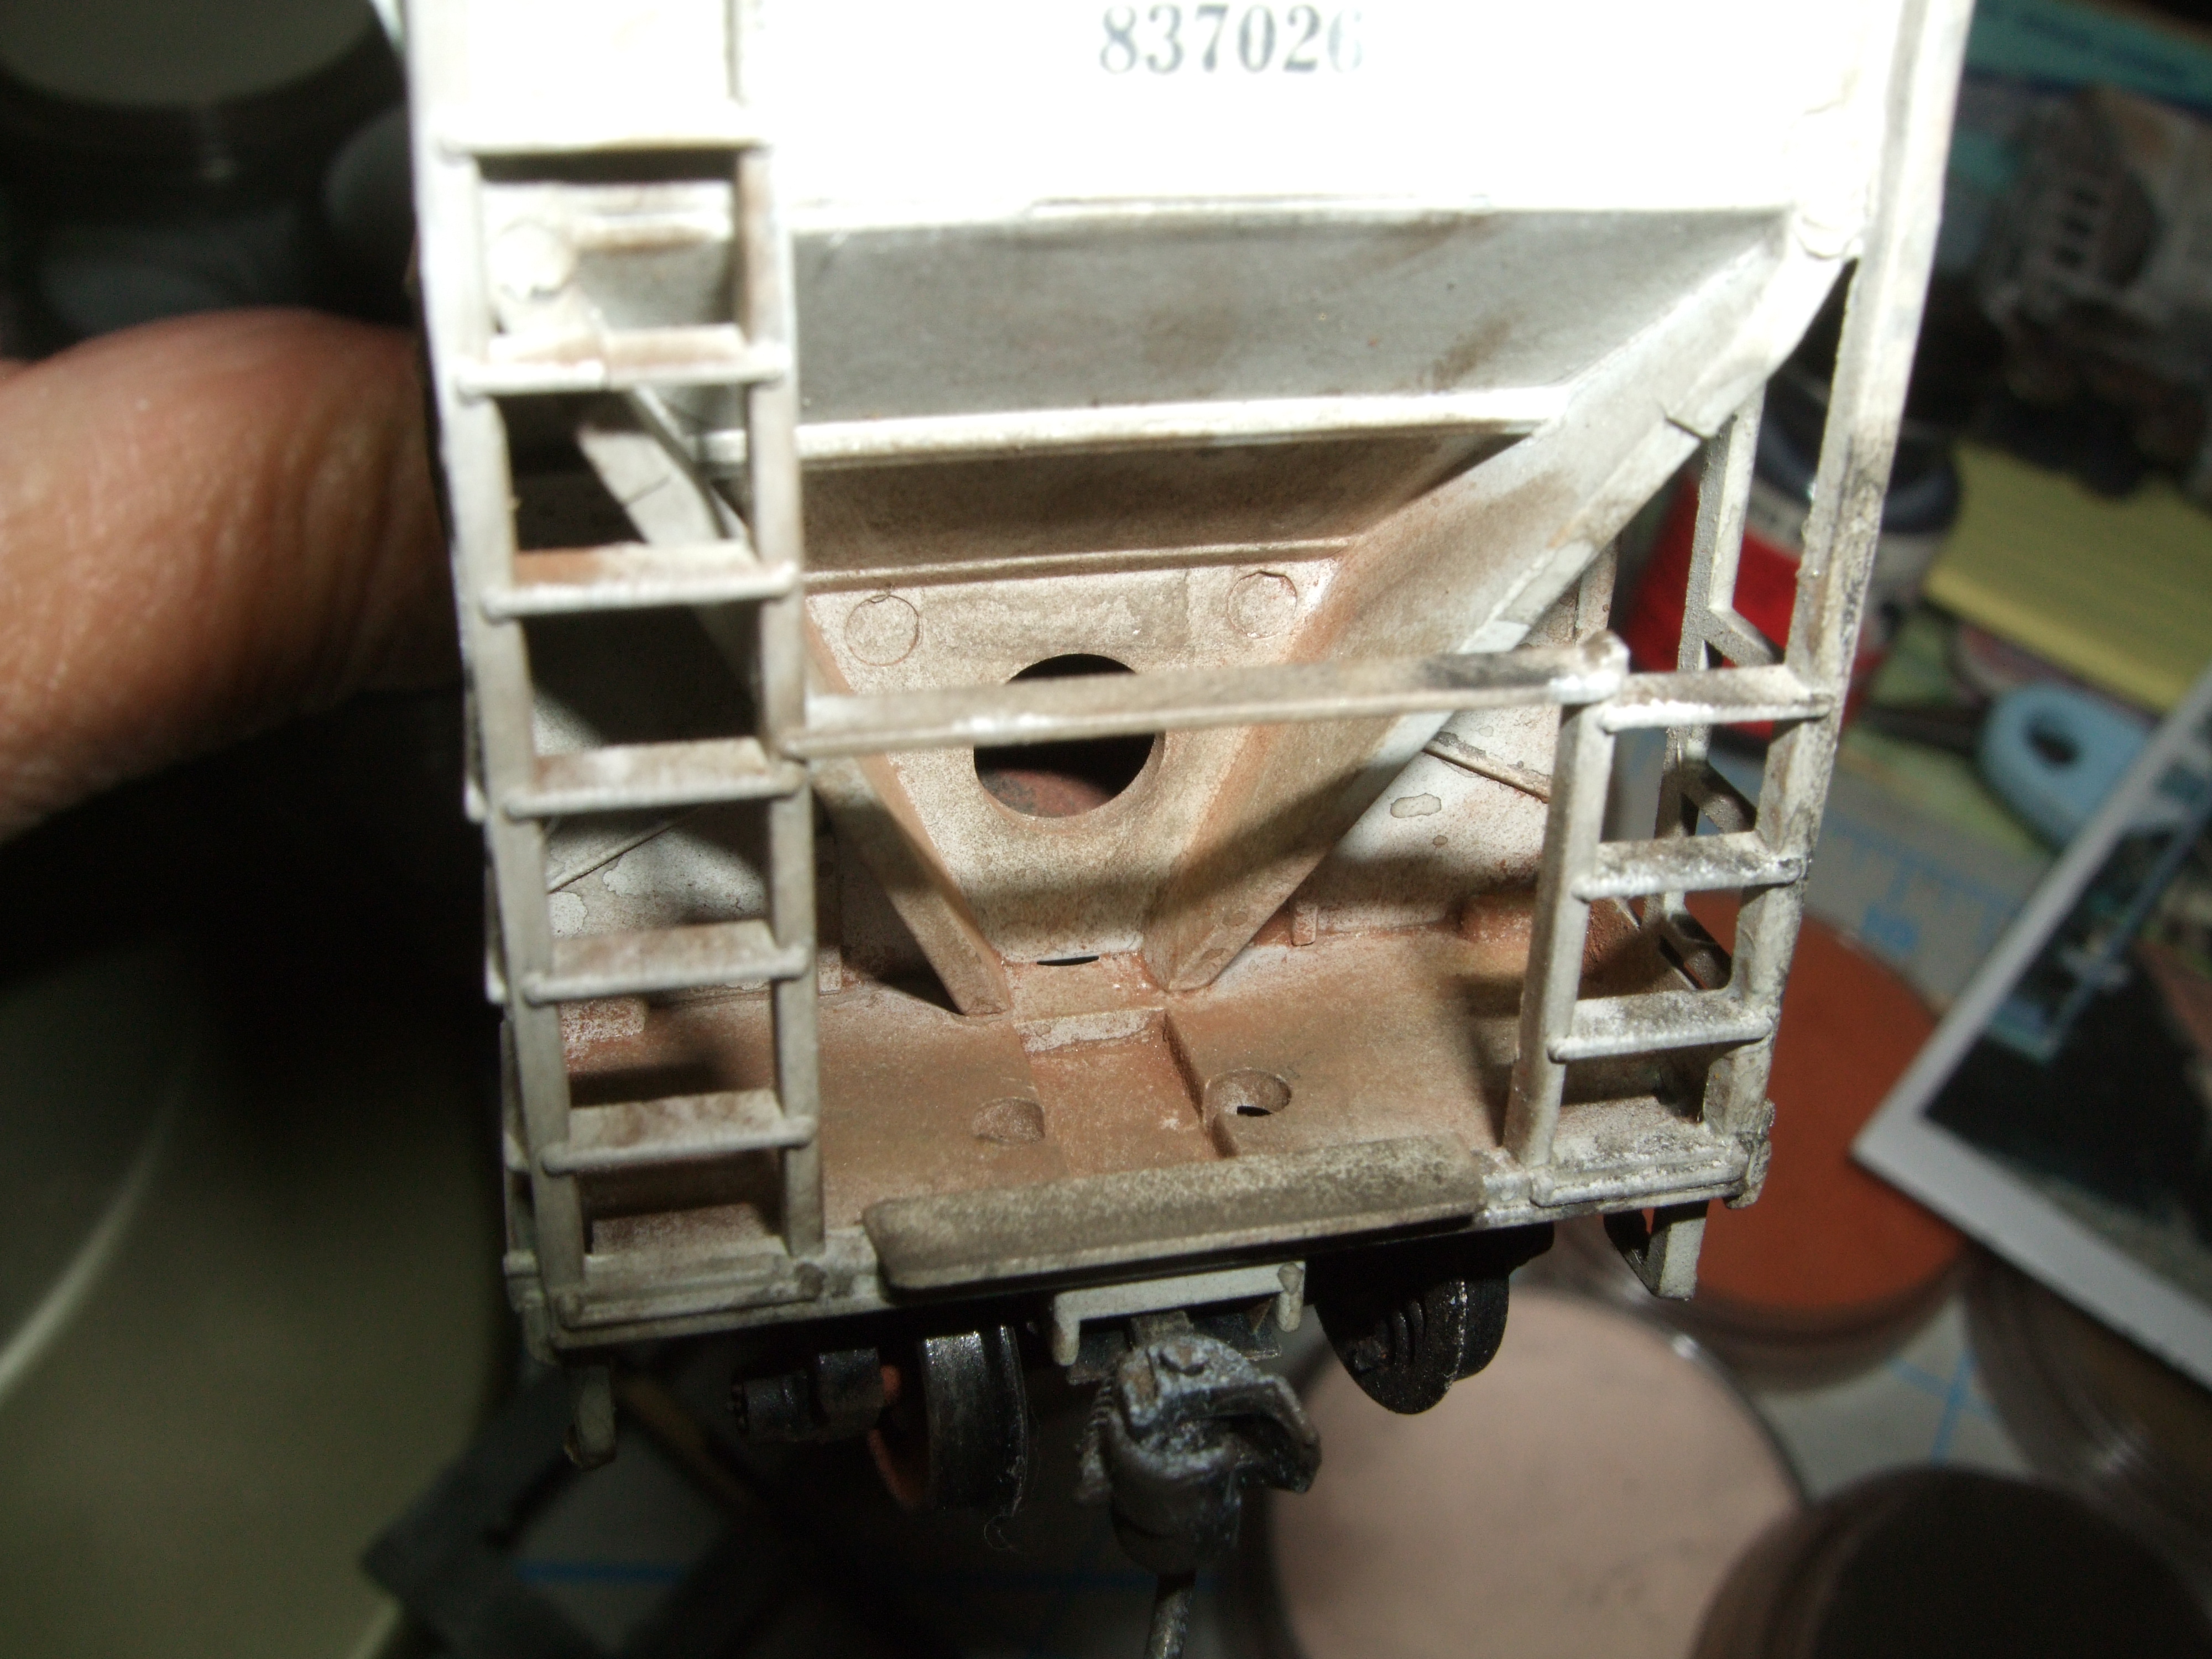
On my print there is a blanket of rust on the floor pans on the car ends. Scrub your base color and dab other shades for interest. That little walk over above the coupler can be Raw Umber Extra Dark 780.1. The sill of the ACF car is indented and a great place for rust to accumulate. Again, multiple colors for more realism.
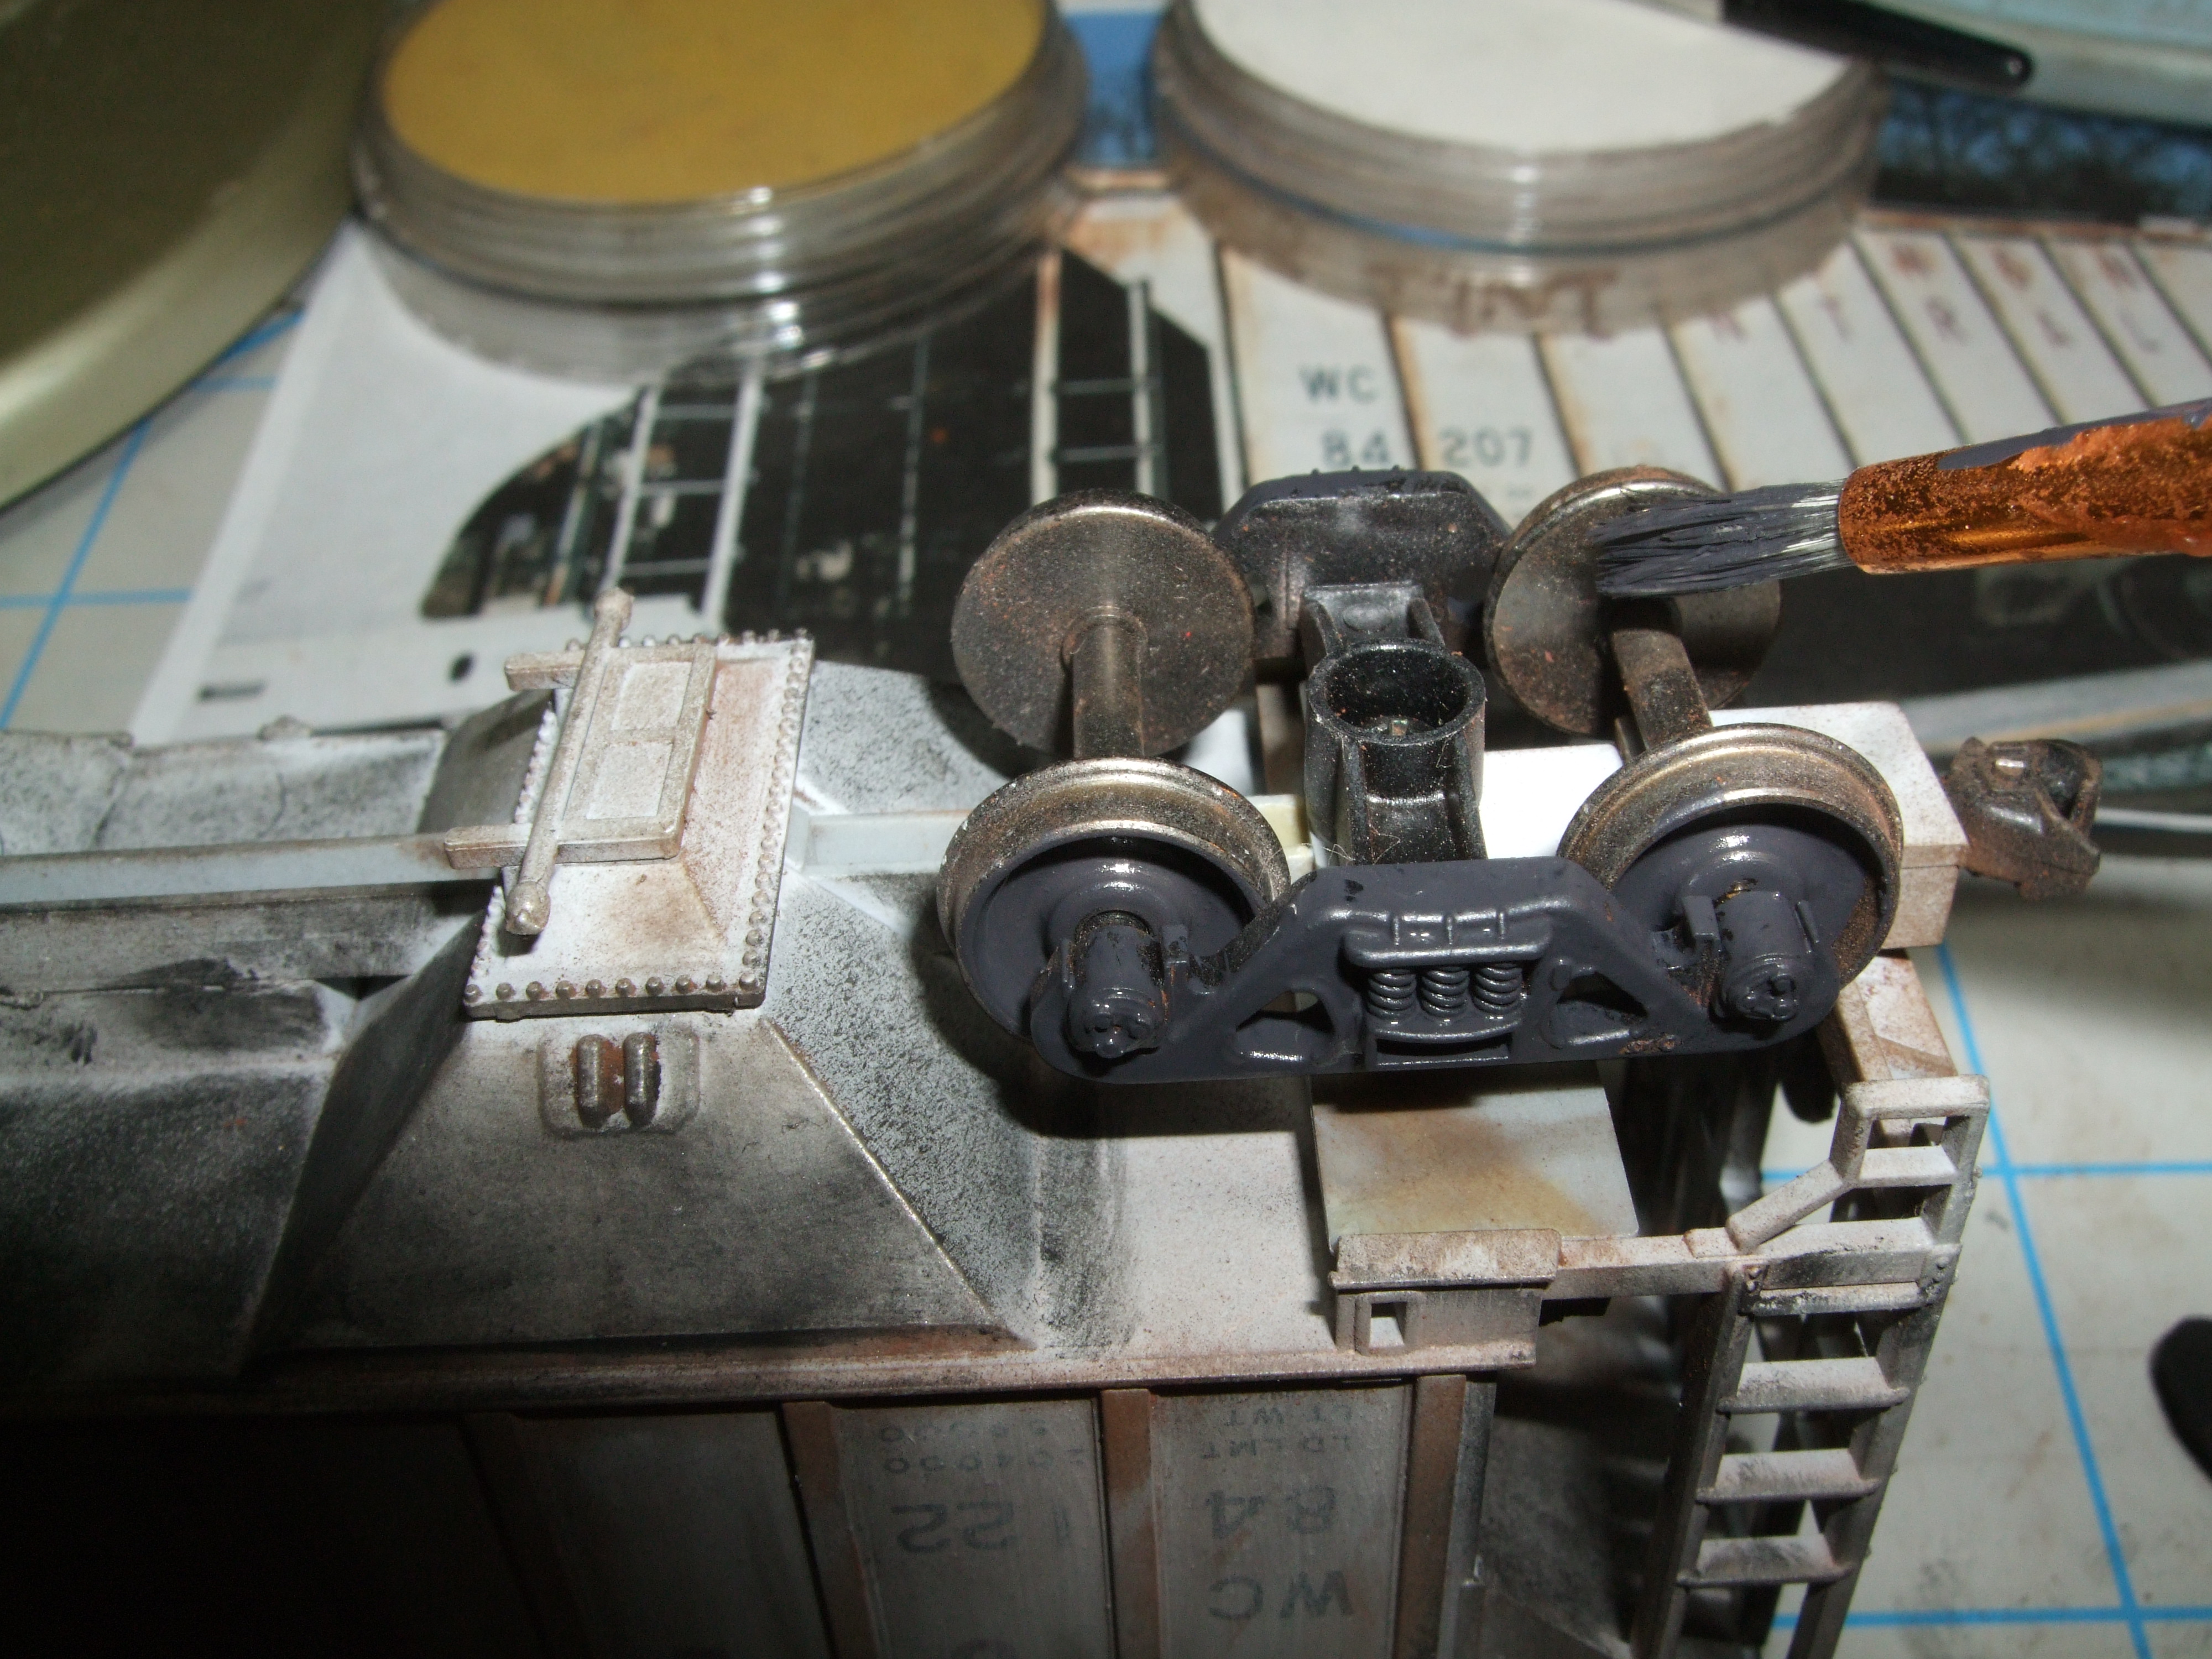
Trucks and Couplers need love too!
This is where typically unweathered models look their worst. I have seen freight cars at shows that still have their shiny black plastic trucks with silver or blackened wheels looking very toy like. When you weather the trucks it makes them an important part of the model. It brings harmony to the model. Let’s remedy this situation.
Onto the trucks and couplers. Paint the trucks and wheel-sets with a modeler’s acrylic flat paint after washing or wiping down with Isopropyl Alcohol. For added realism paint the axels and wheel backs. My secret mix is a real dark brown made with Black and Roof Brown or a suitable Dark Brown. I brush it on with a good #1 or #2 artist watercolor brush. Model Master® paint goes on easily and dries without hiding detail and I have read that some of the modelers now use Craft Paint. This is a good base for PanPastel® and you can now use a Red Iron Oxide Shade 380.3 on the springs and Burnt Sienna 740.5 on the painted wheel-sets. The couplers can take a sparing amount of paint and pastel when they are dry. Don’t clog the springs or pivot points on the knuckle. The wheel bearing covers look highly realistic with a little swipe of the 013 Pearl Medium-Black Fine.
Paint the back of the wheels and axles too.
Paint trucks with a Weathered Black or ultra Dark Brown.
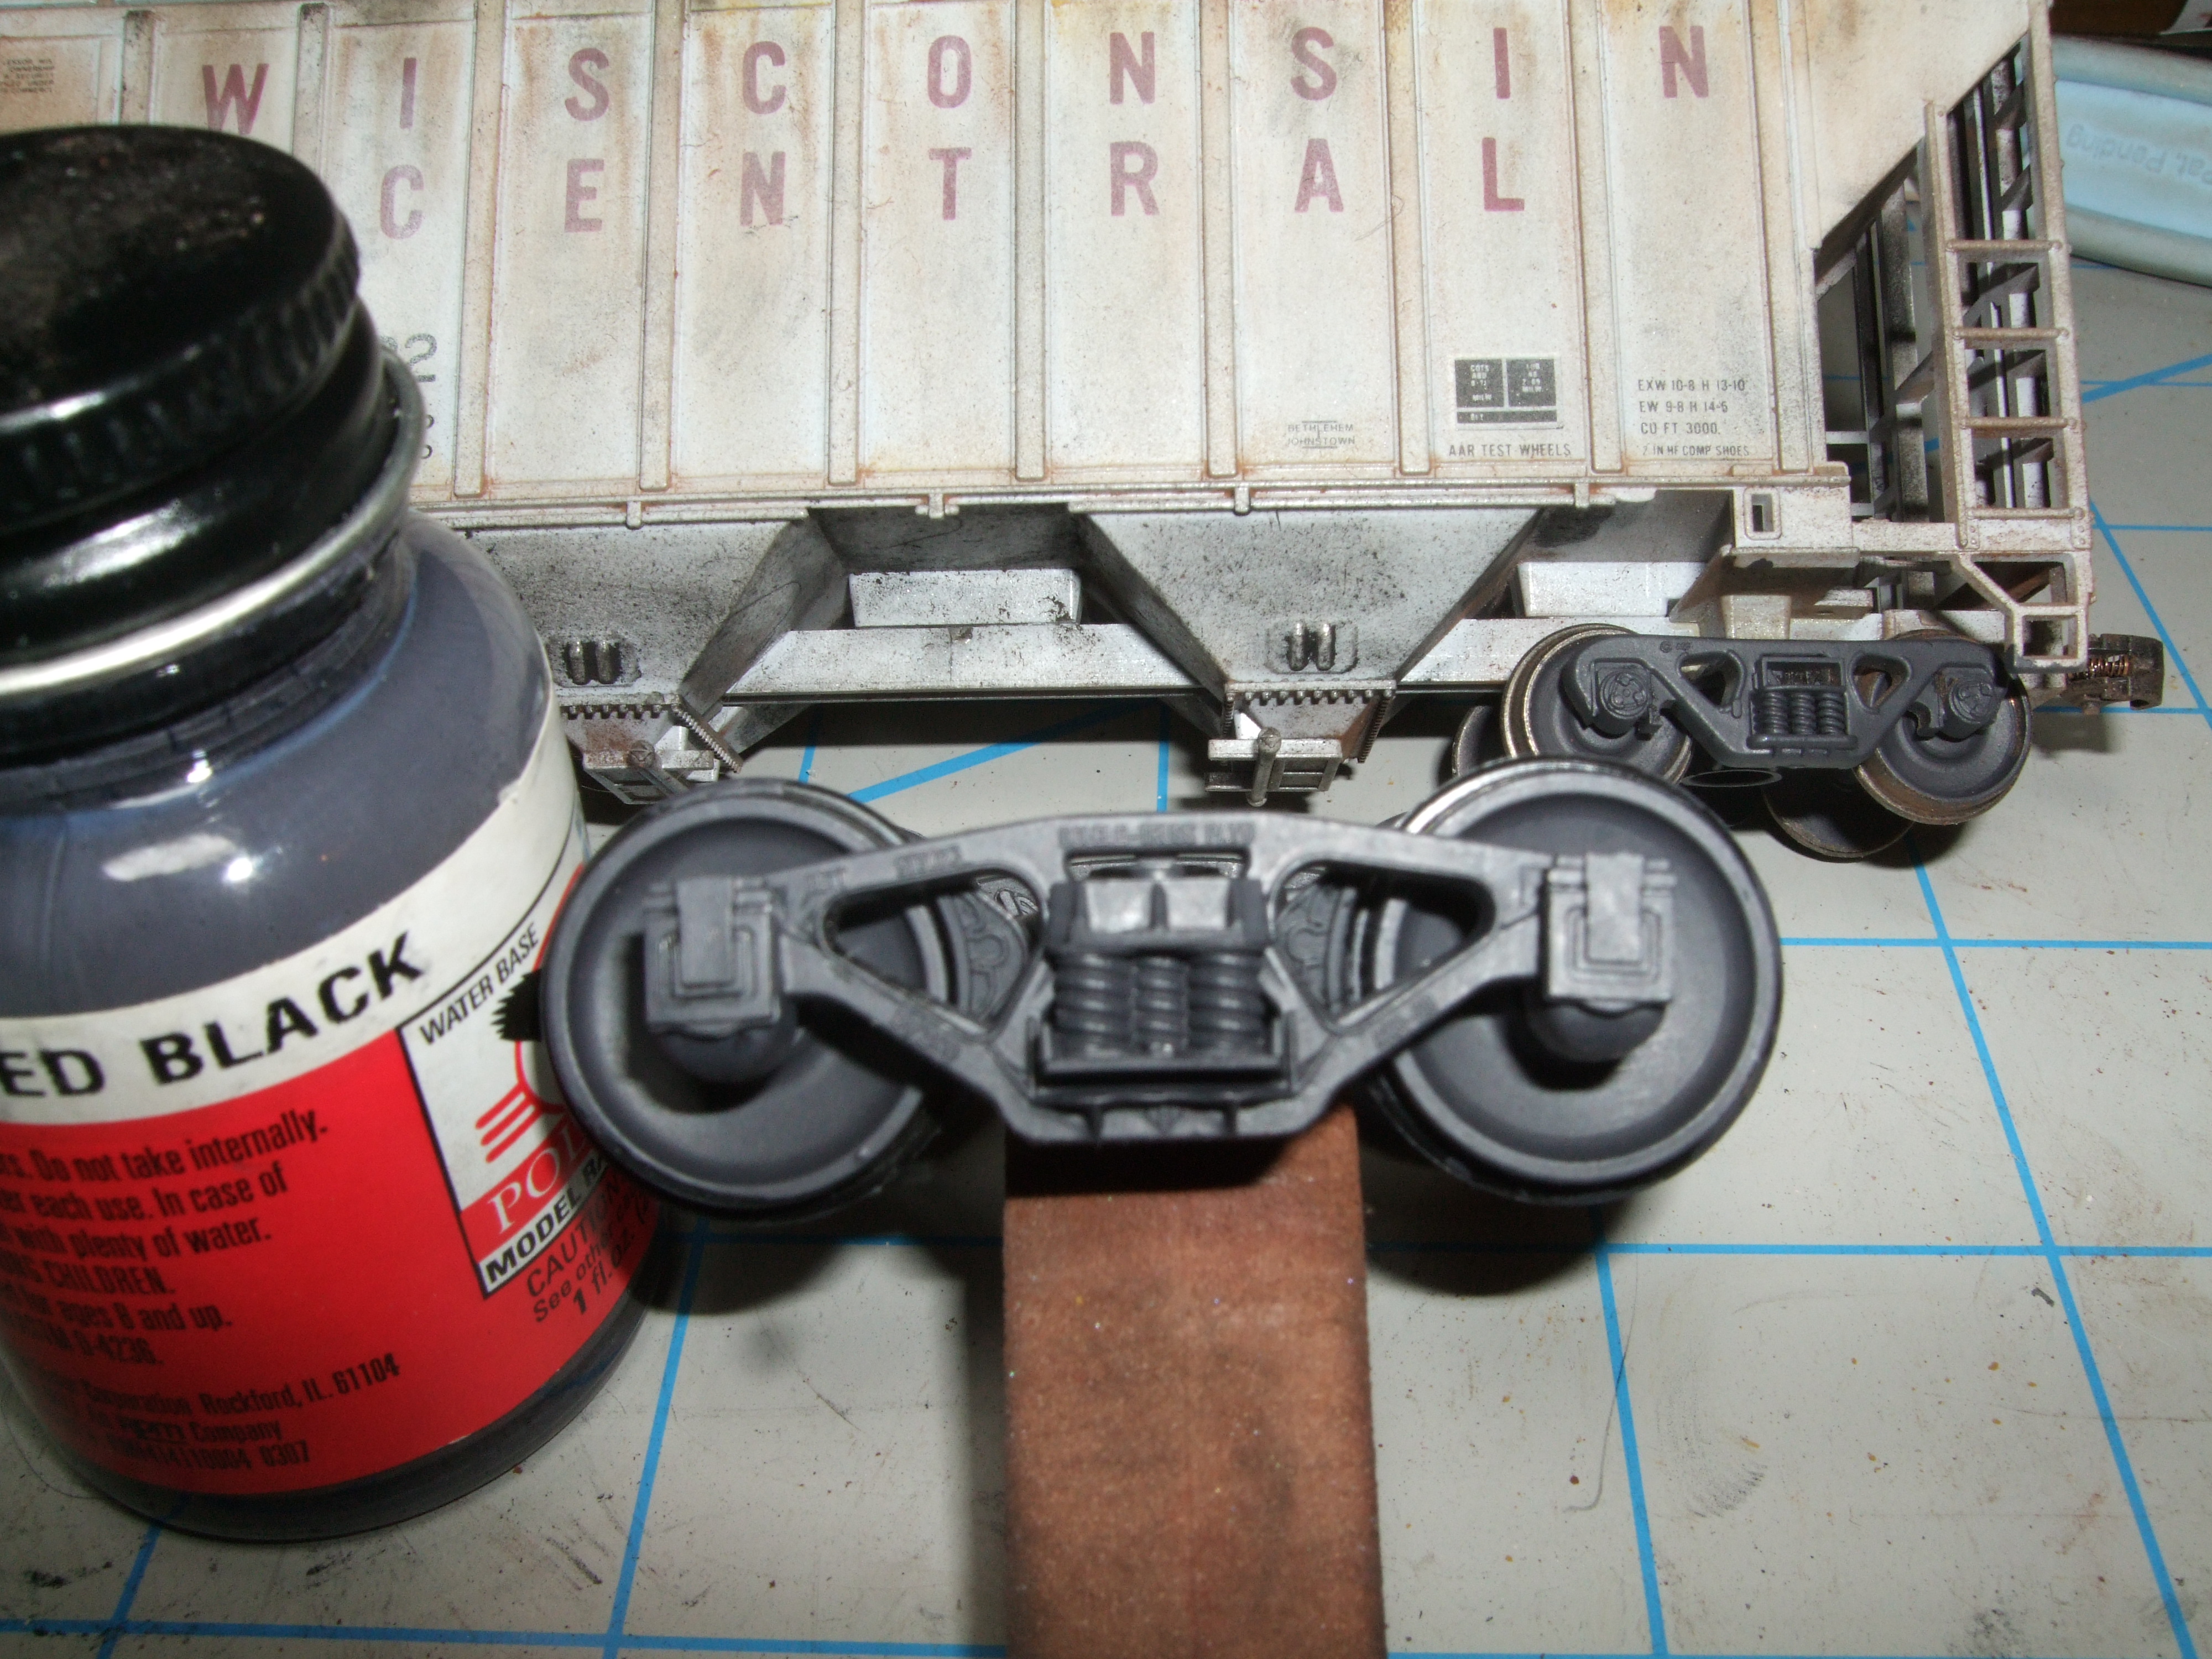
 Wipe Burnt Sienna 740.5 on the springs and the raised detail (planks)on top and bottom of the springs.

Burnt Sienna 740.3 is wiped on the top of the truck frames and around the raised triangular openings. Wheels get a wipe of Red Iron Oxide Shade 380.3 to simulate rust. Raw Umber 780.5 can be added for more rust tones.
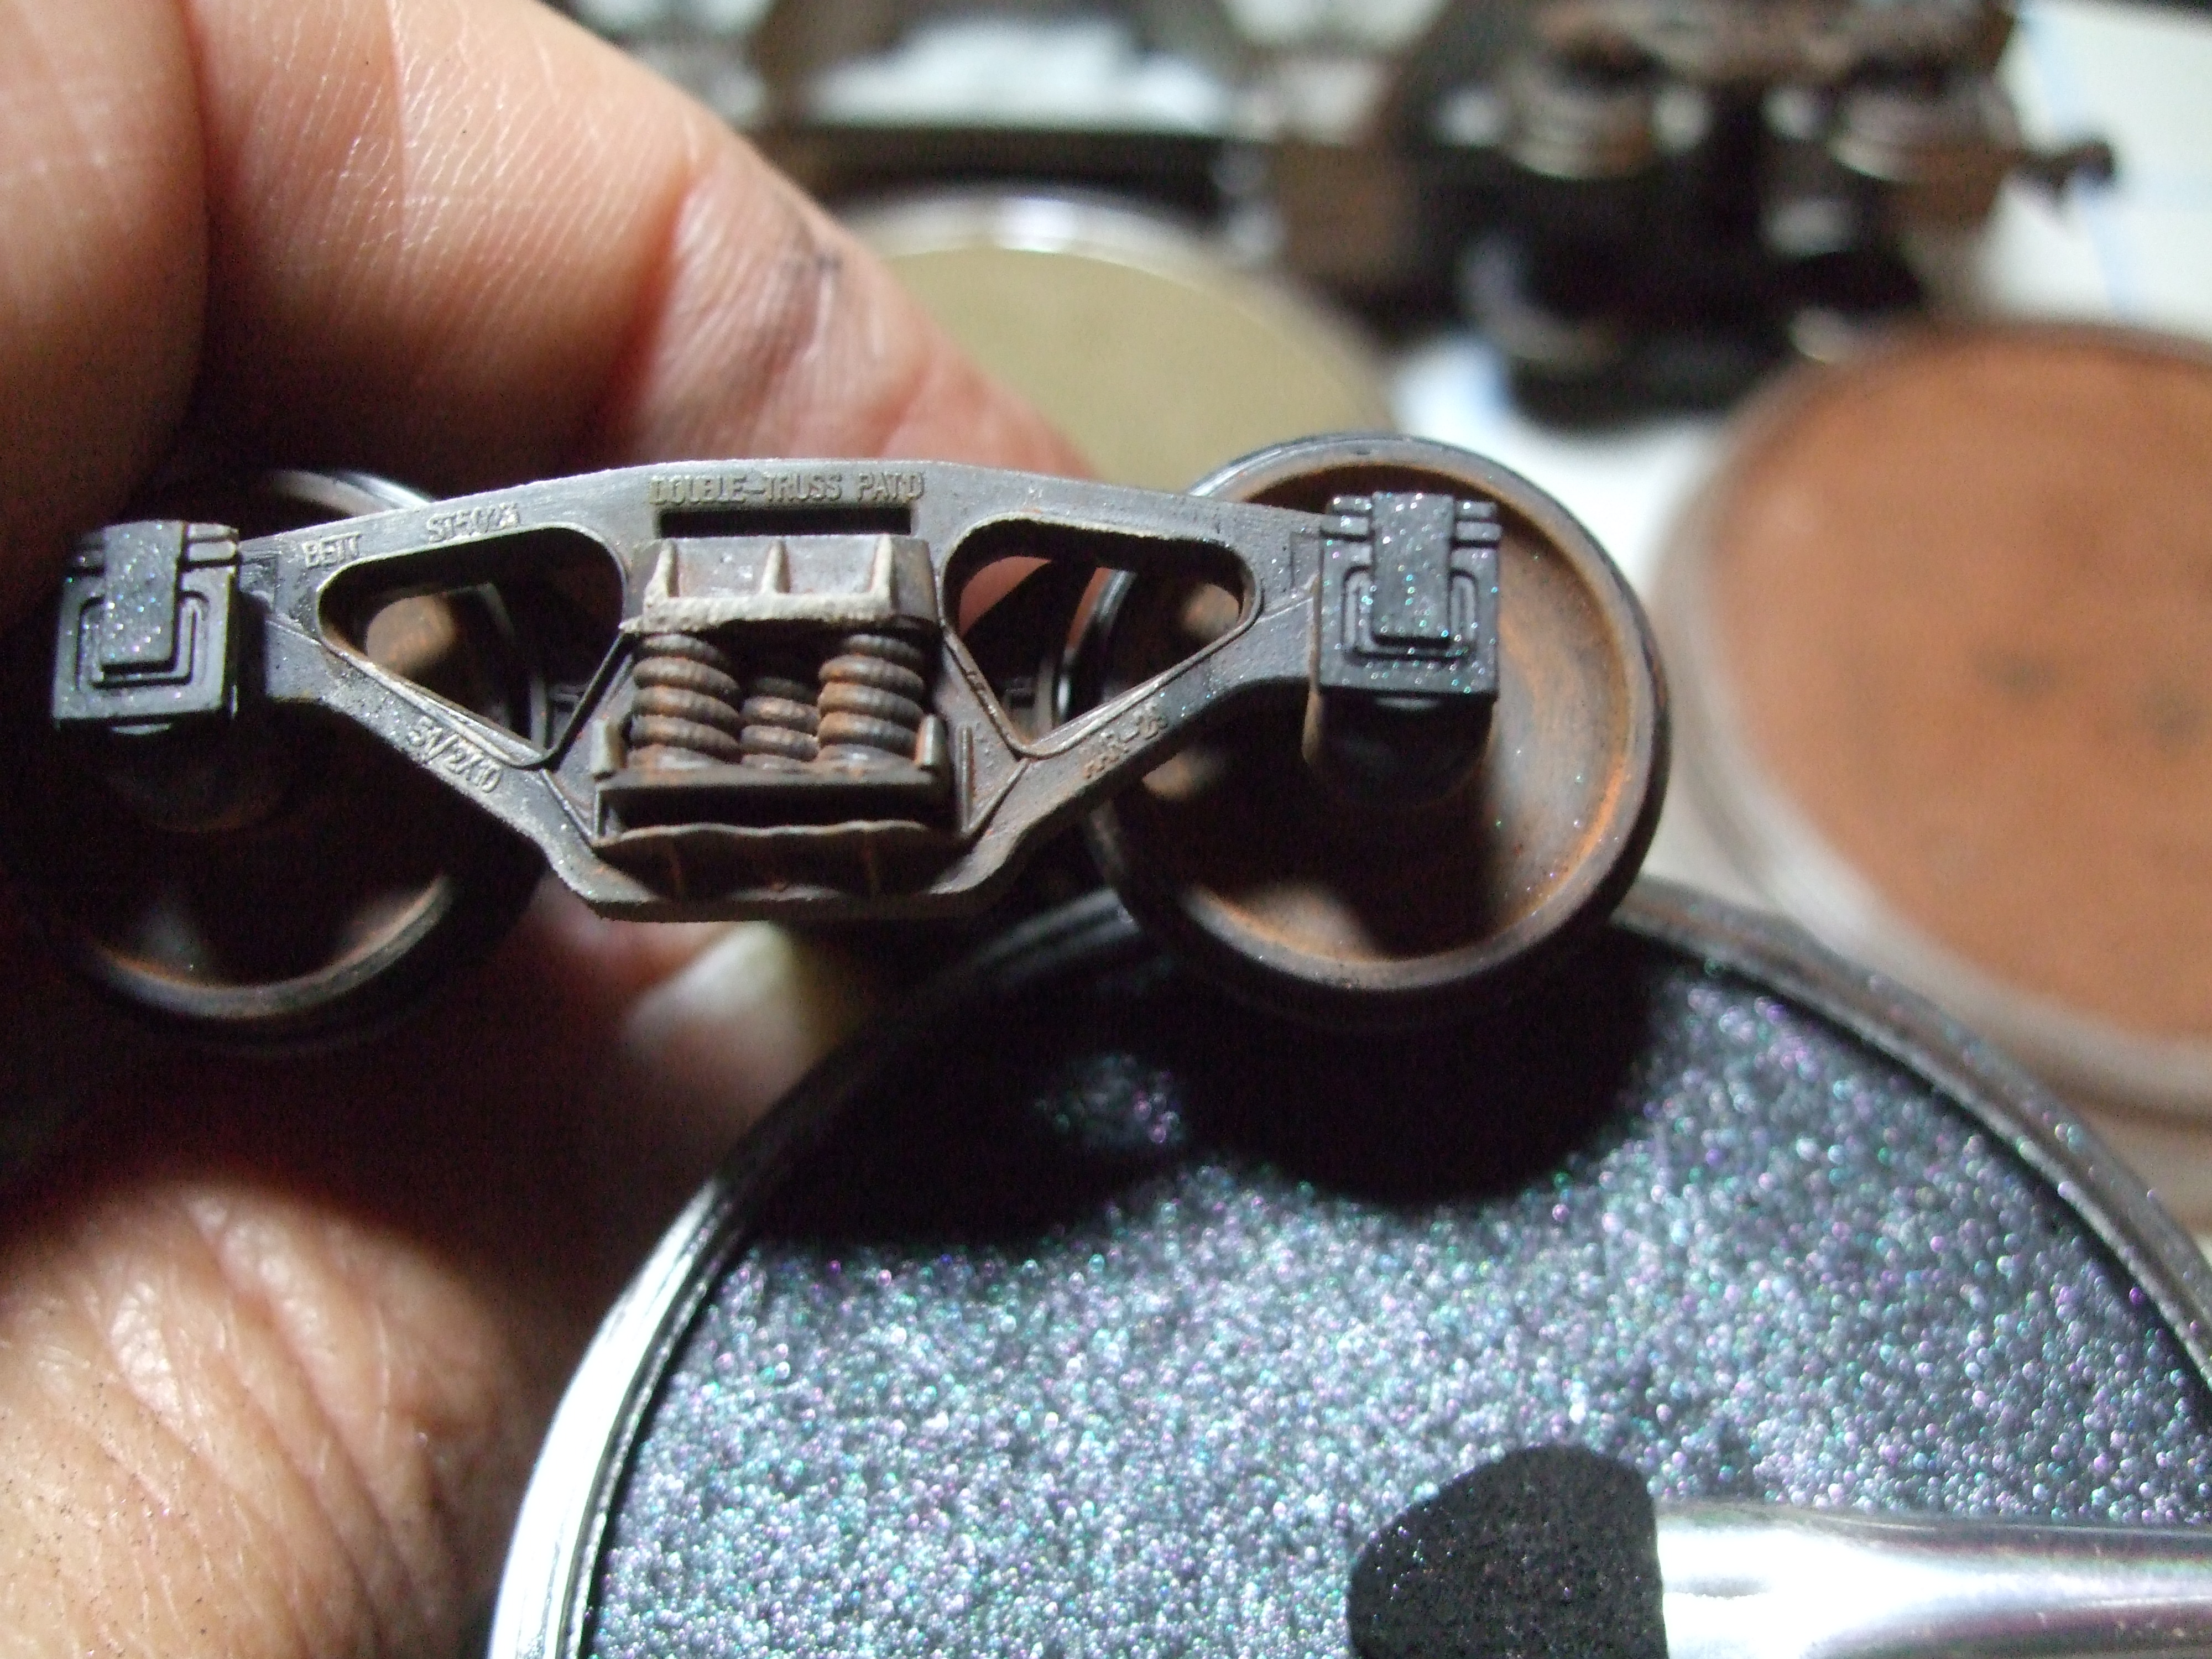
013 Pearl Medium Black Fine can be wiped on bearing box cover and wheels. The grease from the hot box often dripped on the wheel faces. You’re not seeing things. I used O Scale trucks for better clarity.

The ends and slope sheets will be rusty and also the ladder rungs and bolted members. Apply Black to insides of frame and ladders for extra depth and shadow.
Apply Rust colors on ladder rungs to highlight use lighter colors.

The finished project blog cars in their environment. Now that you mention it, those autos need a little weathering.
Well as Neil Young says, “There’s more to the picture than meets the eye” and a picture is worth a lot of inspiration. There is so much on the images tab from your favorite search engine to inspire you to use PanPastel® for applying rust effects on your models. I hope I have simplified the concept of rust on your freight cars. It’s easy and adds life to your models. PanPastel® and is so forgiving and cooperative to new and advanced modelers. Remember rust can spread to other things, trucks, tractors, track, structures and of course bridges to name a few. We’ll cover a lot of subjects in our upcoming blogs so stay tuned folks. I want to show you how to fade color, color correct and bring tonal variance to our models. I hope to meet and talk to you at Train Fest in Milwaukee Wisconsin in November, where I will be demonstrating on the PanPastel booth.
For full information on the PanPastel Colors & Sofft Tools used in this post: modelingcolors.com
For more information on Rob Manley visit: introduction-rob-manley