“All That Glitters”
I’ve had these PanPastel® Metallic Colors for a while and I always thought they looked pretty cool. Lots of potential. A little hard to write about. I guess it is because they are more subtle than the other colors we use in weathering our models. Now, I didn’t make an immediate reference to my obsession with freight car modeling. By models I mean the plastic kits that most of us started with like Revell planes, Monogram cars and Sci-fi kits.
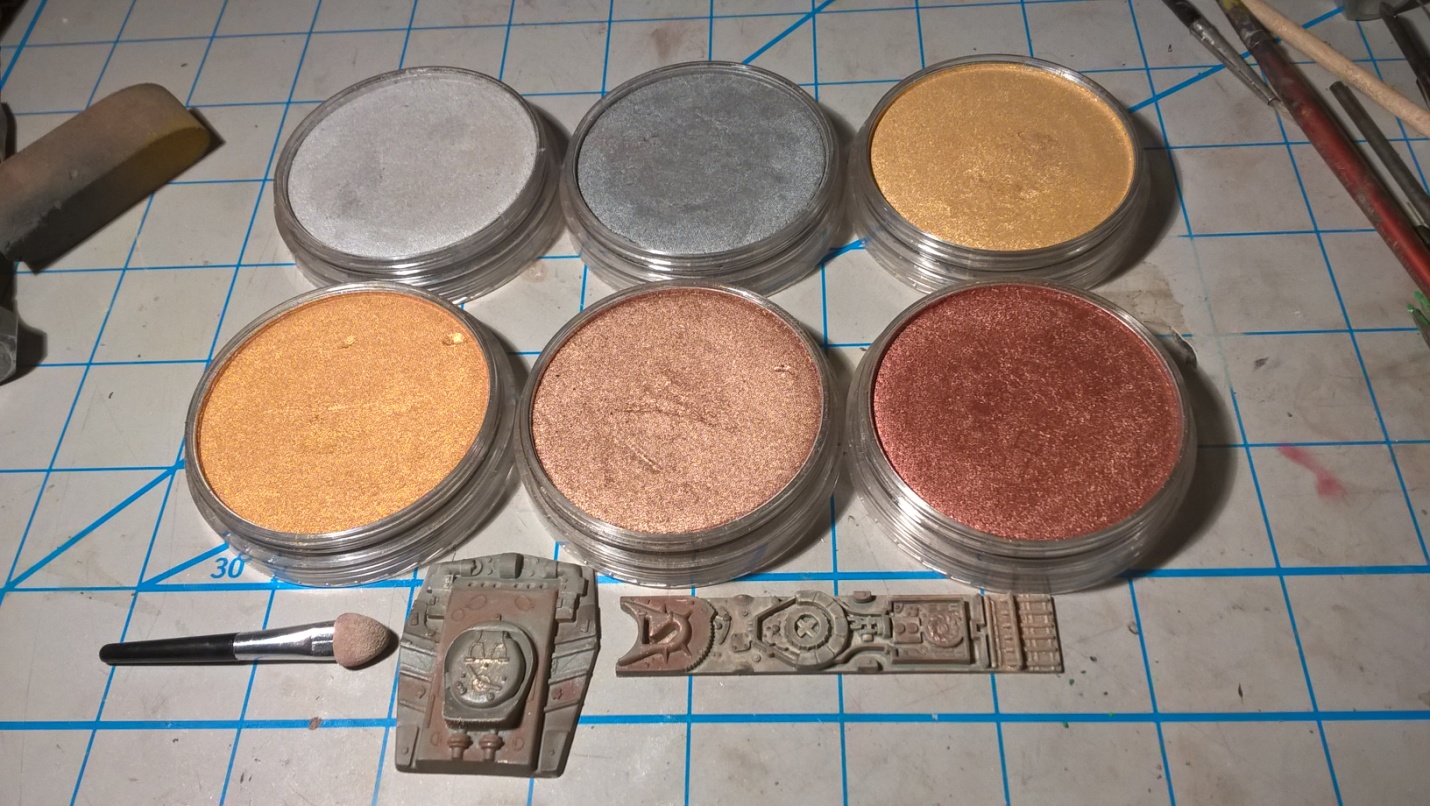
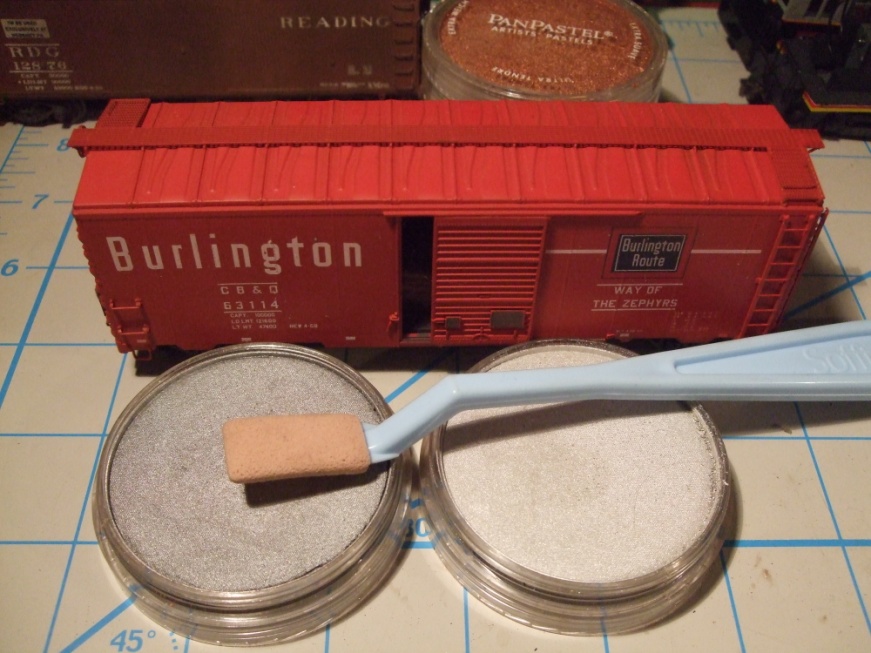
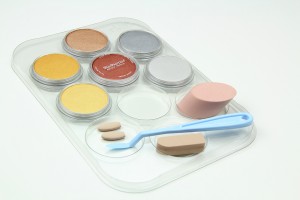
There are 6 PanPastel Metallic Colors:
910.5 Light Gold
911.5 Rich Gold
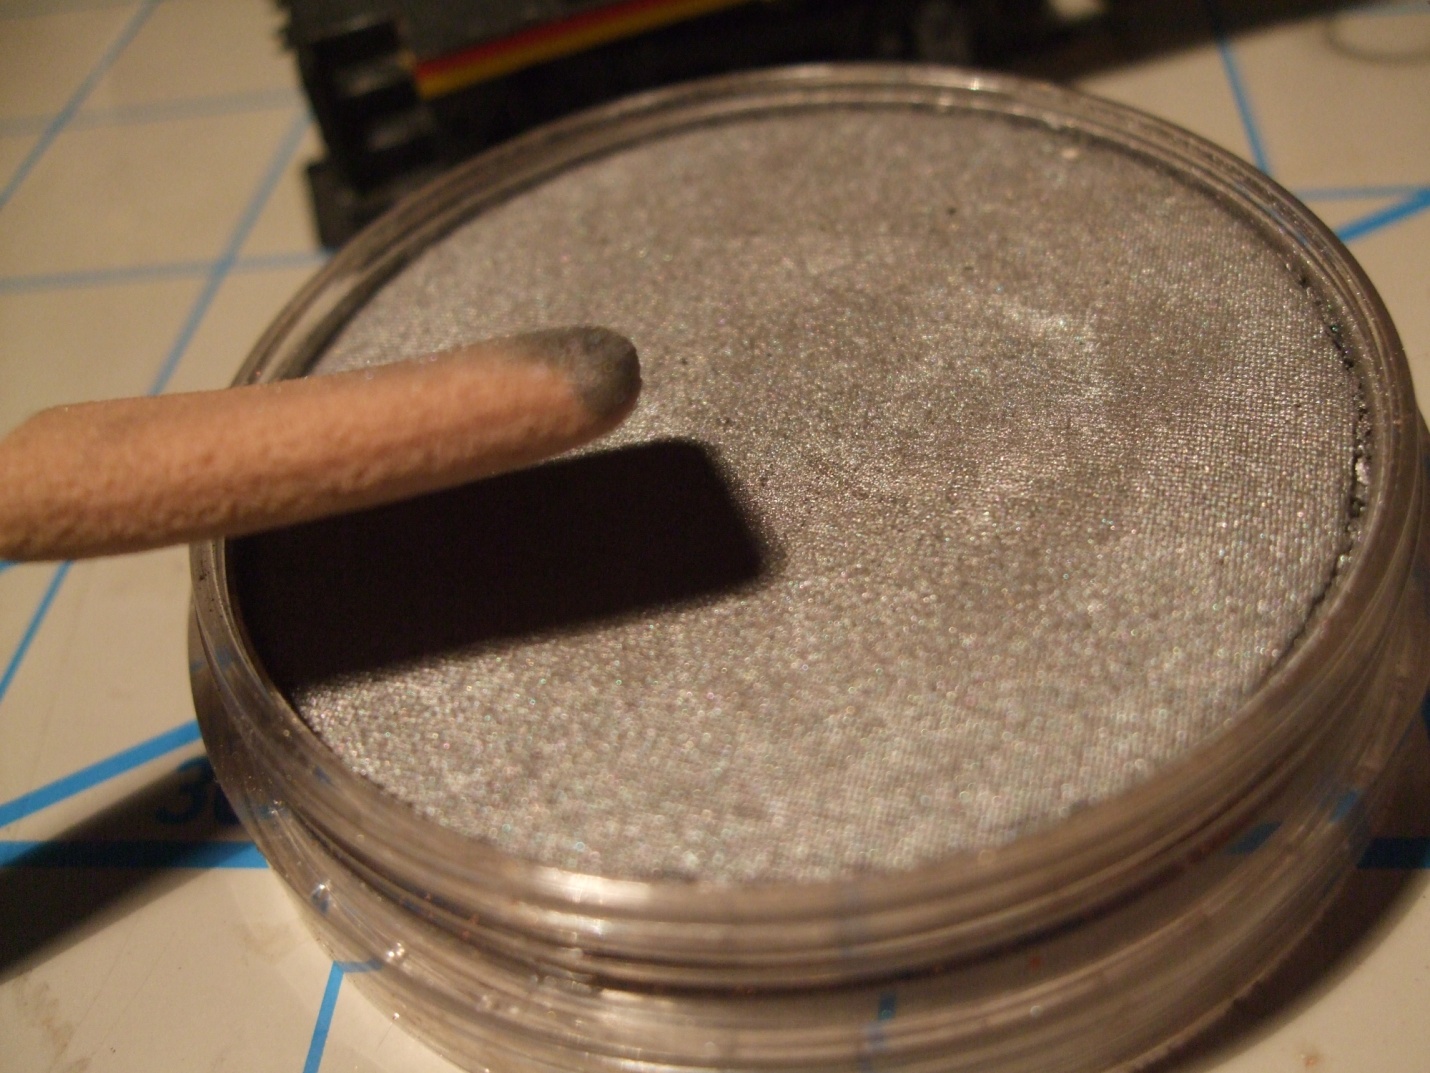
920.5 Silver
921.5 Pewter
930.5 Bronze
931.5 Copper
The colors have some interesting properties; they can add highlights to a model that add that “human” touch. A realistic sign that miniature folks left their mark on the model. Metal can show signs of rust, mud and dirt; it can also show signs of wear. Paint fails down to the metal when rubbed or gouged. This can be easily simulated with the swipe of a Sofft Tool®.
Let’s talk about the Silver and Pewter first. In a previous post I described the weathering of exposed galvanized sheet metal on boxcar roofs. The technique can also be used for structure roofs, corrugated sides like grain elevators, truck or trailer cargo areas.
First, some “housekeeping” tips: To prevent the metallic “sparkle” from spreading elsewhere it is better to dedicate some of the Sofft Tools so that there are some that are only used for the metallics. Clean your work area and hands after using the metallics so that the sparkle doesn’t turn up where you don’t want it. Also, you could spray a flat finish like Model Masters to protect the color once applied if the model will be handled frequently. You could also spray a flat finish to fix the metallic and then add other colors on top of it, isolating the layers underneath.
DIESEL DETAILING
My first use was the cast tread pattern on the floor of my switcher. The raised tread pattern looks more like dots than the angled safety tread I am used to seeing but I used it anyway.
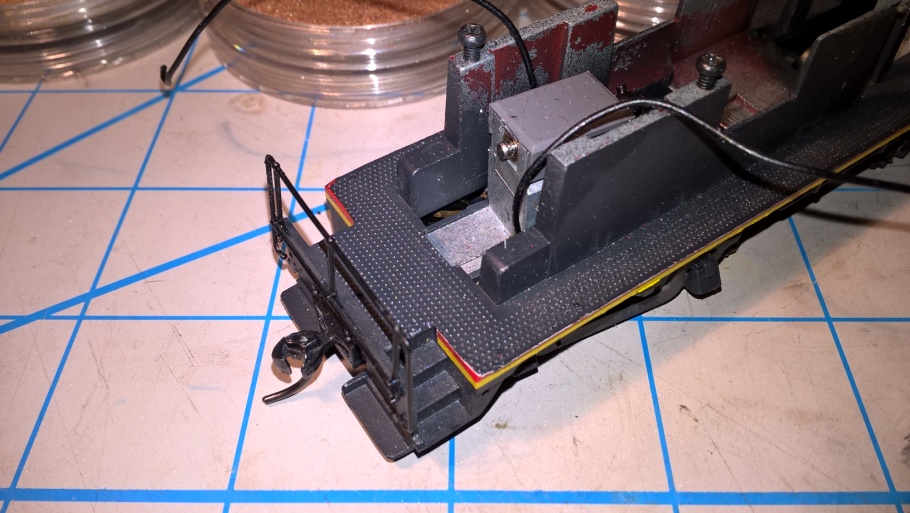
STEP 1. I first brushed any accumulated dust off the flat black finished frame.
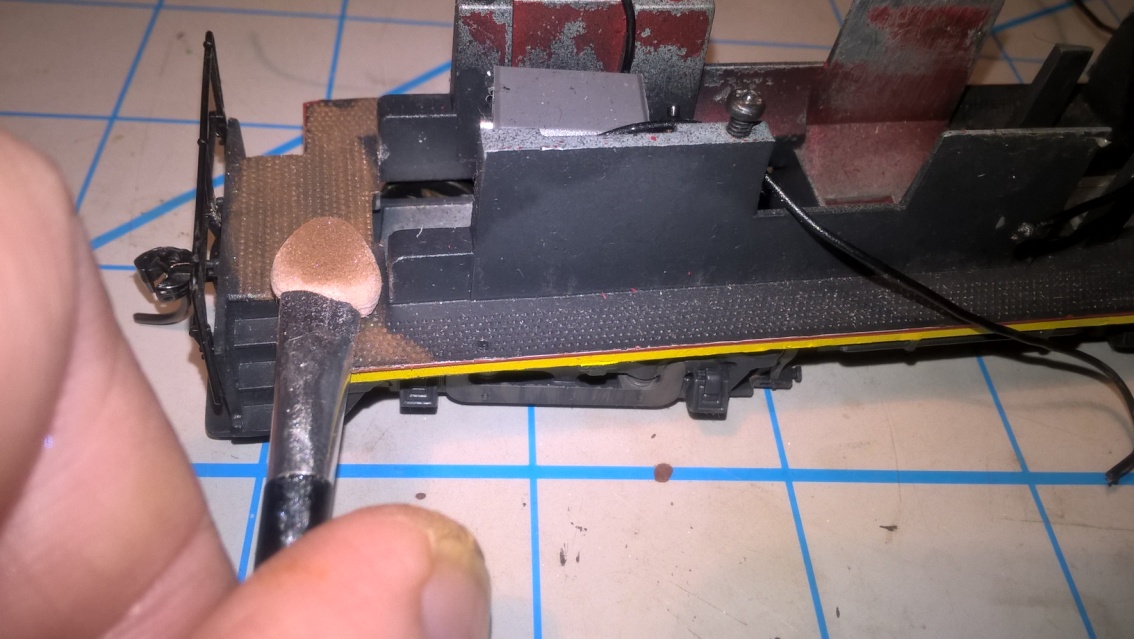
Step 2. I wiped and burnished Burnt Sienna 740.5 into the walkway to simulate accumulated rust. Only where normal wear would occur from foot traffic.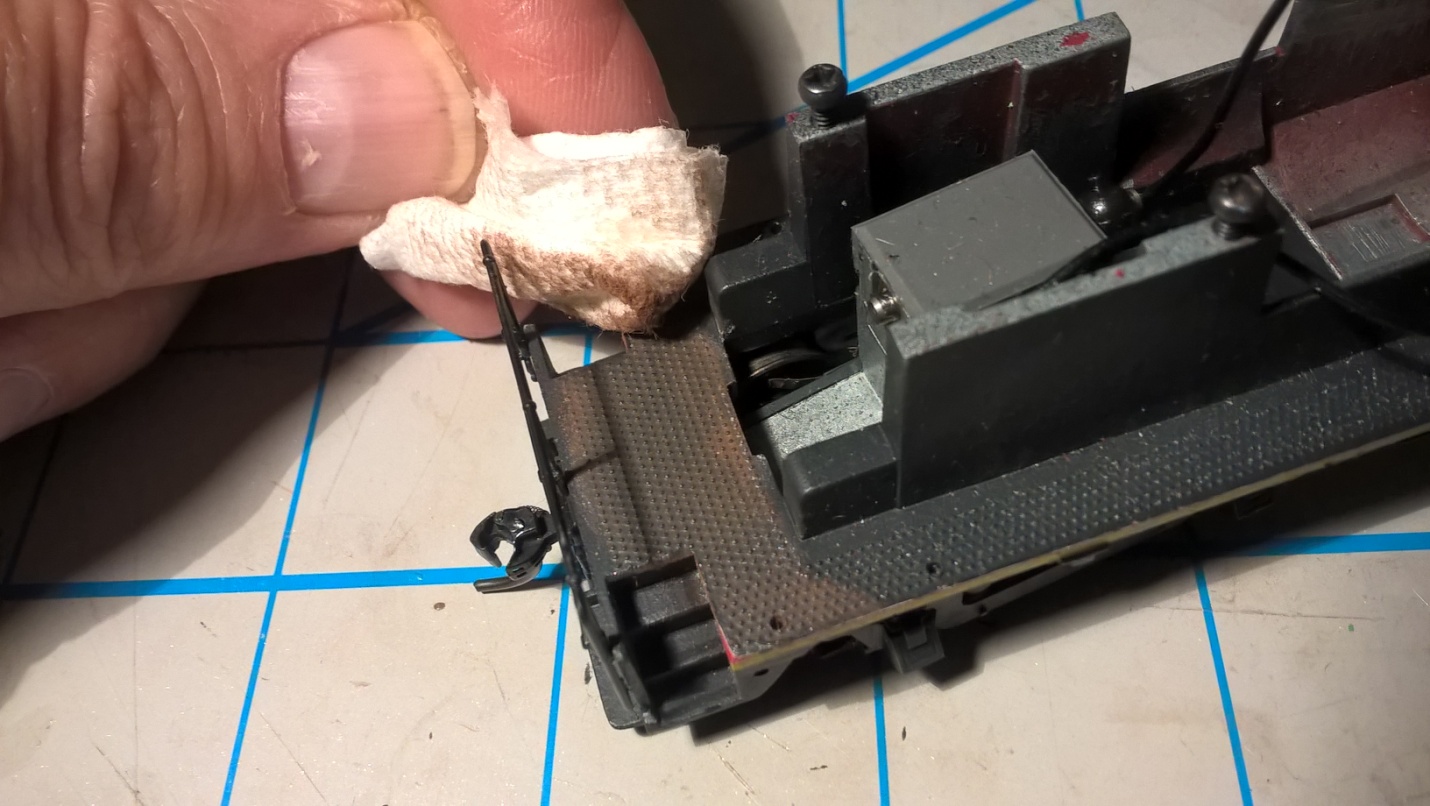
Step 3. I took a small piece of clean paper towel and lightly wiped the top of the tread pattern to remove excess color and prepare the surface for the metallic 921.5 Pewter. Remember, you don’t want to burnish the tread to a gloss that won’t let the PanPastel® attach.
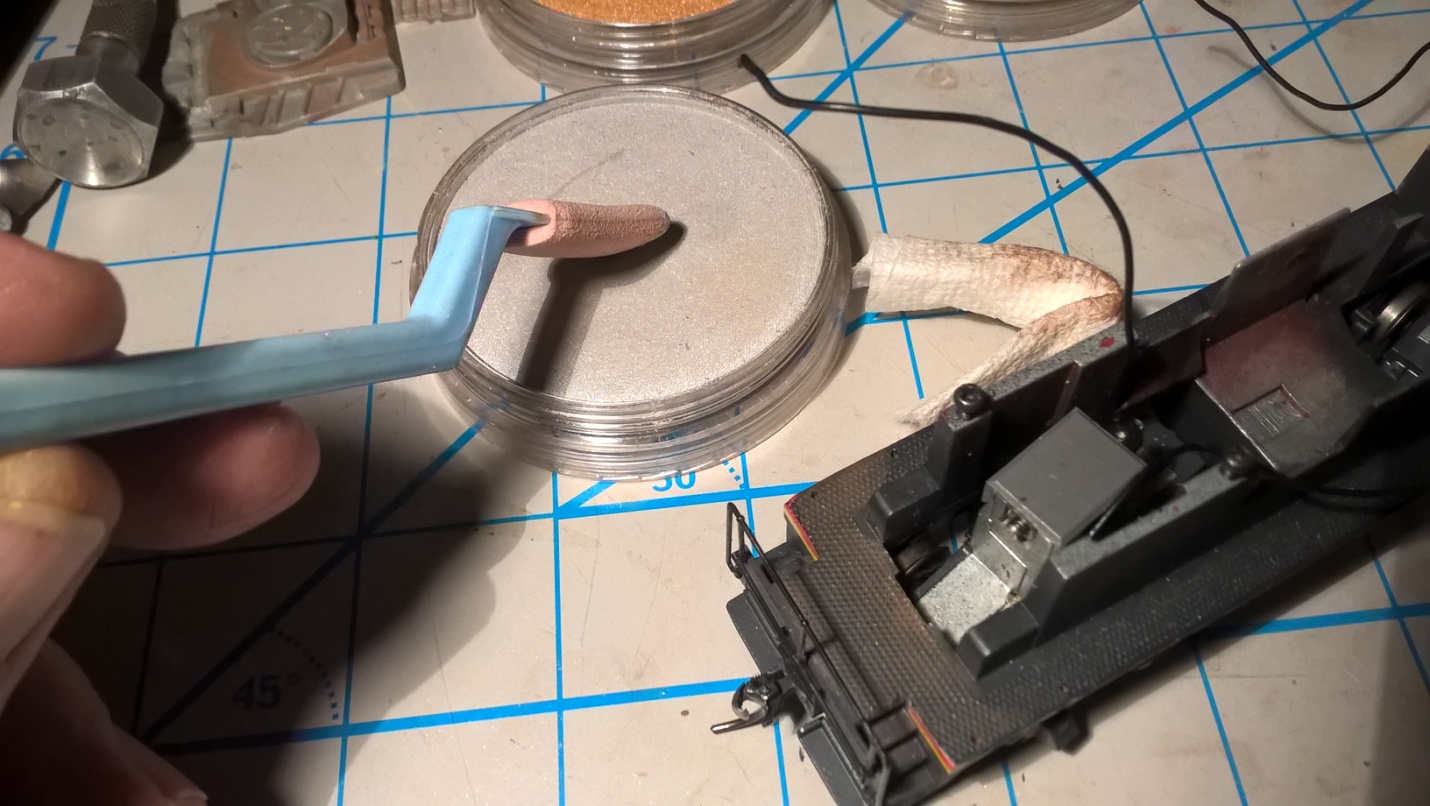
Step 4. Use the edges of the Sofft® Knife (Flat / No.2) to lightly lift the metallic.
Step 5. You don’t need a lot and you should work slowly. Add a very light amount of finger pressure to the tool. Lightly and deliberately drag the tool across the surface to pick up the raised detail. We are simulating the pattern of wear from work shoes on areas like the front and rear porch, steps, threshold of doors and places that would show repeated abuse from the crew climbing aboard and walking in the cab. My first attempt was to brush the Pewter lightly on the black deck. It was acceptable but didn’t quite portray the depth I wanted. Later I had the weathering colors open so I scrubbed 740.3 Burnt Sienna Shade over the surface of the back deck, using the small Sofft® Tool to work the pastel into the recesses. Then I lightly applied the Pewter to pick up the raised pattern and edges of the steps. I liked the look better and it photographed well.

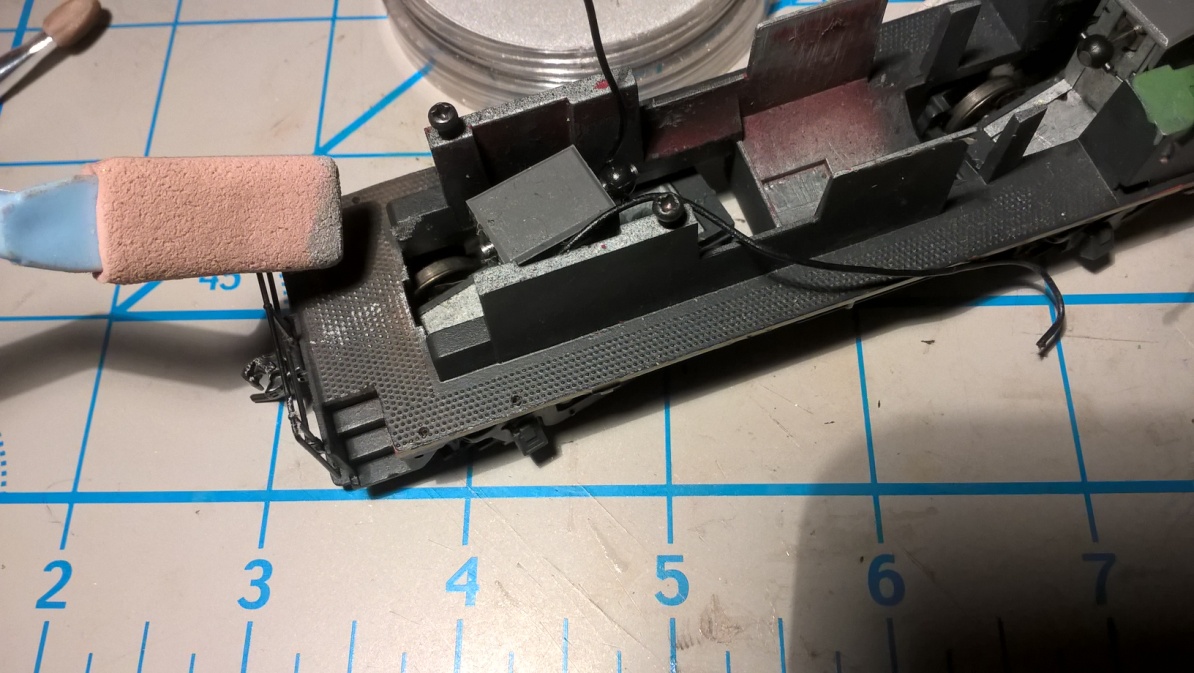
Step 6. Looks like a little transferred to the railing. We can wipe this off with a watercolor brush or a small Sofft® Tool.
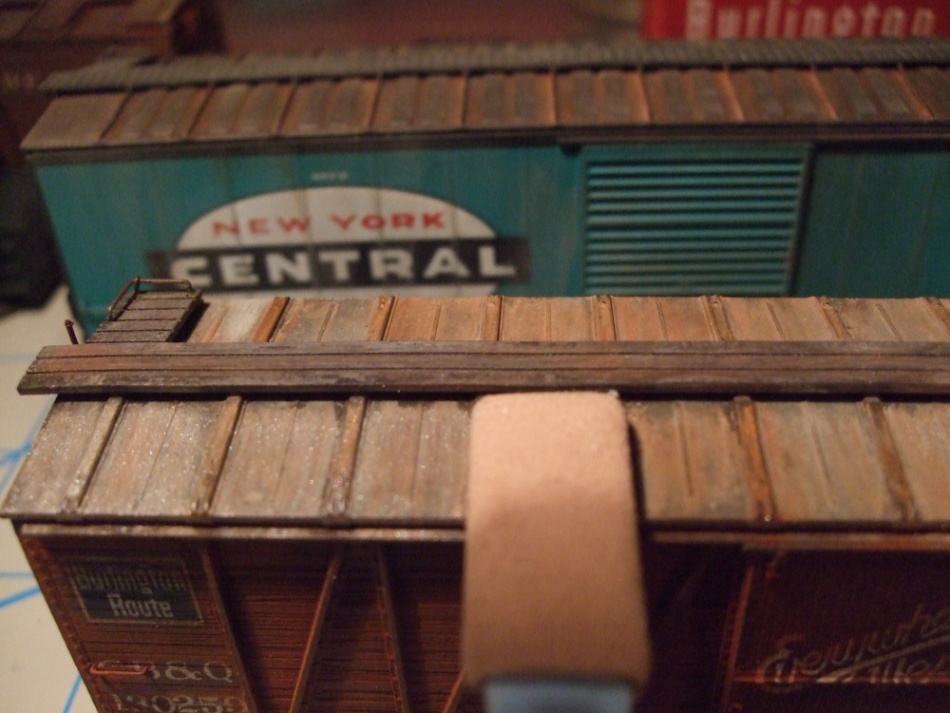
Moving on to a 1920s boxcar roof I wanted to see what the metallics could do to further enhance the look of sheet metal. I tried both the Pewter and Silver separately and as a blend. I went with the Pewter as it looked more like the metal was aged.
FREIGHT CAR ROOFS
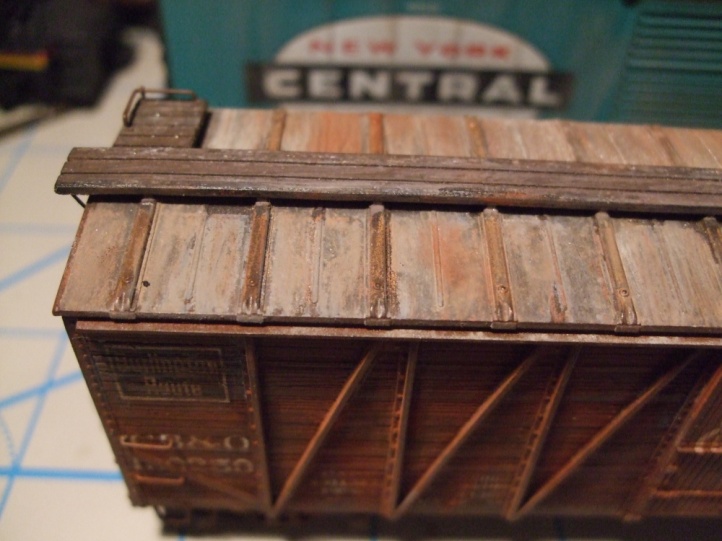
STEP 1. Weathering with PanPastel Colors used on roof from previous weathering. (See my other posts on this site).
STEP 2. Using the Flat (No.2) Sofft® Knife to apply Pewter. The camera doesn’t show the sheen of the metal but you can see a difference between the left and right of the Sofft® Knife.
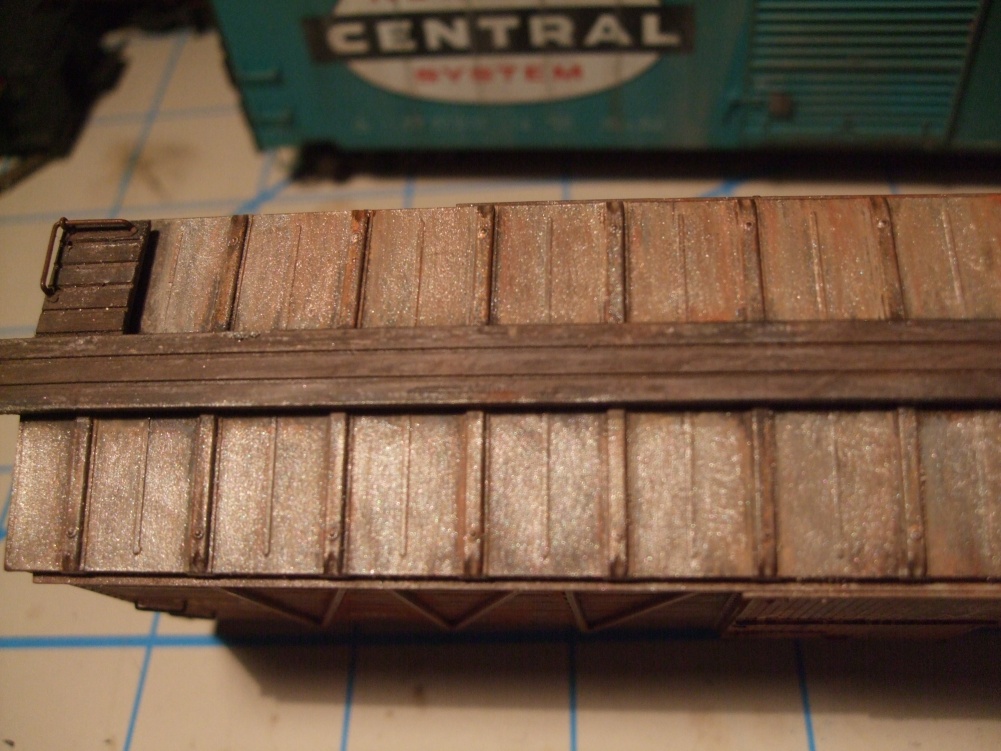 Both halves are now done.
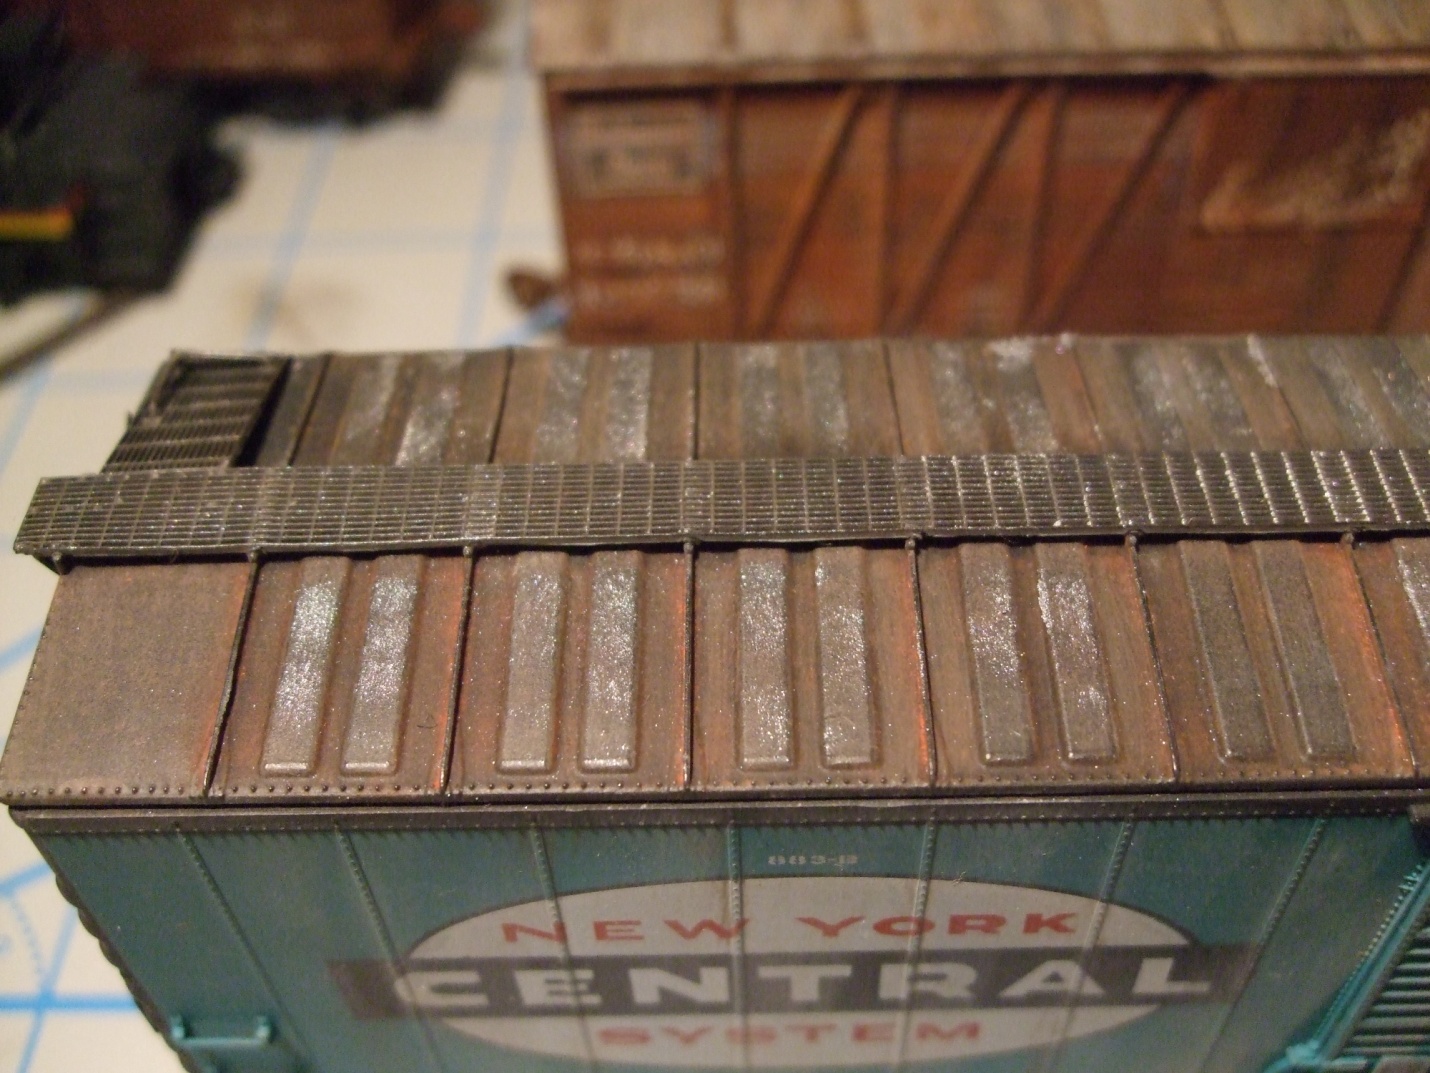
STEP 3. On a previously weathered sheet metal roof, I added swipes of the Pewter over the existing PanPastel Colors. It gave the roof added depth and a sheen that is sometimes seen in the sunlight. Much like the PanPastel Pearl Medium – Coarse Black (014) will add sparkle to coal loads this has a different effect when viewed from different angles. For a fresher newer car I took a model that I had primed the roof with a medium light gray (Milwaukee Road grey) and rubbed the Pewter with an occasional swipe of Silver.
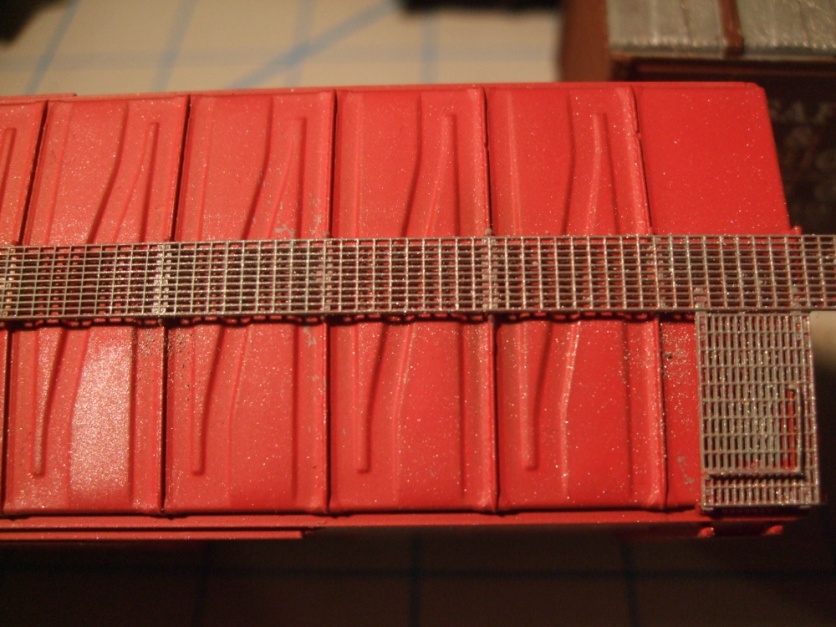
RUNNING BOARDS AND LATERALS
Some freight car roofs were painted with a Black Car Cement to water and rust proof them. I chose my Branchline® NYC Dispatch roof car for my next subject. I had previously added some subtle rusting to the panels. I wanted to show light wear on them and the running boards which were cast with a nice raised Apex grid pattern. I used the Pewter on my Pallet brush and lightly applied with small strokes, lightly reloading as I went. Some areas were clogging the openings so I blew air to unclog the trouble spots. I added a few paint fails to the ribs but was careful not to overdo it.
Another Branchline® car I used was a “Chinese Red” Burlington 40 foot steel car. I have substituted a Kadee® Apex running board with incredibly fine detail. It was painted to match but I felt later that it should be natural metal.
Silver 920.5 and Pewter 921.5 with Sofft®Knife

Step 1. Dry brushing Light Grey Acrylic model paint.
Step 2. Mix of Pewter and Silver brushed on running board. Excess color was lightly blown off the surface of the running board and laterals. Heavier unwanted sparkles on roof panels brushed off.
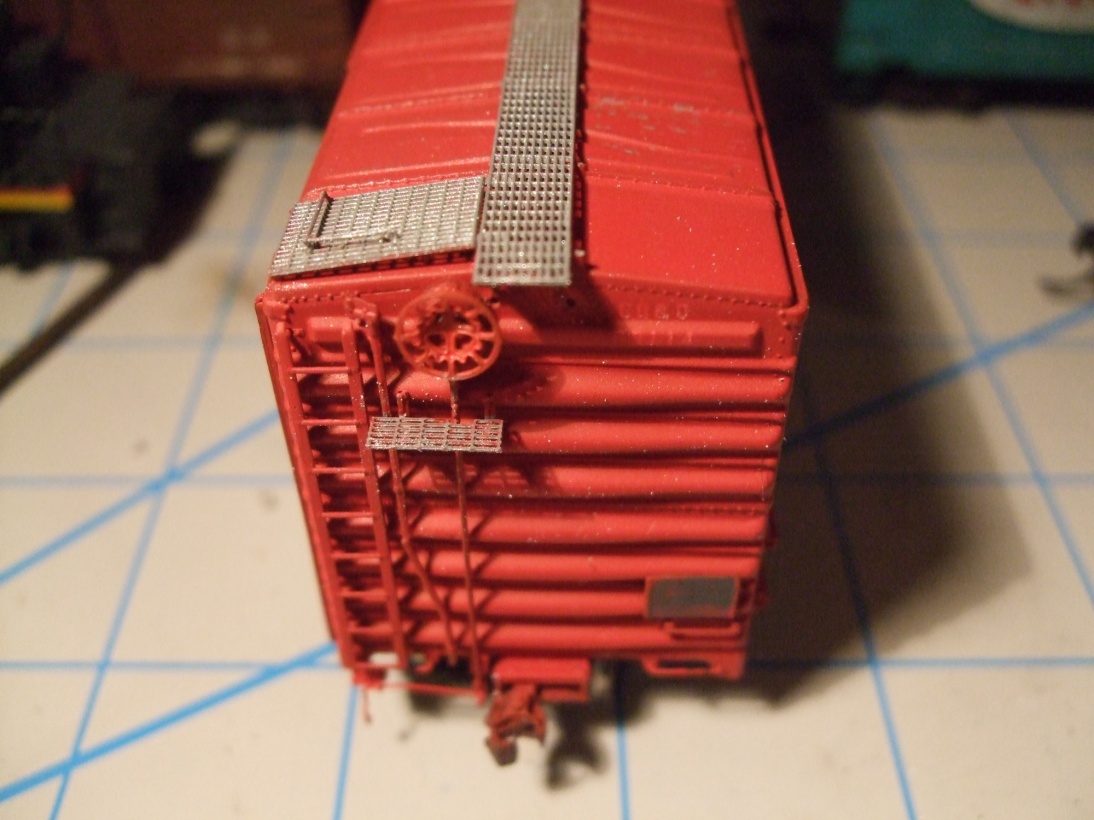
My first attempt applying Pewter directly on to the Red looked OK but slightly transparent. Borrowing on the success of the gray weathered roof, I lightly brushed a light grey on to the Running Board with my 1/4 Royal® RG160 Flat Angle watercolor brush. My wife bought it for me to use for “dry brushing” which PanPastel has quickly replaced. Simmons® also makes a brush like this, it’s really a mini sash brush and highly recommended for painting scale window frames. Its main attribute is that it lays paint down in a flat and even coat. It is also perfect for priming roofs before you apply PanPastel. Then I used the Sofft® Tool to lightly wipe the Pewter and Silver on to the tread pattern.
VEHICLES
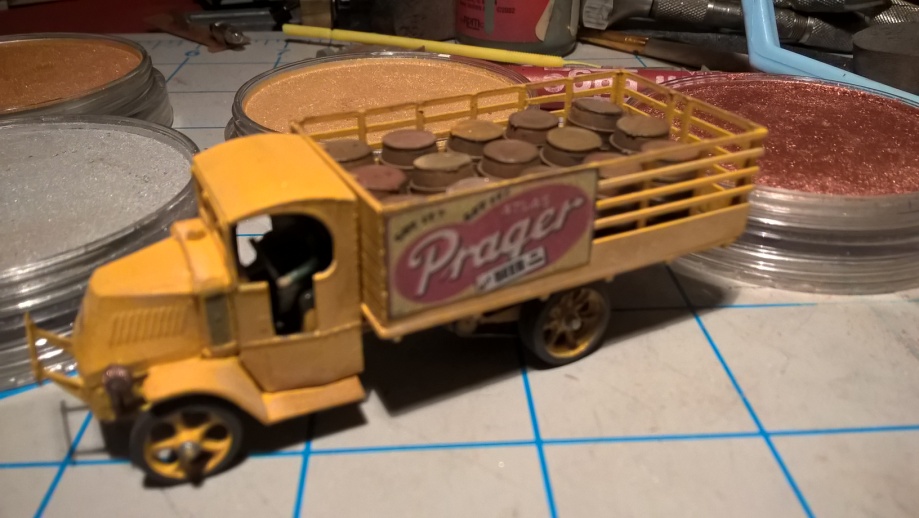
Another small project is my Jordan Models Mack Chain drive stake truck. I used the cover art from the book “Bulldog” by John B. Montville to model my beer truck. I lowered the stake bed height to be a little taller than the load of Funaro & Camerlengo® resin barrels. I airbrushed the model in Railbox Yellow.

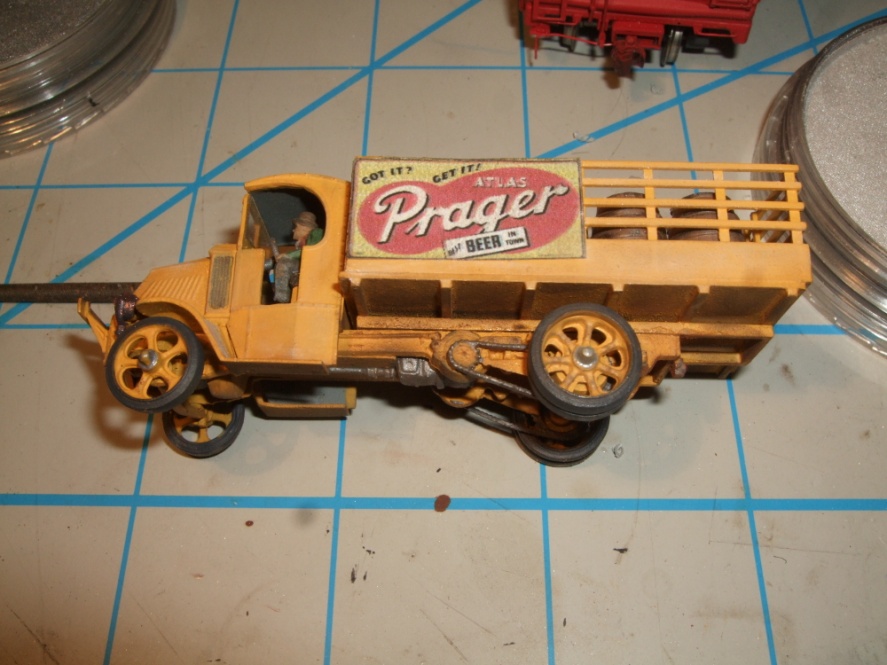
Chain drive and transmission highlighted with Pewter.
The headlights were painted Loco Black and the lenses were painted White. With the Copper in hand I used a Micro Brush to color it to represent a weathered copper and added some Silver to sparkle up the headlight lens. The barrels were touched up with various browns to vary the overhead look of the load.
OTHER SUGGESTIONS FOR METALLICS
 Before
 After
After
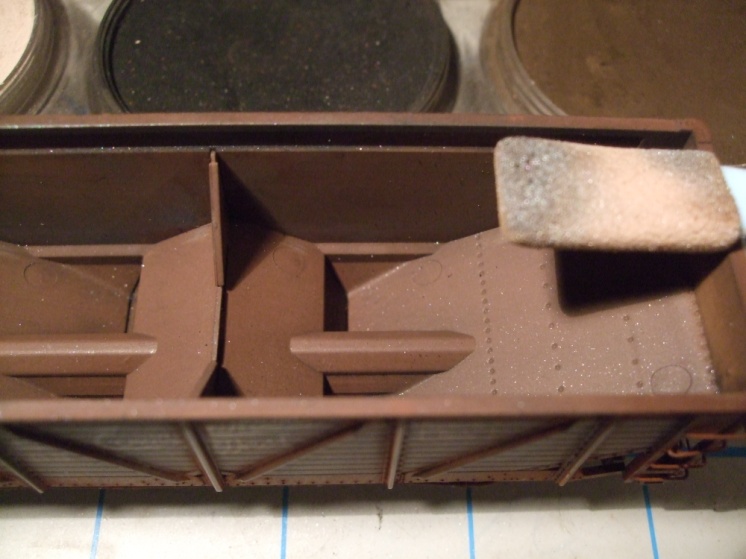
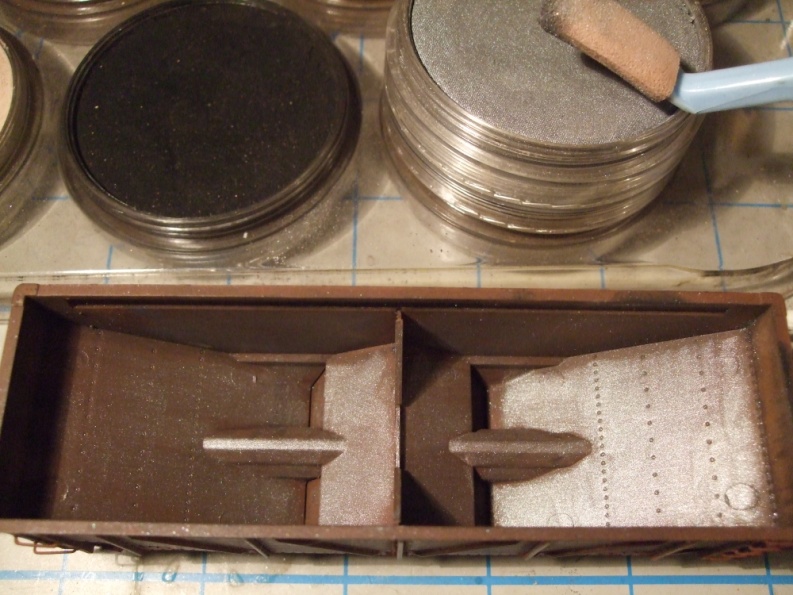
Silver and Pewter on Hopper slope sheets to represent newly unloaded cars. Rust may be added over or in spots.
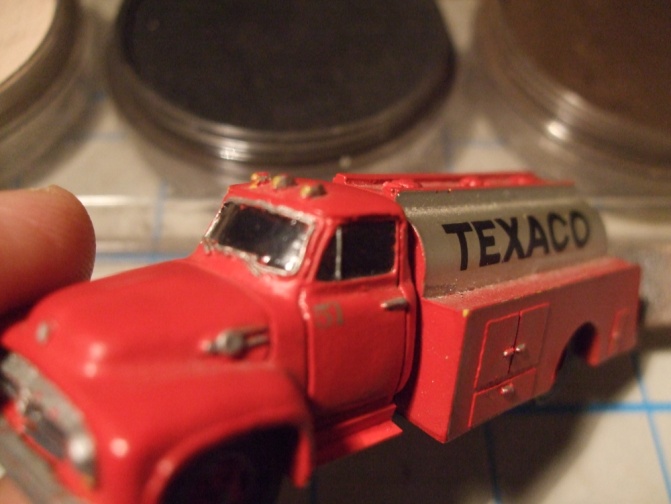
Auto headlights and window glass on solid resin cars
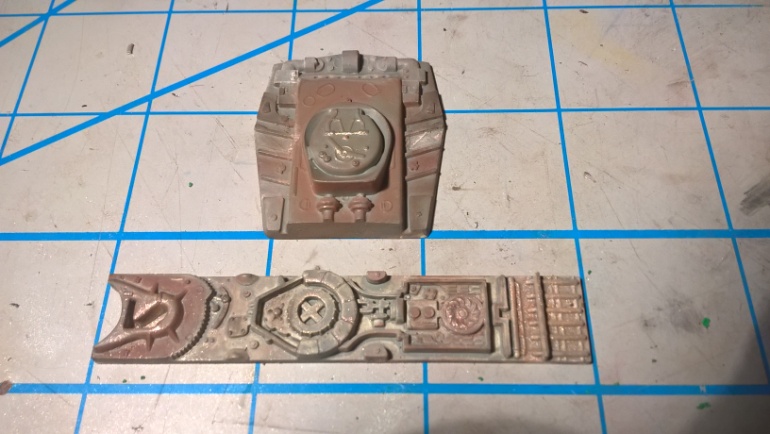
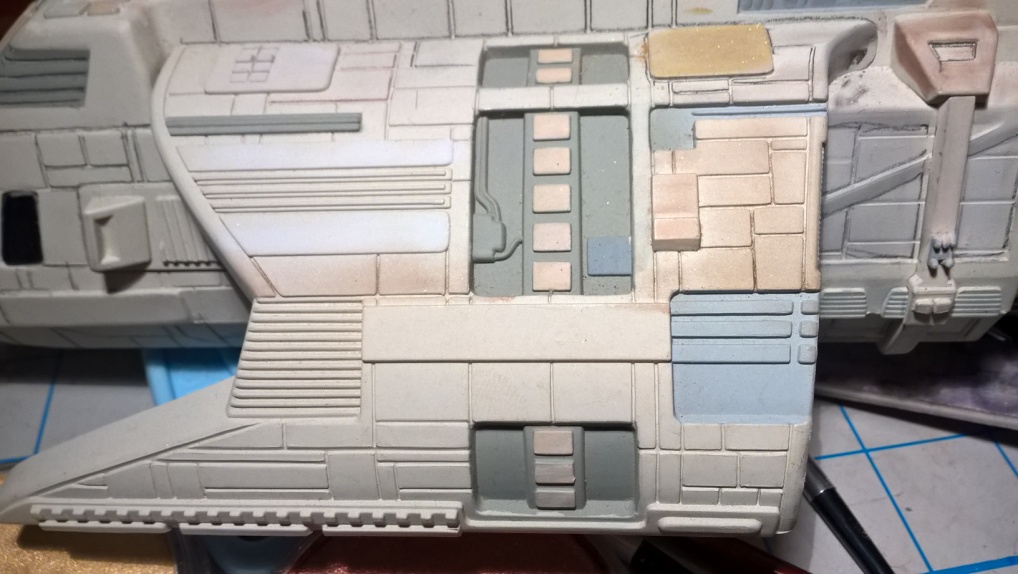
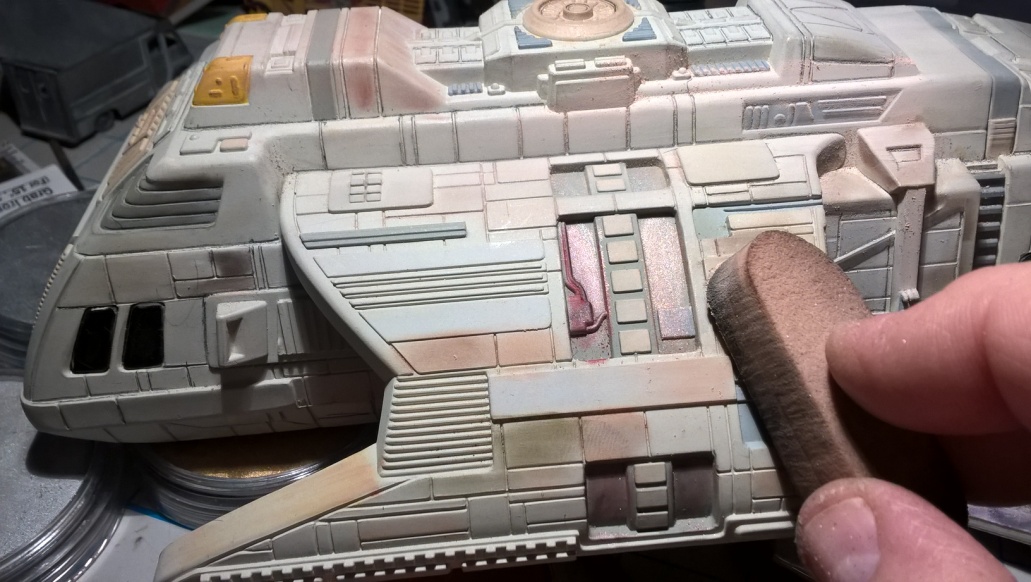
Highlighting Hyper Nooks and Mega Crannies on Sci-fi Models.
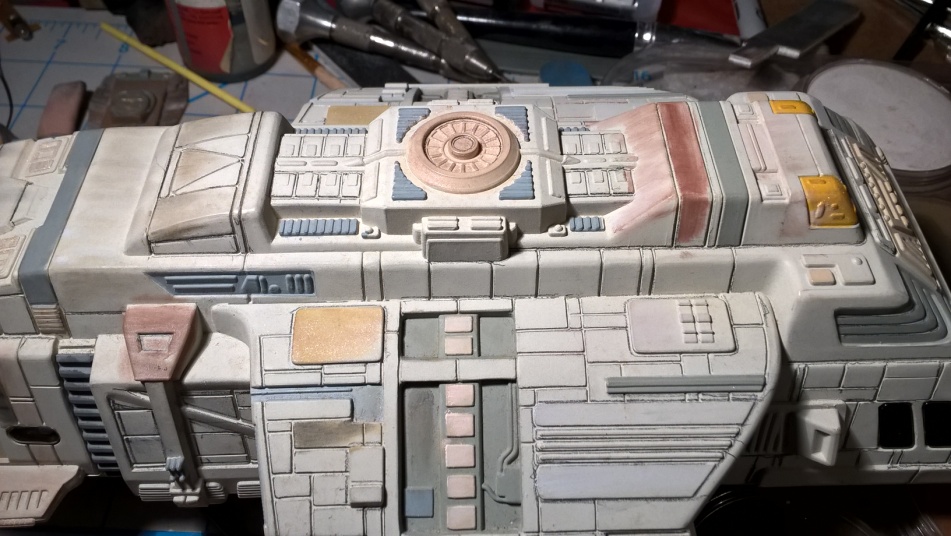
Deep Space Nine Shuttle roof turbine highlighted with Copper and Gold.
Before Metallics (above)
 After Metallics (above)
Paynes Grey Extra Dark 840.1 wiped overall to add depth to panels.
Well it’s been fun sharing some more techniques with you. I have more projects in mind and on my table. If I may borrow a phrase from the insurance company I have, “we look forward to weathering the next 80 years with passion”. And modeling passion is what it’s all about. ~ Rob Manley
ENTER OUR GIVEAWAY
UPDATE 4.12.16 – Three winners have been randomly drawn for our latest giveaway. They are Bill, Chuck Faist and Tanker 1497. Congratulations to the winners and thank you to everyone who entered!
We are giving away a set of the 6 PanPastel Metallic Colors (Ref. 30077) to three lucky winners.
Enter the giveaway using the form below by Monday 11th April 2016, 11pm EST (New York time). THREE winners will be randomly selected.
This giveaway is open to entrants aged 18 and over. No purchase necessary. Void where prohibited. One entry per person. Winners will be announced on this blog and at our Facebook page. Other Giveaway Rules. If you experience any difficulties email us at: [email protected]