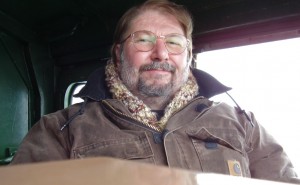
This is my Birthday Blog and I celebrated it by doing a clinic for the Rock River Valley Division NMRA in Rockford, IL on the 2nd of November. That was the day after my birthday and a great excuse to see some excellent model railroads. I’ve been raising some spending money lately by selling off my excess 1/25th car model kits. In a rare moment of weakness I decided to focus my efforts on the railroad. So with that in mind let’s focus on a specific type of weathering project. Beat generation writer Jack Kerouac once said, ”I love boxcars and I love to read the names on them like Missouri Pacific, Great Northern, Rock Island Line.”
So we’ll go with that.
I’m going to start with the roof and that applies to boxcars, stock cars and refrigerator cars. The car that started it all with me and PanPastel® was a Central Valley® Northern Pacific stockcar kit that I had built, painted and decaled. It had existed for years in it’s Oxide Red paint job until I found an image of one that was in the background of a freight yard photo in a Morning Sun® color book. The car had a galvanized roof and various shades of gray weathered side slats. To duplicate this would not be the usual airbrush a spray of a misty brown color.
Let’s get started
This required a radically different approach. To simulate a galvanized roof I like to brush paint various shades of Acrylic Polyscale® light gray, like EL or Milwaukee Road Gray onto the surface. Use recycled lids from margarine tubs and such for a mixing pallet. Put a few drops of different colors on the lid with a few drops of water and pull a little of each color onto a number 2 watercolor or acrylic brush. The different shades are painted on the roof and drawn from under the running board to the roof edge if you have attached the running board. It’s much easier to paint and weather in sub-assemblies leaving the running boards or ladders off until final finishing. This will give you a good base for galvanized roof.
Brush painted PrimerGray roof, roof seam caps Roof Brown. Weathering and running boards PanPastel® Paynes Gray and Tint plus Burnt Sienna highlights
I like a good artist quality #1 or #2 flat brush for this step. Take time and pick out individual brushes instead of the starter quality bulk packs. I have seen different manufacturers on sale at various times.
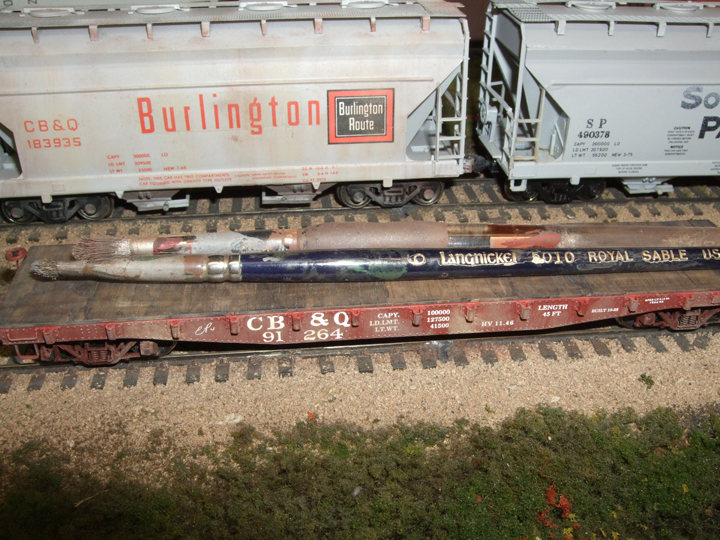
Two of my favorite brushes for handling the tough places
I’m not going to be too specific on what PanPastel® colors to use here. If you have the PanPastel Weathering Kits, use what you have. If you don’t have them – you should be able to order them from your hobby store. You can copy from my photos or use your own research.
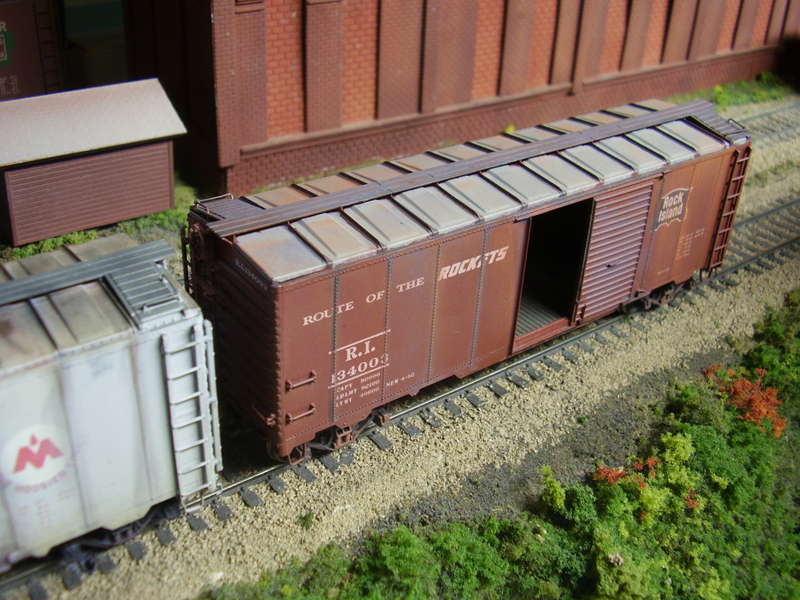
Rescued with PanPastel® – car weathered and sides repainted to a lighter Red Iron Oxide from a dark boxcar red
Take the round Sofft Sponge Bar and scrub a Dark Brown PanPastel like Burnt Sienna Shade 740.3 or Extra Dark 740.1 from left to right on the roof. This will place most of the base color down and pick the overlapping seams of the radial roof detail. Looks pretty good so far, right?
Now use light passes from center to edge of the roof to create a pattern resembling the flow acid rain would take. You can use the Sofft Knife (with cover) here. The flat (No.2) shape can load one color on the large flat side and two colors, one on each side.
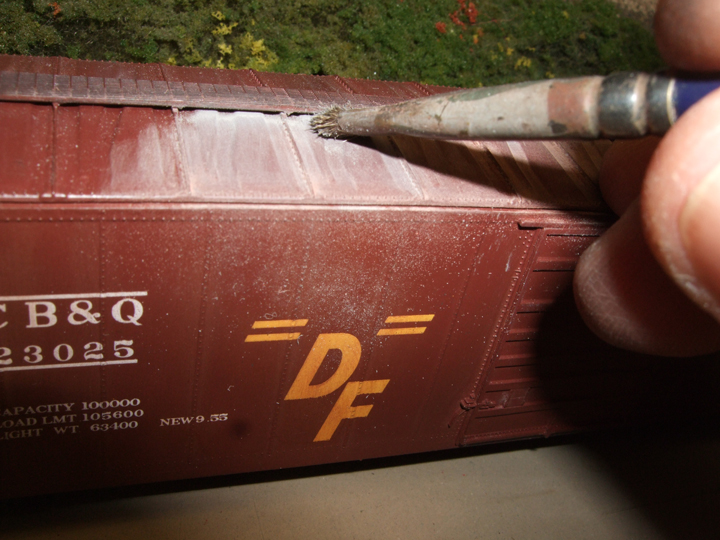
Pushing color under running board with stiff bristle oil painter’s brush
The large area lays down more color and the sides can draw finer streaks resulting in more variance of color. The tools can’t squeeze color under the running boards. So you will need a paint brush like a stiff bristle brush to push it under the running boards. This brush will come in handy to get into other tight spaces and will more than pay for itself. Which is pretty good considering the cost of a good dinner these days. {:[)>
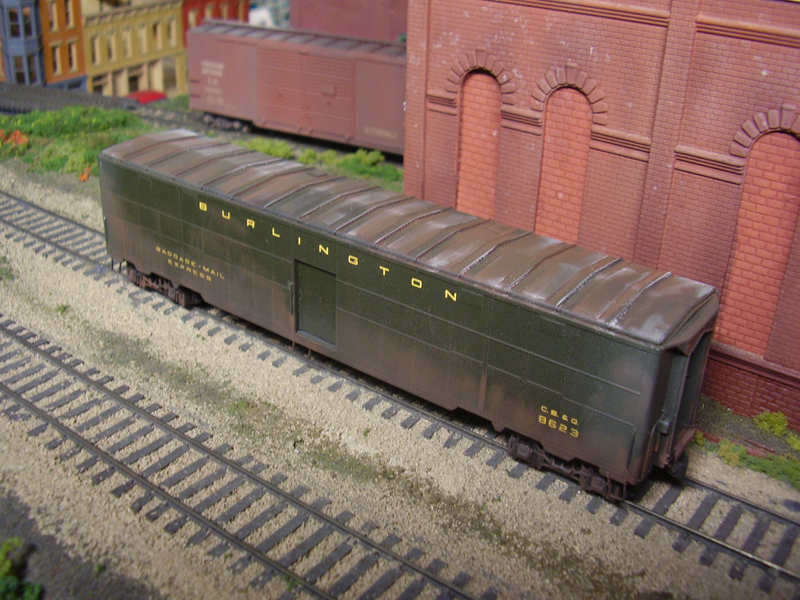
Simple and easy. Highlighting panel edges and seams with Paynes Grey Tint, adding Burnt Sienna or Red Iron Oxide to roof and sides
We’ll explore the difference between PanPastel shades, tints and extra darks later but while you are experimenting, let’s just say that they all have their uses and add that human touch to your efforts. A wooden slat roof can be enhanced with all of the above colors but you will either use an overall sooty Black or stripe a few boards with various browns and grays. The result will look like some boards are in need of replacement and some had already been.
Well I enjoyed sharing PanPastel® with the men and women of the Rock River Valley Division NMRA. It’s always illuminating to share your techniques and philosophies with others. It seemed that some were aware of PanPastel® but were not actively weathering their models. One thing I seem to forget is that some modelers fear weathering. It can be a skill issue with the use of an airbrush or the fear of ruining a $35 to $135 freight car let alone an engine. Believe me I can understand that. This is why I weather resin car kits that are going for $150 bucks on the web. I’m not going to suggest you do something that I haven’t done already. I have done lots of research to make sure that my suggestions will work. So if you have to practice on a car from the scrap box until it feels right, please do. This is supposed to be fun and easy. If you do mess up you can wash most of it off in soapy water. Just use good modeler’s sense like making sure the car you decaled has been flat finished and sealed before you wash it off.
So let’s see what you’ve recently weathered with PanPastel®.— Rob
Images supplied by:
Rob Manley and David Allenson

